What I need is a basic black handbag … but how boring would it be to sew a black handbag? I made something less utilitarian, but more fun.
The Pattern
Earlier this year I attended a handbag making class sponsored by the ASG chapter here in Atlanta and made up the Glenda clutch, by Swoon Patterns. I enjoyed the class so much that I later made a Swoon Patterns egg gathering apron as a gift and glanced at their other patterns as the months went on. When Pattern Review announced a handbag contest for December, I decided this would be a good project for my Christmas holidays.
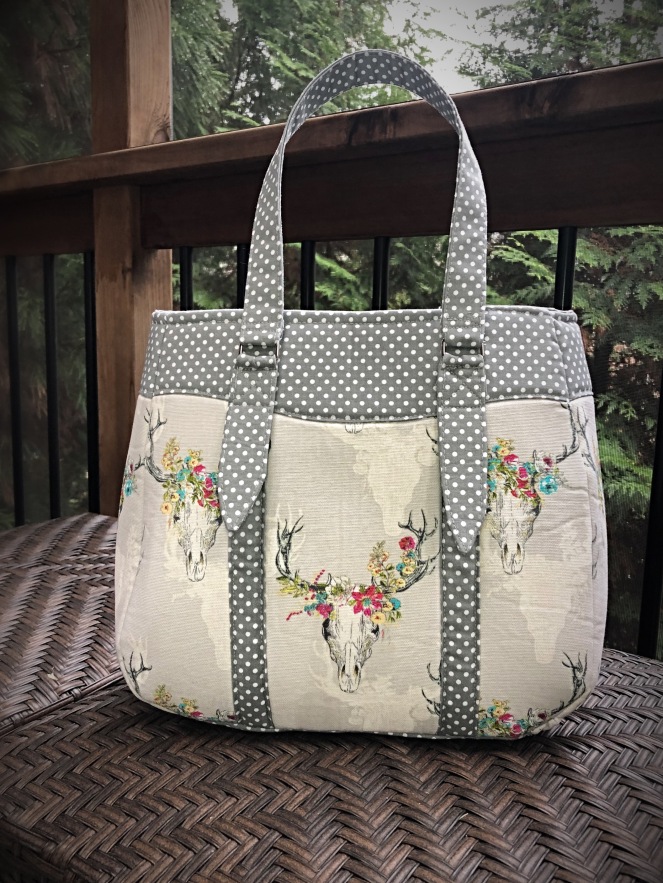
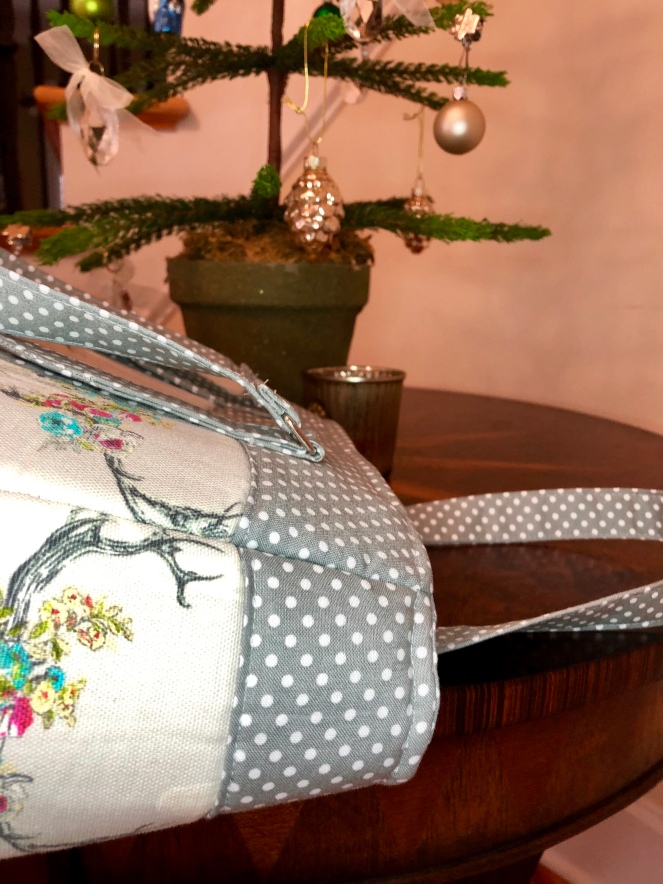
Once I decided to make up a bag for the contest, the pattern I chose is the Evelyn Market Tote and Handbag in the smaller size.
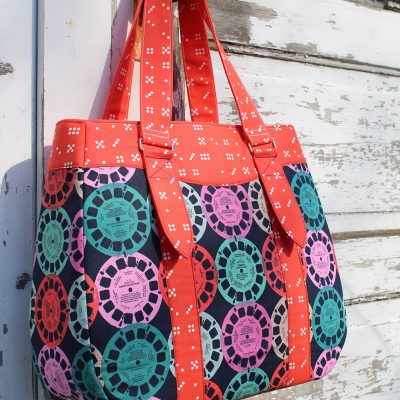
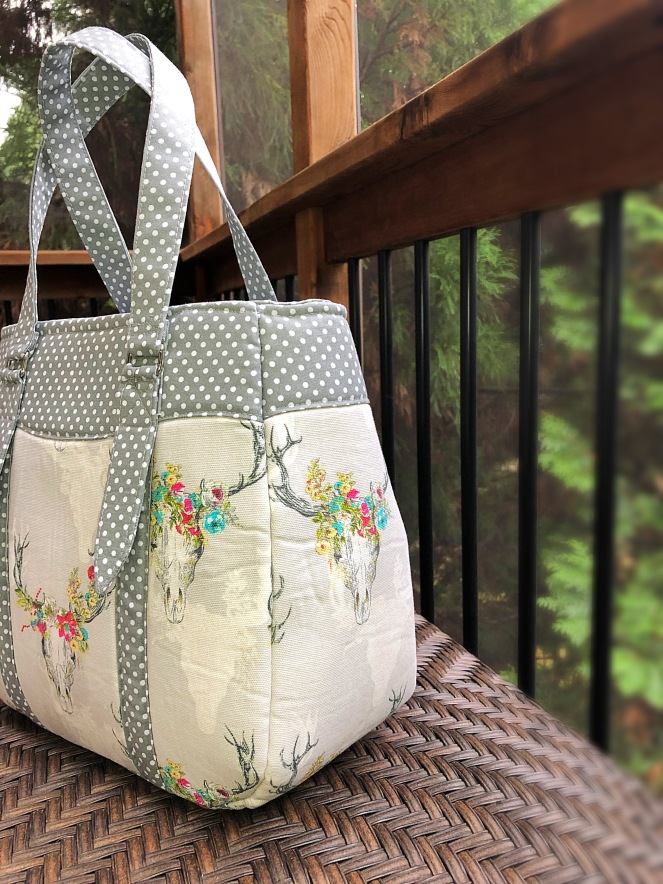
Why this particular pattern? I like the size, the faux belting straps, the zipper top, and straps that can be worn over the shoulder.
Fabric
The exterior is Cotton duck canvas and the lining is calico, both purchased at Hobby Lobby.
In addition to the fabric, this pattern required woven interfacing, stiff stabiliser, and foam. All were Pellon and were purchased at JoAnn.

Sewing Notes
Before I get into the details I just want to say that this was a really fun make. My previous project (yet to be blogged) was a bigger challenge than it needed to be, so I enjoyed making this bag! I’m beginning to see why people find this type of make so addictive.
Now to the details: I had to slow down and very mindfully read the instructions. Between the 2 fabrics, foam, interfacing and stabiliser there were an awful lot of pieces, and it seems like every piece of fabric is treated differently.
I spent probably 2 hours cutting and preparing the individual pattern pieces, and even then I missed something and wound up having to go back to the store and purchase more fabric. (The problem with having to purchase more fabric is that I wind up buying MORE fabric for other projects because I can’t just buy one thing …)
Stitching the pieces faced with foam was not as difficult as I expected, however, I used a walking foot and that helped enormously. I can’t say that I was thrilled with how the fusible foam behaved. For the next project with foam, I will likely use the non-fusible.
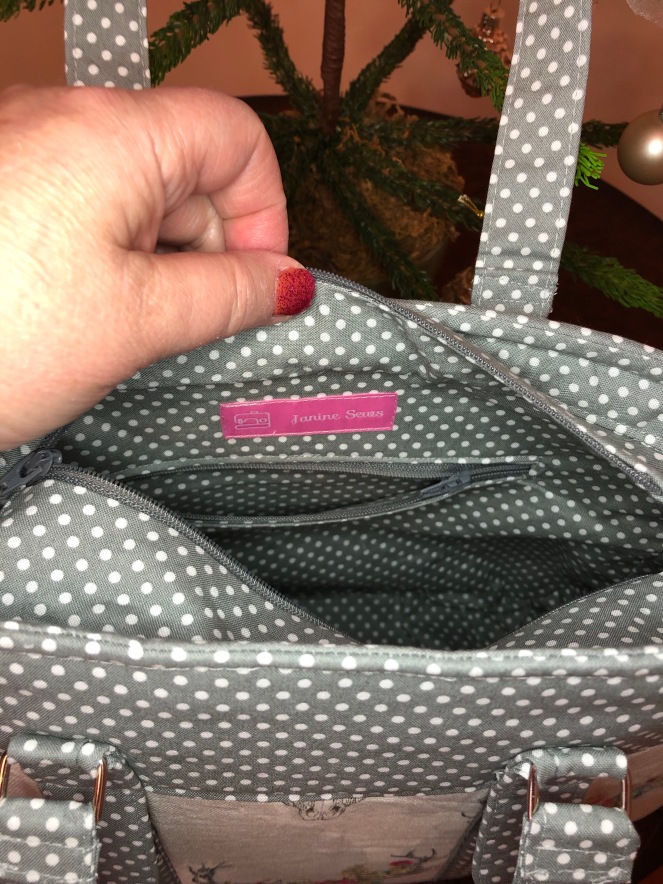
The zipper installation was made much easier with Wonder Tape. I initially learned of this trick from the instructor at the Glenda clutch class and now use it whenever I install a zipper whether in a garment or craft. Swoon’s zipper instructions are quite good. What you think is going to be so difficult is actually easy when you just follow step-by-step. This is a big lesson I’ve learned this year as I’ve attempted more complicated projects. Don’t look at the end result, just take it seam by seam and almost anything is makeable.
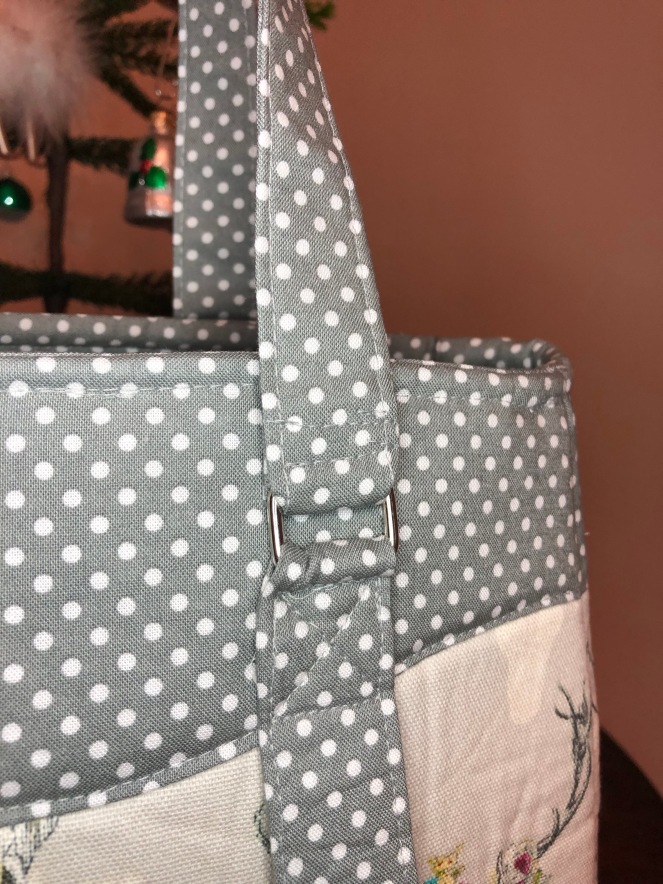
I purchased the wrong size D-rings (3/4″) so the straps are a bit bunched but I think they still look okay. Plus, I was not about to go back to the store again …
On the straps, there were several layers of fabric folded and pressed before stitching, and my clapper really helped to flatten the fabric and make stitching easier. Still, I sacrificed 2 needles before switching to a denim/topstitch needle for the toughest part of the construction.
The best part of making the bag was adding the hardware. In addition to the ‘easy’ stuff (2 zippers and 4 D-rings), I added a few other items.
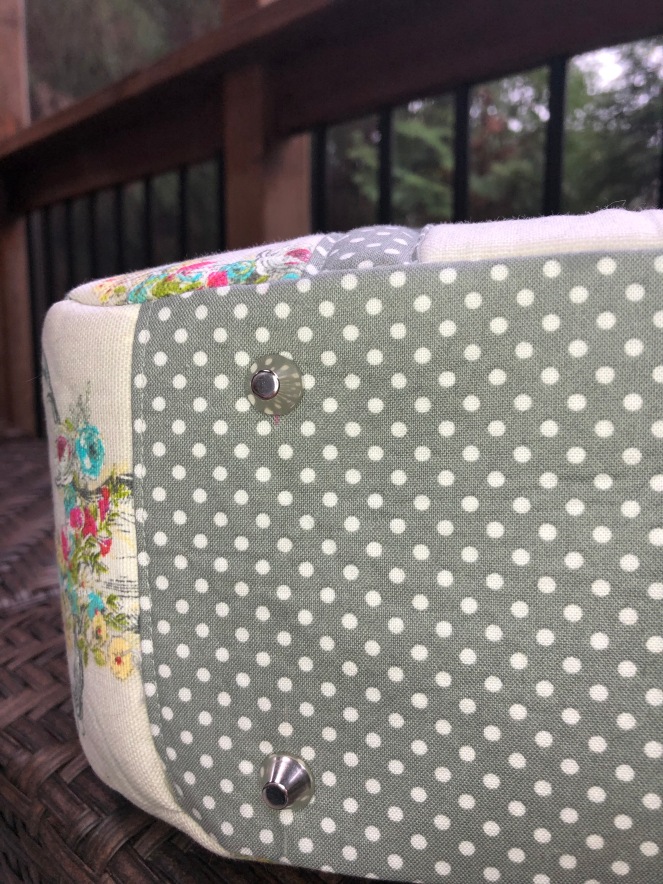
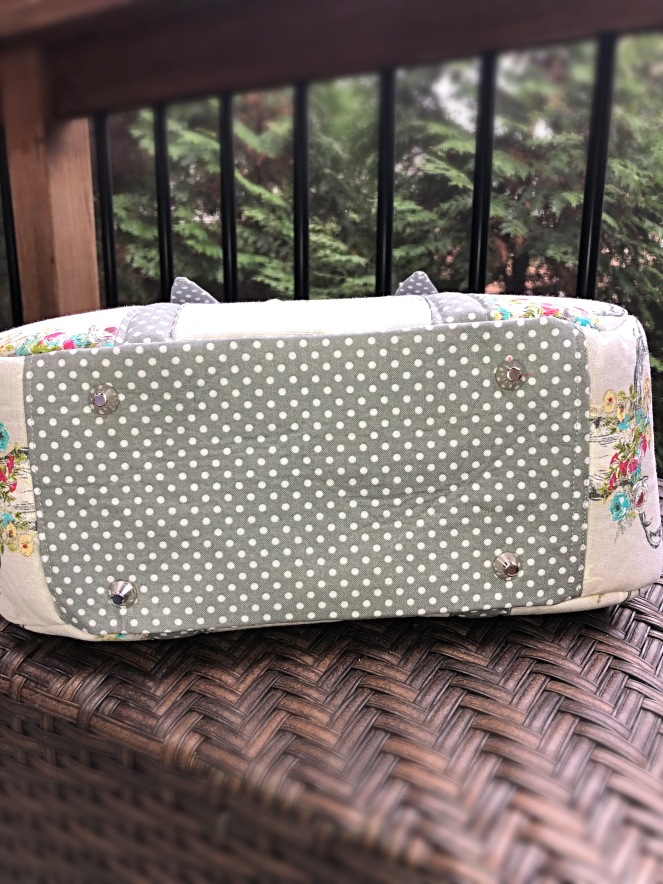
On the bottom, I inserted four silver feet. The bottom piece of the bag is lined with a stabiliser which provides a solid base for the feet. I wanted to add feet so the fabric doesn’t get dirty if it’s placed on the ground or on a kitchen counter that happens to have, say, pizza sauce on it. (‘Nuff said)
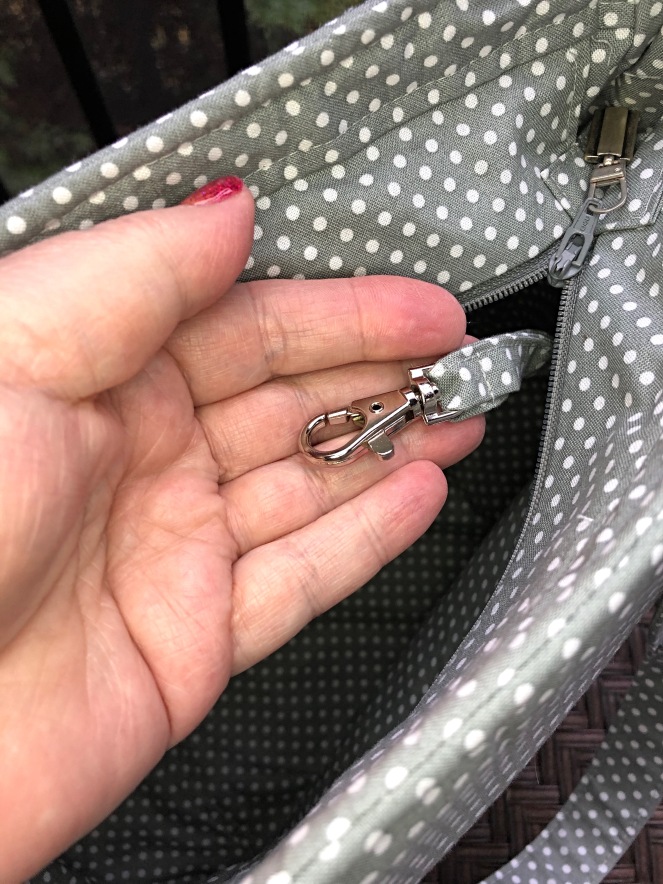
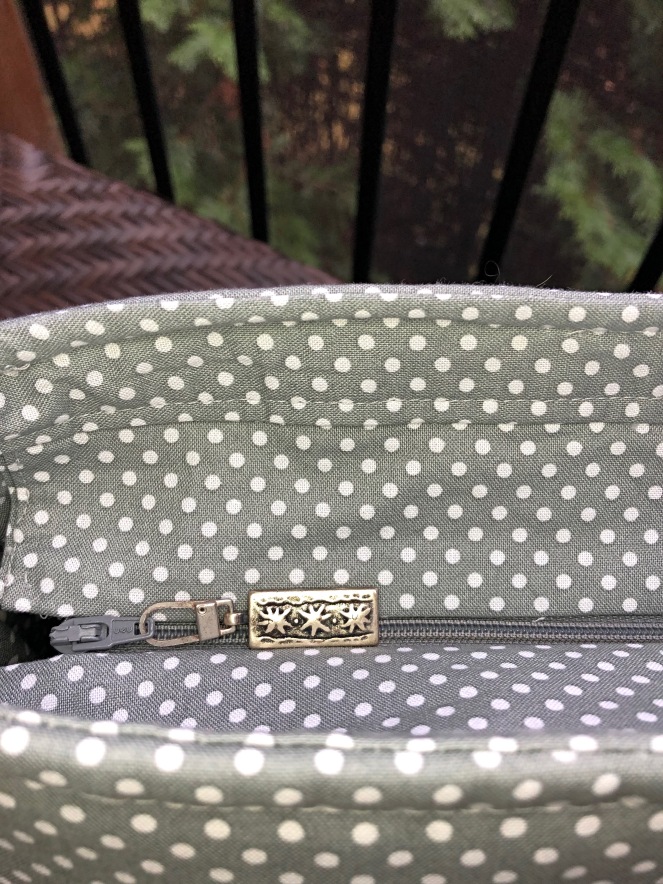
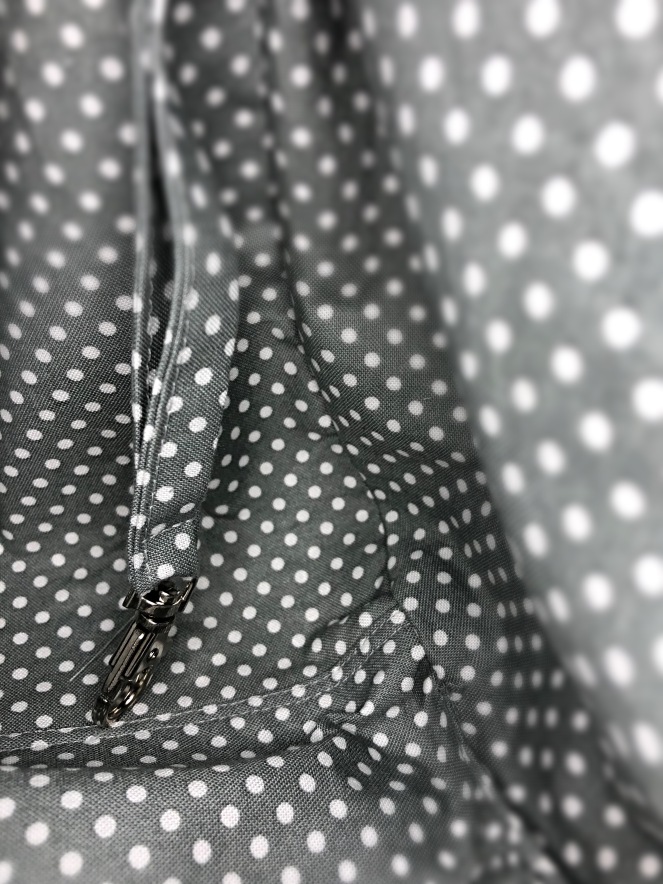
In travel totes, there is often a place to attach keys, so I stitched a tether into the lining seam and used a silver clasp at the end. The tether is long enough that, when attached, keys will sit on the bottom of the bag or go into the interior zipper compartment.
 And then I used a zipper charm on the main zipper. (Gee, now I’m wishing I used that bright pink zipper on the top!)
Conclusion
A completely enjoyable make. There’s only one thing I would change the next time and that would be to make the straps about 4″ longer. Total time spent (not including a trip back to the fabric store) was about 7 hours. I’m already thinking about the next one 😉


Beautiful tote! Now you’ve got me wanting to make one.
LikeLiked by 1 person
Thanks, Lisa! Patsy’s instructions in the class last Spring really helped. I’m pleased with how it turned out 🙂
LikeLike
Beautiful tote! Now you’ve got me wanting to make one.
LikeLike
Beautifully made! And I love your choice of the print 🙂 . I’m inspired to make one myself.
LikeLiked by 1 person
Thank you! I hope you will make one. Does a new purse bring riches for the new year? 😉
LikeLike
Great job! The outer main fabric is so cute! I have yet to make a Swoon bag but there are quite a few I want to try.
LikeLiked by 1 person
Nikki, thank you! I hope you’ll try a bag soon. Sewing seems to be more relaxing when you don’t have to worry about the fit – LOL!
LikeLiked by 1 person