A couple of years ago I started using a sleep mask because I wasn’t feeling particularly rested. Our bedroom is lit up like a Christmas tree every night with lights on monitors, bedside clocks, motion sensors for the cats, etc. and I kept reading that ambient light diminishes sleep. The mask improved my sleep so much that I decided to make up some to give as Christmas gifts.
There are different styles of masks but the one I made is based on a purchased mask (as opposed to the cheap ones the airlines give you). It is designed to block light well. It’s lined, and the bottom half of the mask has batting that fills in the concave areas of the face around the nose and cheekbones.
Supplies
This project is great for scraps!
- Fabric for the front (I used quilting cotton) – 6″ x 14″ is plenty
- Fabric for backing (this example uses a lightweight fleece, but you could also use flannel or any fabric that will be soft against the face) 10″ x 14″
- Fusible fleece
- Lightweight batting
- Elastic (I prefer at least 3/8″ wide)
A pattern is attached below. Print on legal size (8 1/2″ x 14″) paper at 100 (do not shrink to fit).
Steps
First, cut your materials
- Main fabric: Cut 1 of the main pattern piece
- Backing: Cut 1 piece of main pattern piece + 1 piece of the half backing
- Fusible fleece: Cut 1 of the main pattern piece
- Lightweight batting: cut 1 strip about 2″ wide x 6 inches long
- Elastic – cut to comfortably fit (anywhere from 12″ to 14″).
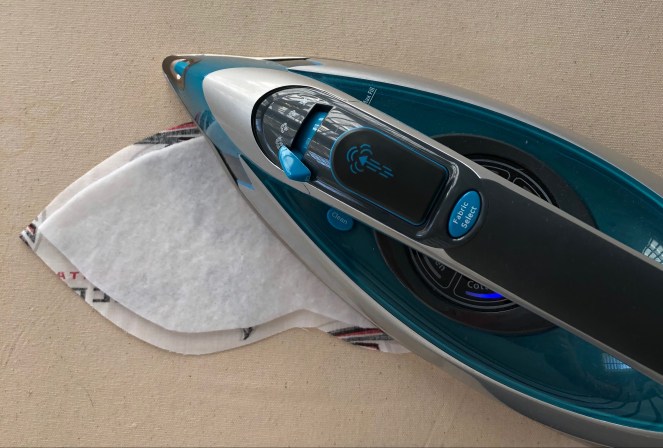
Trim about 1/4″ off of the edges of the fusible fleece all the way around, then fuse to the wrong side of the main fabric.
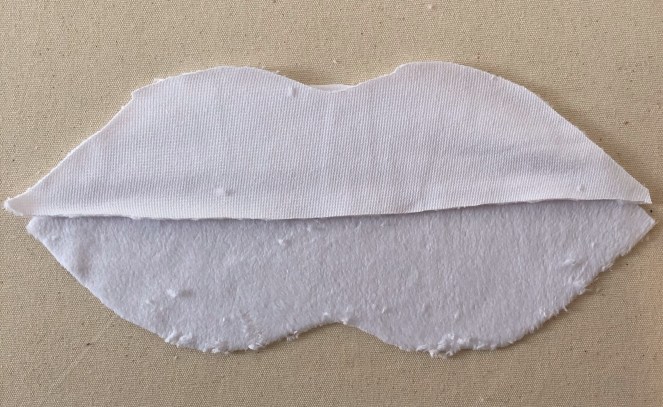
Place the half backing piece against the main backing piece, right sides together. You’re creating a pocket for the batting that will block out the light around your nose. Stitch on the stitch line.
Place the strip of batting in between the layers of the backing fabric.
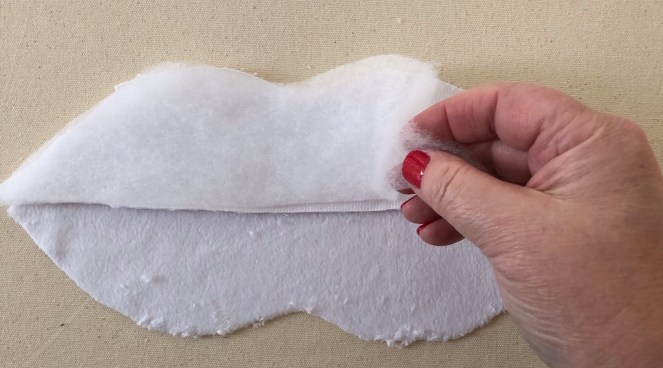
Pin the edges of the backing pieces together along the lower edge, encasing the batting in between.

Pin the backing pieces to the main fabric, right sides together.

Stitch along the lower edge only. (I serge this edge.) The batting is now encased between the front and back pieces.

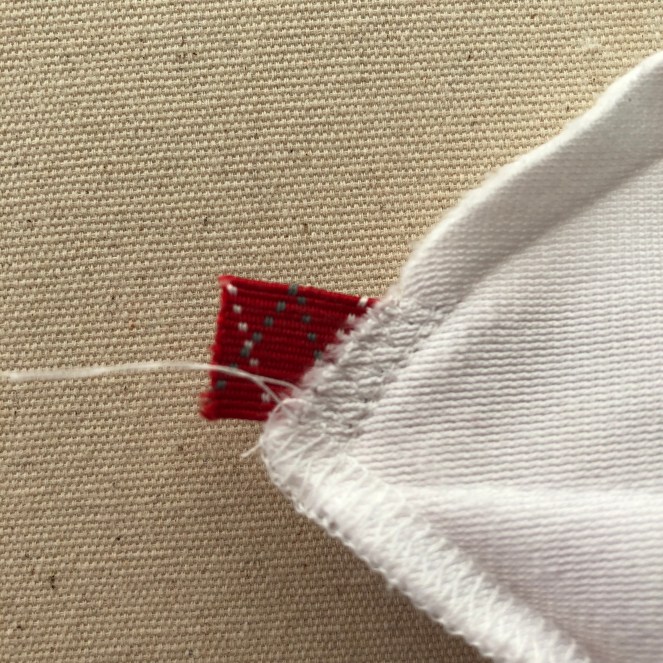
With the rights sides still together, place the elastic in between the front and back pieces, placing the end of the elastic at the lower edge that you just stitched. Make sure the elastic is not twisted.
Using your sewing machine, stitch around the top edge of the mask, leaving a space open for turning. Add reinforcement stitches over the elastic edges.
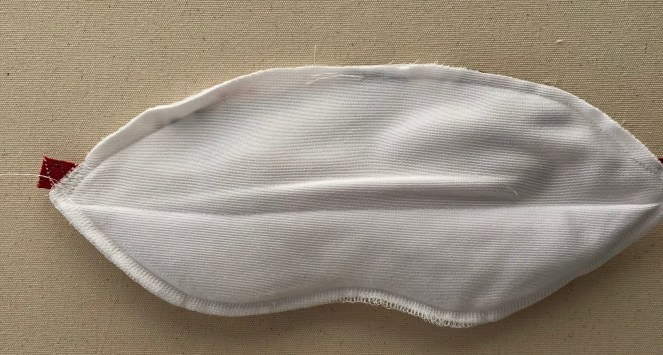
Turn the mask right side out. Press


Edge stitch the upper edge. This will finish the open edge where you turned the mask, and also provide additional stability at the elastic edge.
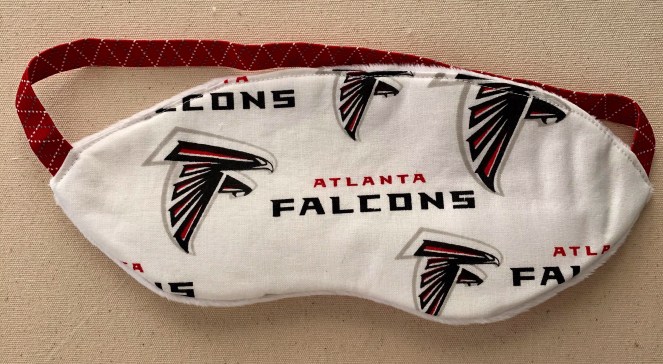

And you’re done! If you’re an NFL football fan you will understand when I say the only way my team (the Falcons) will get a Super Bowl trophy is in my dreams, so this is quite appropriate this year 😉
I hope this pattern and instructions are helpful to you. Sweet dreams!
