I’ve admired this pattern for a long time and it was on my wish list. When Pattern Review offered me a free pattern as a thank you for managing a contest, I finally got my Kalle!

The Closet Case Kalle is another one of those patterns that shows up regularly on Instagram. I follow and post under the hashtag #sewover50 and have noticed that many are made and modelled by women closer to my age. It’s motivating to see sewists who resemble me making and wearing specific patterns!
So my Kalle … One Monday in March I realized that I needed something new for my ASG chapter’s annual spring event that Saturday. I had to speak to the group, and as this was a sewing event I couldn’t exactly run over to the mall, right?
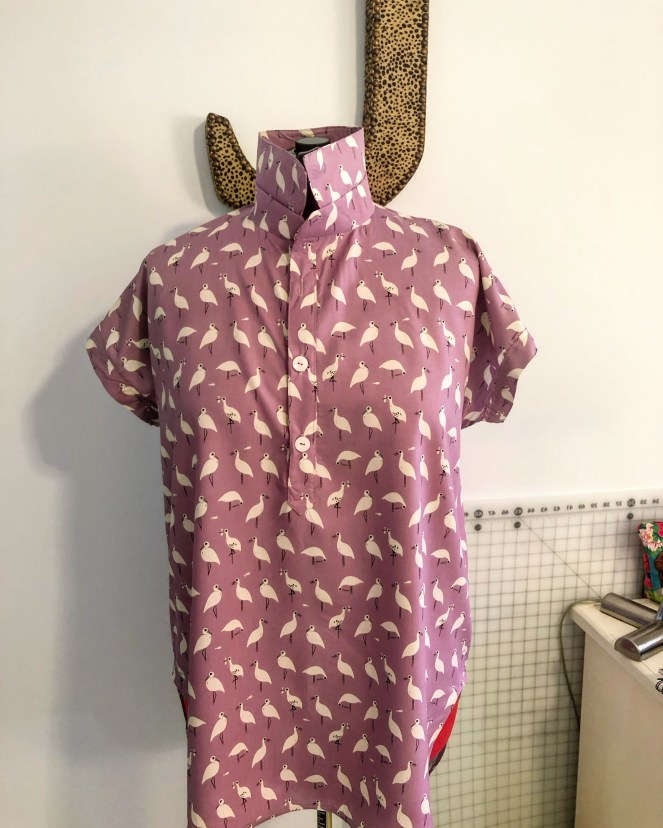
 The fabric I used was From Porto with Love –Snack Time, a Cotton + Steel Rayon purchased at the C+S Designer sale here in Atlanta last year. Isn’t this fabric just beautiful? It drapes so nicely and washes well. And it feels so smooth against the skin, which makes it a good choice for warmer weather.
My only hesitation about the fabric was that it looks a bit like storks, but it’s not. It’s big birds with fish in their beaks.
The sewing was relatively uneventful except for a couple of things:
- The Pellon interfacing I used would not fuse. I’d had a similar issue with this same cut of interfacing last year when I made up my handbag but thought the problem was with the fabric (a cotton duck). After almost putting my whole body weight on the iron, I discovered the only way this would fuse was by soaking the interfacing in water for about 20 minutes, then giving it a good hard press while the interfacing was dripping wet. Yes, the remaining interfacing is in the bin.
- Apparently, I don’t read instructions well because I screwed up the burrito method for the yoke and wound up losing 3/8″ from the bodice front which meant trimming the sleeves and collar.
I did not like the instructions for the hem. Using the pattern piece I cut bias for facing the hem (7/8″ wide). This narrow bias winds up being difficult to work with since there isn’t much fabric to fold and manipulate. Were there not silicone fingers nearby, I would have thrown in the towel. The resulting hem is beautiful, it’s even and crisp but if I use bias tape again for this pattern I will definitely cut it considerably wider (at least 1 1/2″).

I was also confused by the instructions for the sleeve cuff. I think the instructions are likely good but the way they’re printed it is difficult to see exactly how to finish. Here’s what I did:
- Stitched the front and back sleeve cuffs together. Pressed open the seams.
- Folded the cuffs wrong-side together, then pressed.
- Turned under the long unnotched edge of the inside cuff and pressed under 5/8″
- Stitched the cuff to the armscye, right sides together, leaving the inside cuff edge free
- Pressed the seam allowance towards the cuff, then trimmed
- Hand stitched the inside cuff edge to the cuff

Whew! I finished the top about 35 minutes before I had to head out to my event, which means there was no time for pictures!

Not a great photo, however, the drape of the fabric is evident.
The guest speaker at our event was the wonderful Linda Lee of The Sewing Workshop. One of the garments Linda highlighted had been made by an ASG Atlanta member using a Sewing Workshop pattern. As our member modelled her top Linda talked about the fabric. She explained that you can flip around border prints in non-stretch fabrics so the border is horizontal rather than vertical. My ears perked up …

The week prior I’d bought a length of border print at Hobby Lobby and it was washed and ready to be cut. So within twelve hours of finishing the mauve version, I was cutting number two.
The only challenge relating to the border print was the high-low hem. So I needed to alter the length of the shirt tails to even out the shirttail hem. This was an easy adjustment that entailed cutting the back the same length as the front, then smoothing to curve.


The placket and collar instructions are very good. I’ll definitely use these again on other projects.

The second version was quick and easy to sew because I took the time to READ the instructions for the burrito, and also skipped the bias on the hem and instead just folded and stitched a narrow hem.

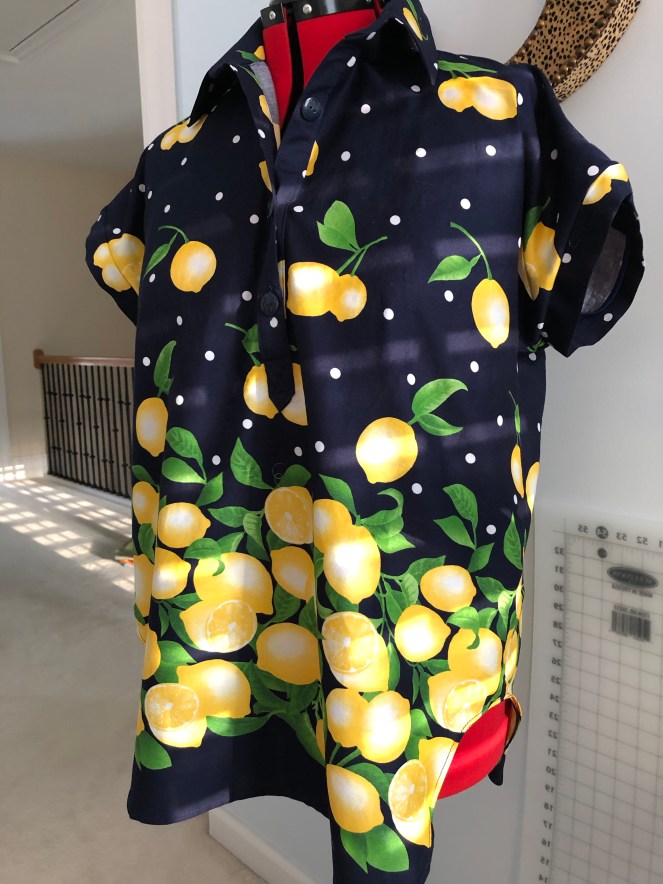
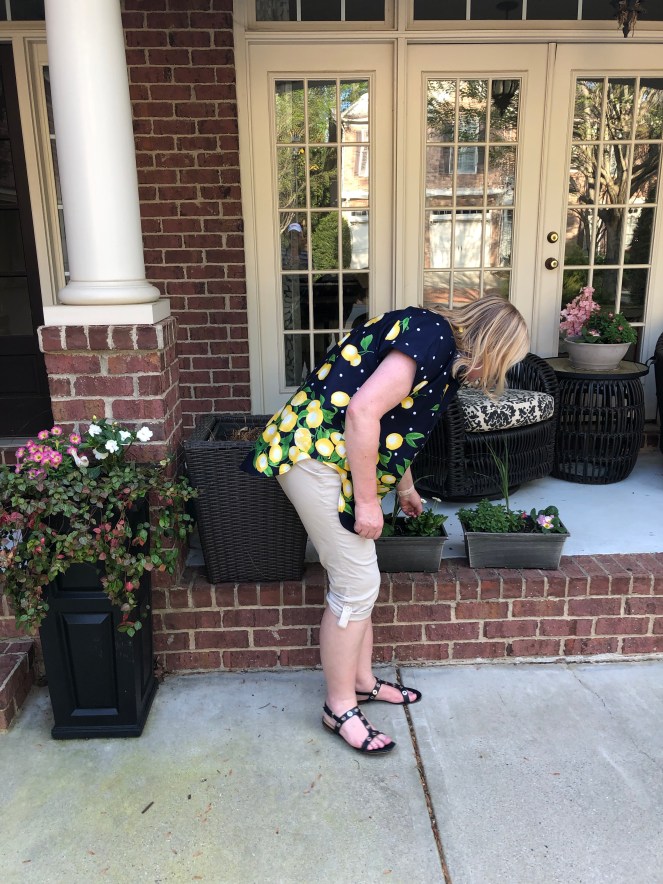
Doesn’t this look like spring? If the whole top was yellow it would definitely require sunglasses, but with the colour mostly located on the lemon border, it’s not blinding. But then I came of age in the 80s so I’m not afraid of a little colour 😉
I’m considering making another version in white poplin or shirting. What do you think?


Wow! You did an amazing job on these! They look so high fashion! Very classy! I love them. Much nicer than department store! Great choices of fabric too!
LikeLiked by 1 person
Thanks so much!
LikeLike
Love both of them, wonderful fabric and beautifully made tunics. Thanks for sharing your views on making up the tops, will get this pattern and have a go. I think you should go ahead with a white version to go with patterned skirts and crops/trousers.
LikeLiked by 1 person
Thanks, Diana! The white version is high on my sewing list, if I can find the right fabric. Hope it winds up being a good pattern for you, too.
LikeLike
Hi Janine! Pretty tops! Such pristine sewing. Lovely as always! —Vivmom
LikeLiked by 1 person
Thanks Viv :). I think the pristine must be a camera trick! LOL!
LikeLike
I love both versions of this pattern. I made a dress using this pattern. Some of her techniques for sewing the collar and placket were different from some other methods I have used; I do like them. Glad you posted your review on PR as it is a boost for me to find the right fabric to make a tunic version.
Enjoy wearing the tunics and I think white will be lovely for this and will work with all colors.
LikeLike
I like your purple version, but those lemons!! LOVE.
LikeLike