So occasionally we all make something that isn’t completely successful. And the Seamwork Magazine Addison top was one of those projects for me.
Seamwork is an online magazine. For a low subscription price you have access to the magazine, plus you earn credits towards purchasing patterns. The patterns are downloaded then printed, cut and taped together. For my first make, I chose Addison, which needs about 32 pieces of letter-sized paper. After spending a full evening cutting and taping, I discovered that my local UPS store will print for me on big paper. I’ve tucked that in the back of my mind for the next downloaded pattern project.
This pattern appealed to me because I wanted something loose and cool to take on the Christmas cruise or wear during the never-ending Atlanta summer. I also love the idea of little collars, although in retrospect, they don’t love me.

FABRIC: The suggested fabrics were ‘any lightweight woven fabrics, such as cotton voile, lawn, rayon, linen, or cotton blends.’ I used a lightweight poplin from Fabricmartfabrics.com, picked because I thought it would go well with the fabrics I had selected for my short skirts. Plus, coral is a great colour for warm weather.
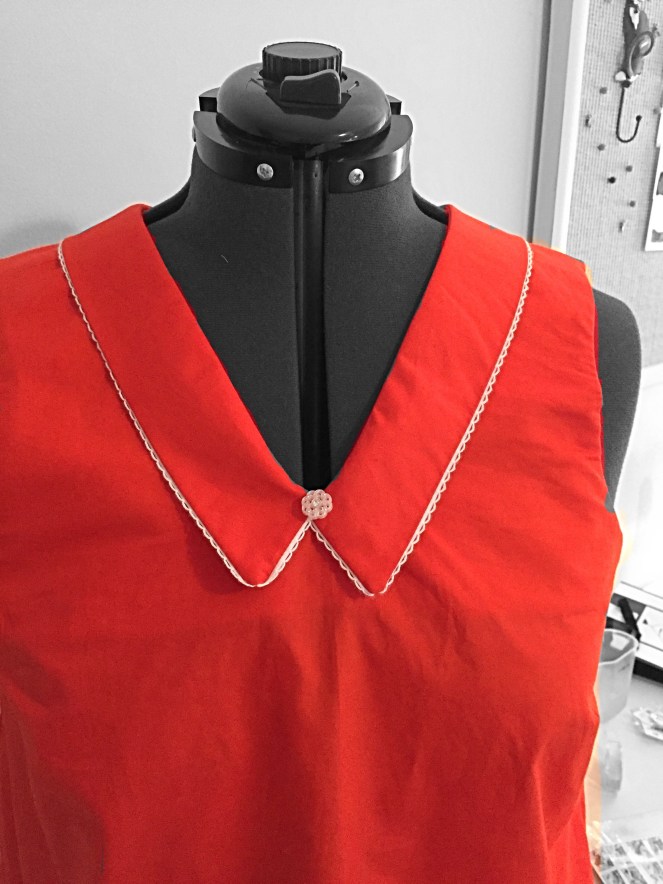
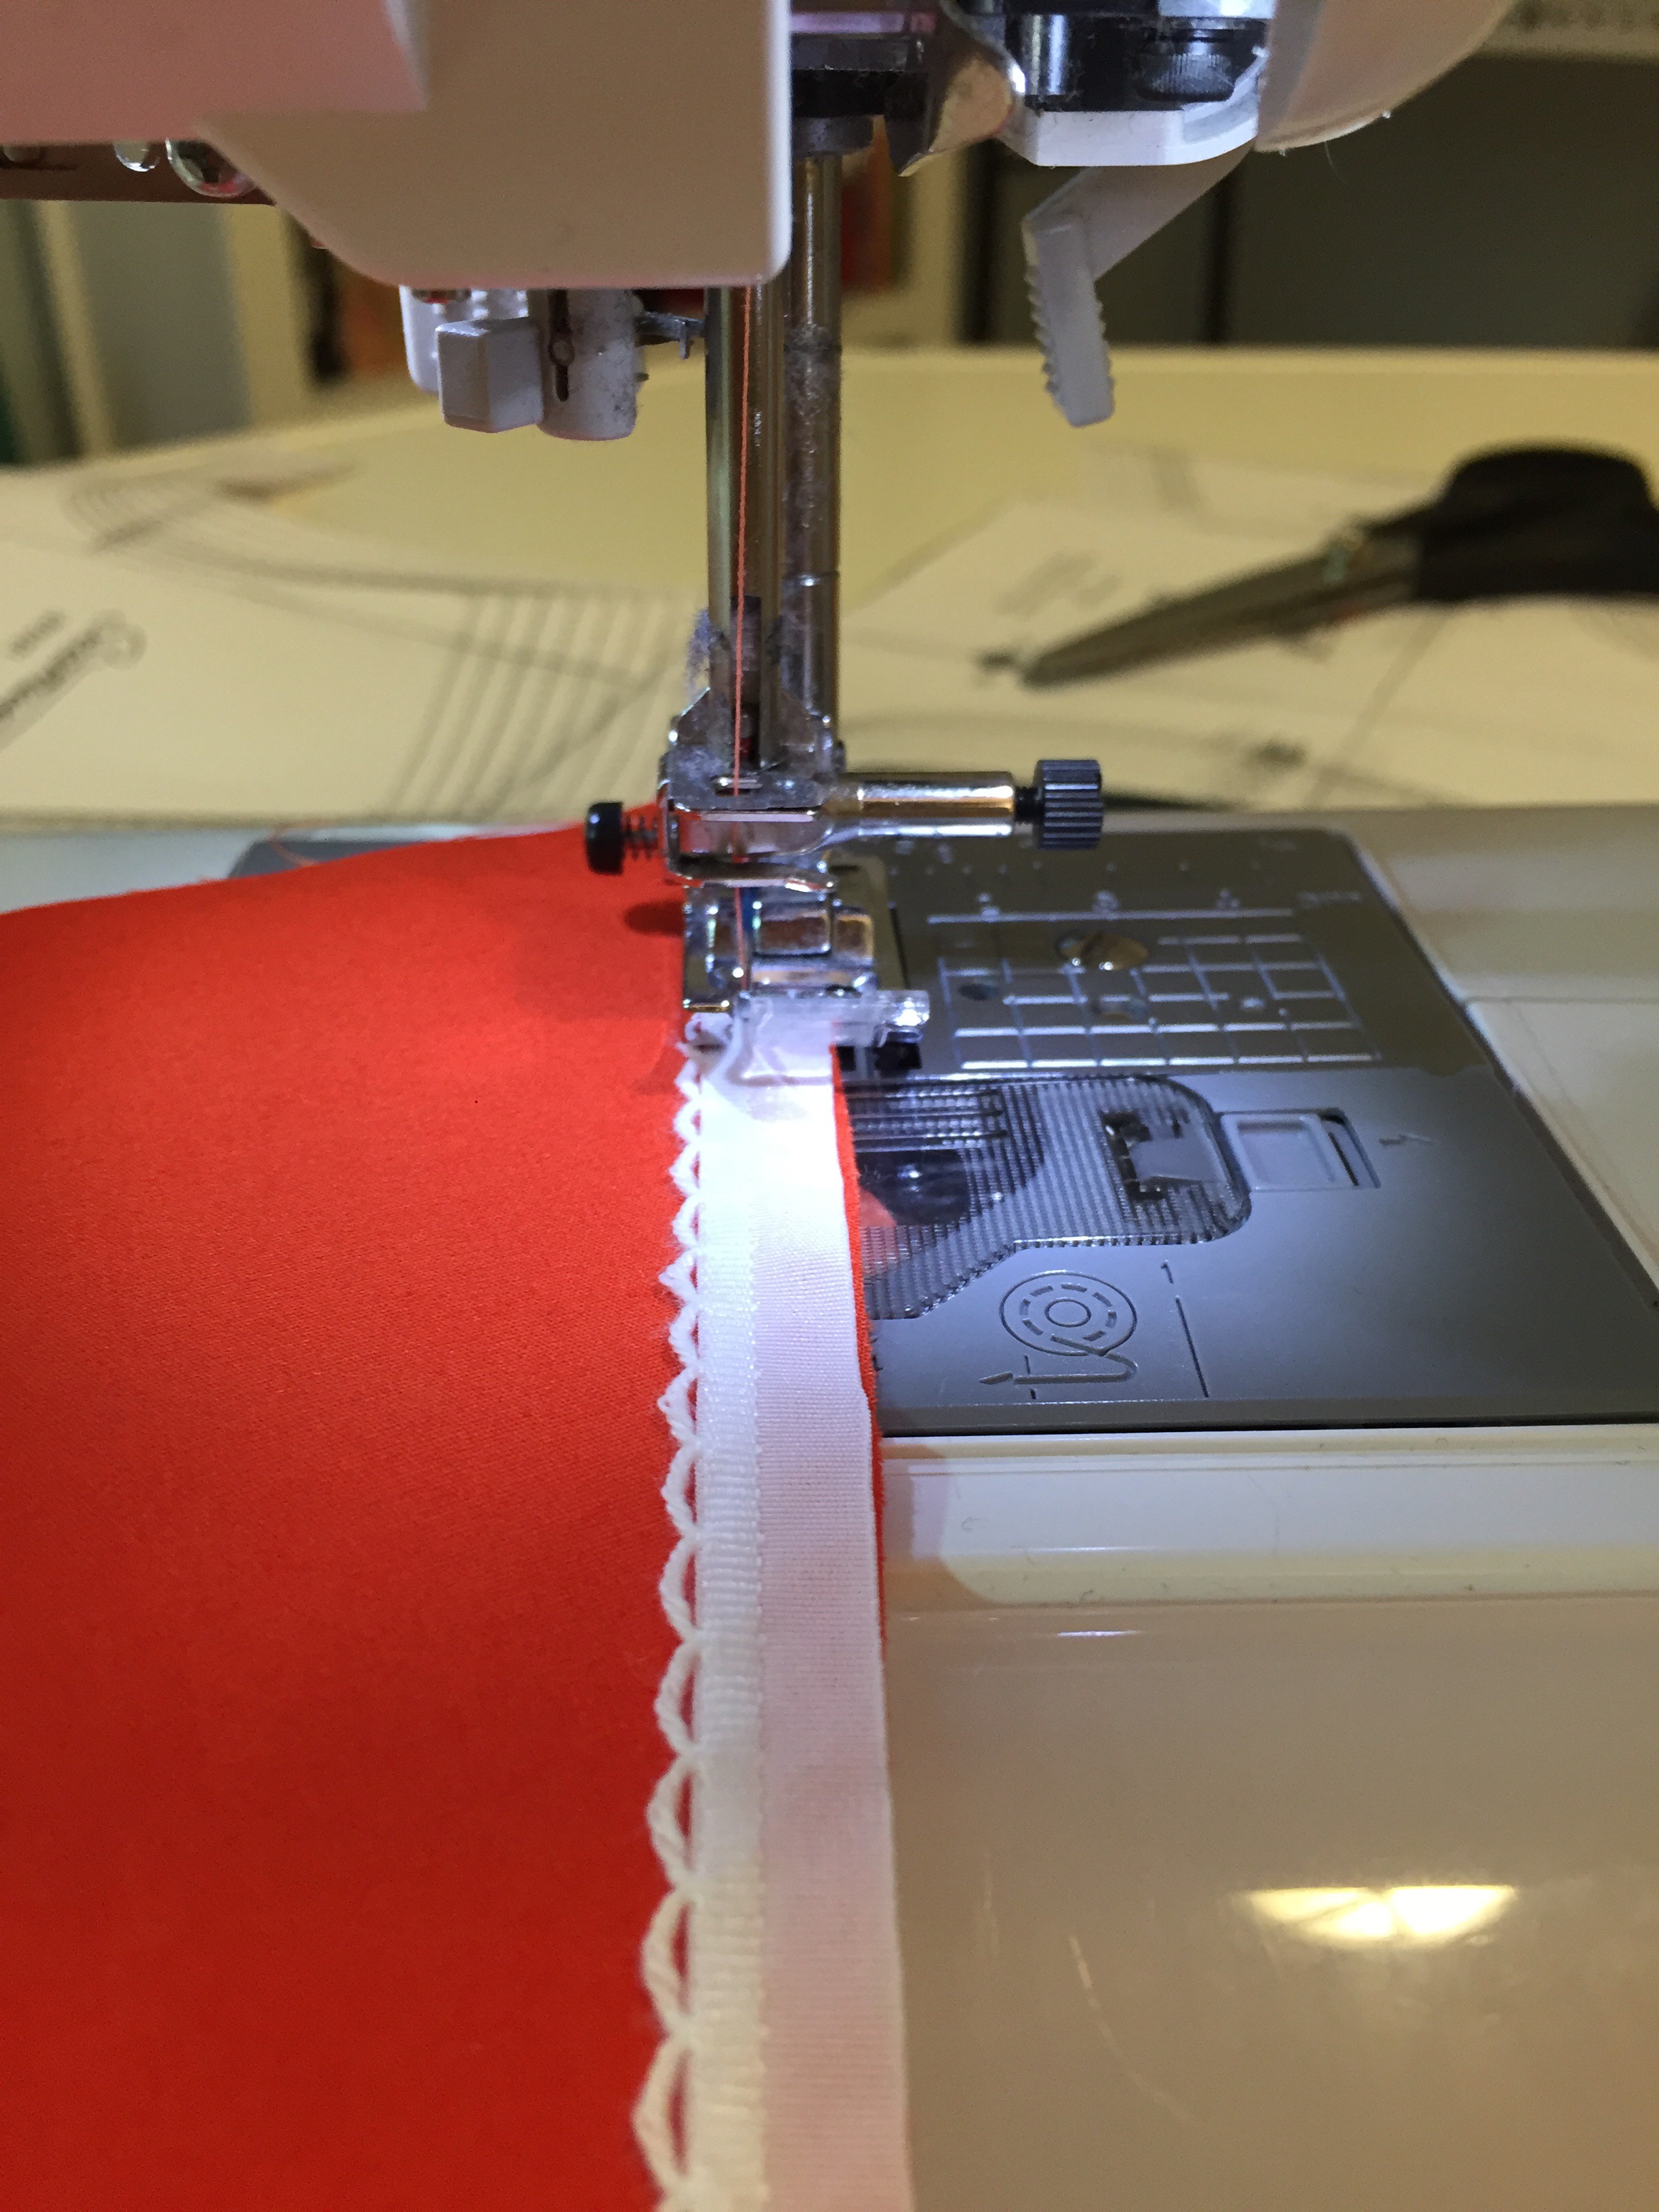
To add some interest, I included a scalloped trim in the collar (source: Nicholas Kniel)
ADJUSTMENTS: I cut and sewed a size 16, based on my bust measurement. The bust dart was moved slightly lower (gravity takes its toll!). After sewing, I shaved about 1″ off of the armscye at the side seam which stopped most of the side gaping. (Next time I’ll do an FBA.)
BURRITO METHOD: I was confused by the instructions on attaching the facing to the top. Turns out that the method used is the much-mentioned “Burrito” and since I don’t eat Mexican food I wasn’t at all sure of what to do. Pattern Review has a great video that pretty much perfectly demonstrated this method, and I now see why this is a favoured way to finish armholes without hand stitching. Another tool in my arsenal 😉
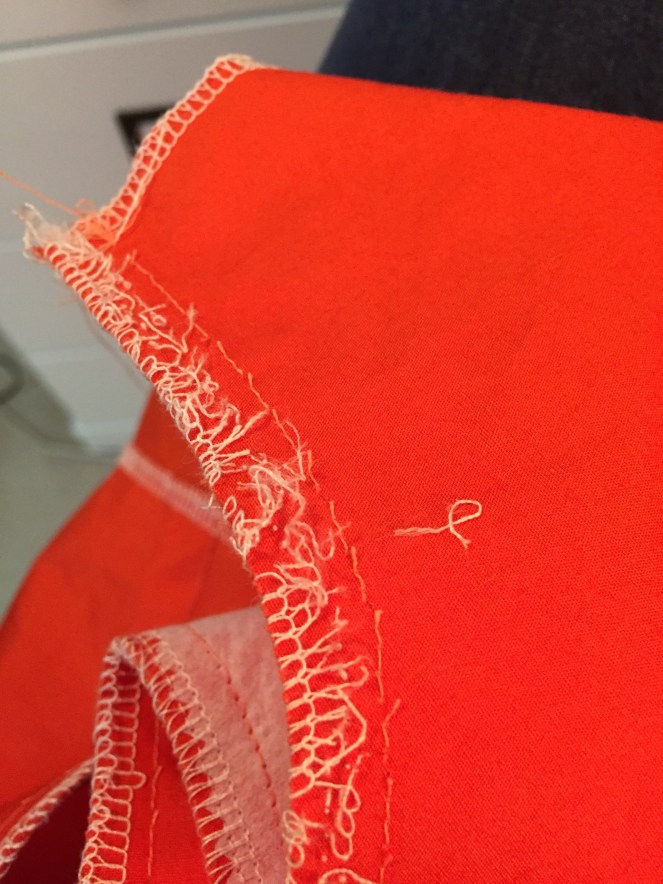
PRE-FINISHING SEAMS? The pattern instructions suggest that you finish the seams before stitching. As I had the serger threaded up, I figured I would try this on the side and shoulder seams. Two problems with this: I am not a super precise stitcher – so wound up shaving off some of the fabric when I serged. Second problem was that this removed my clipped markings. As these were both straight seams, probably a case of no harm, no foul, but I don’t think I’d do this again.
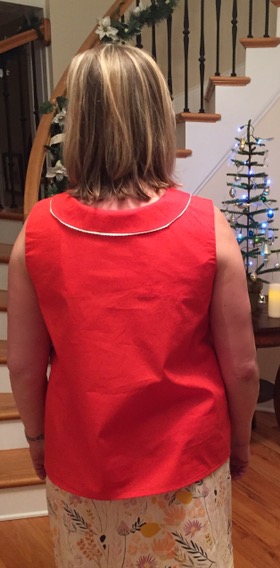
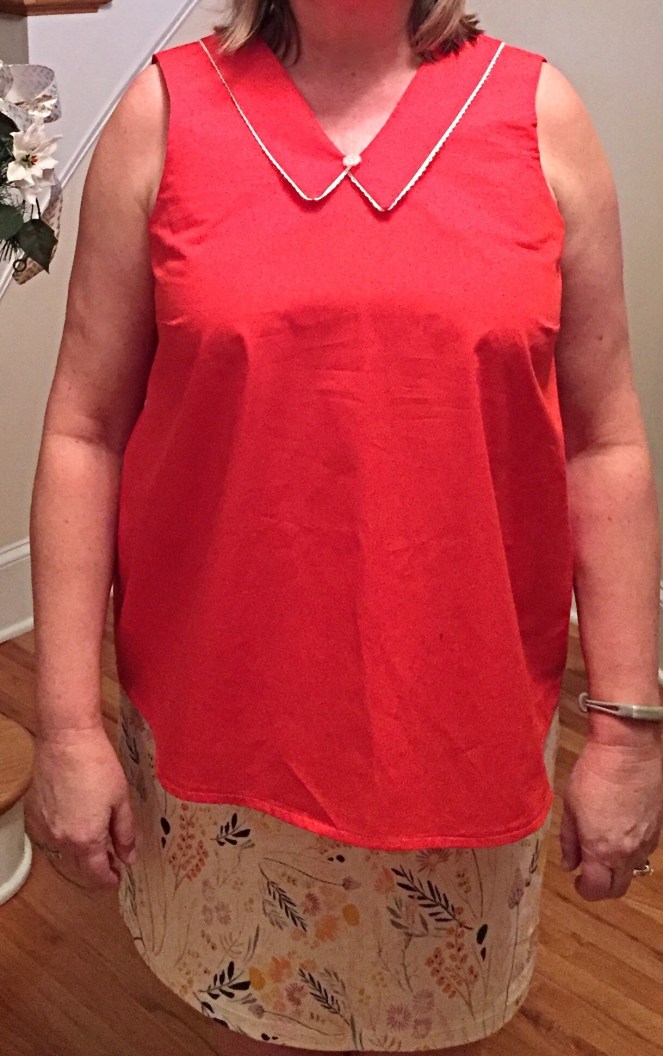
RESULT: I am not thrilled with the top, primarily because of my fabric choice. The poplin is just a bit too firm for a top that needs to be flowy. So it really hangs like a maternity top, instead of hanging straight like in the picture on the pattern. This seems to be exacerbated by interfacing the facing. More experienced sewers please weigh in. Would you interface the facing, or just go with the single layer?
I’m also not at all happy with the collar, primarily because the pattern calls for interfacing on both the top and bottom of the collar, which is too much. It’s too firm and doesn’t lie flat.
And the collar is complicated to get to match up. This is probably completely a case of user error. I plan to try to do some practice pieces with this collar using scraps of fabric because it’s a nice look.
All in all, the top is just okay. It will stay in my closet, but I doubt it will be worn much. Maybe I’ll run it through the wash several times to see if the interfacing and fabric soften up a bit.