In 2015 I bought some really beautiful 100% pure virgin wool in the perfect shade of grey. The fabric was expensive – the most expensive I’ve ever purchased, so I really hesitated when deciding how much to buy. I knew it would be perfect for a winter jacket, but didn’t have a pattern or an inkling of an idea so I bought 2 metres, thinking that would be enough for a jacket, like a short pea-coat or something.

When Pattern Review announced the Outerwear Contest late in the summer, I knew it was time to put this fabric to use! Throughout the summer I had searched for a jacket that could be made with just 2 meters of fabric. There wasn’t much out there. This wool was too heavy for a blazer or indoor type of jacket, and outerwear just requires more fabric. When the contest came along I checked out what other people were planning to make, a cape made the most sense because in this climate a cape is more useful than a heavy winter coat- so that was the choice.

PATTERN: New Look 6073
FABRIC: 100% pure virgin wool (Source: Olga’s Fabric Lane, Calgary)
LINING: Polyester Charmeuse (Source: Gail K Fabrics, Atlanta)
This is a straightforward pattern, and is generally very easy for beginners.
The outer shell is sewn first. I thought about making a toile but decided not to since it would be so easy to shape the wool as necessary (very simple, straight seams). You may notice that both the pattern line drawing and photo show relatively prominent shoulders. It looked not so good on my narrow shoulders.
After confirming my thoughts about the shoulders from the forum community on Pattern Review, I took my French Curve and shaved about an inch and a half off of the peak of each shoulder. Easy correction!
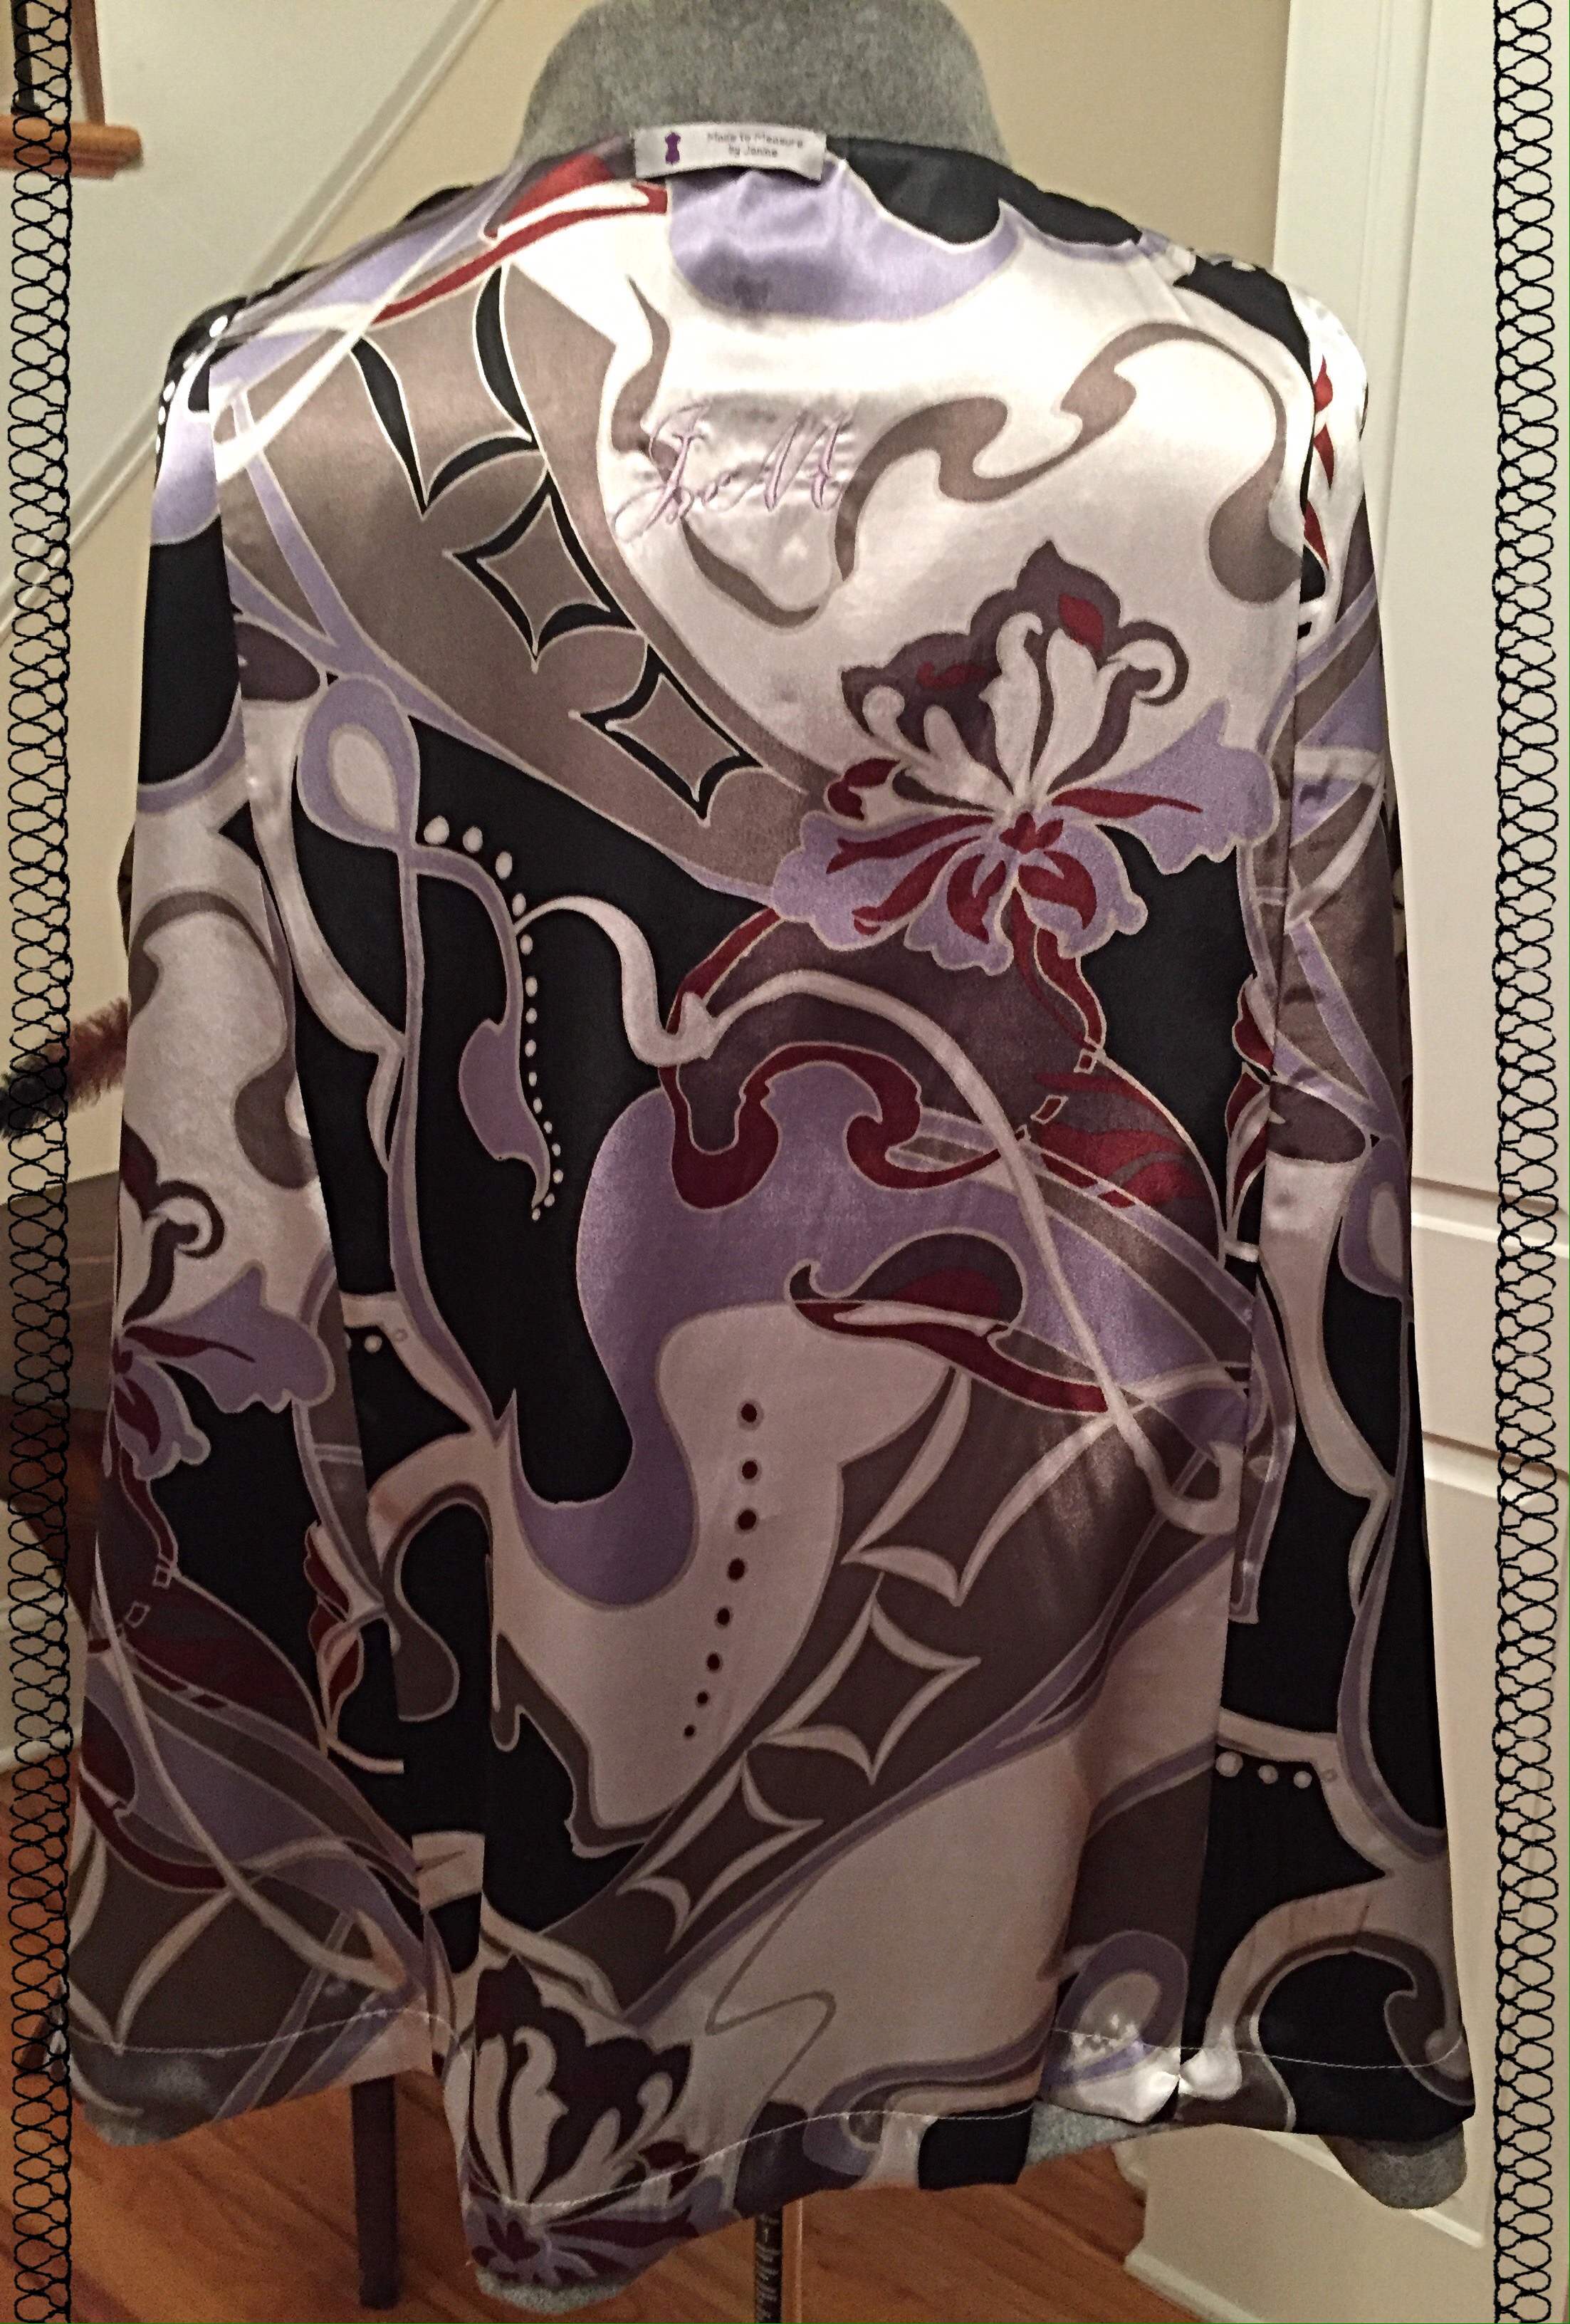
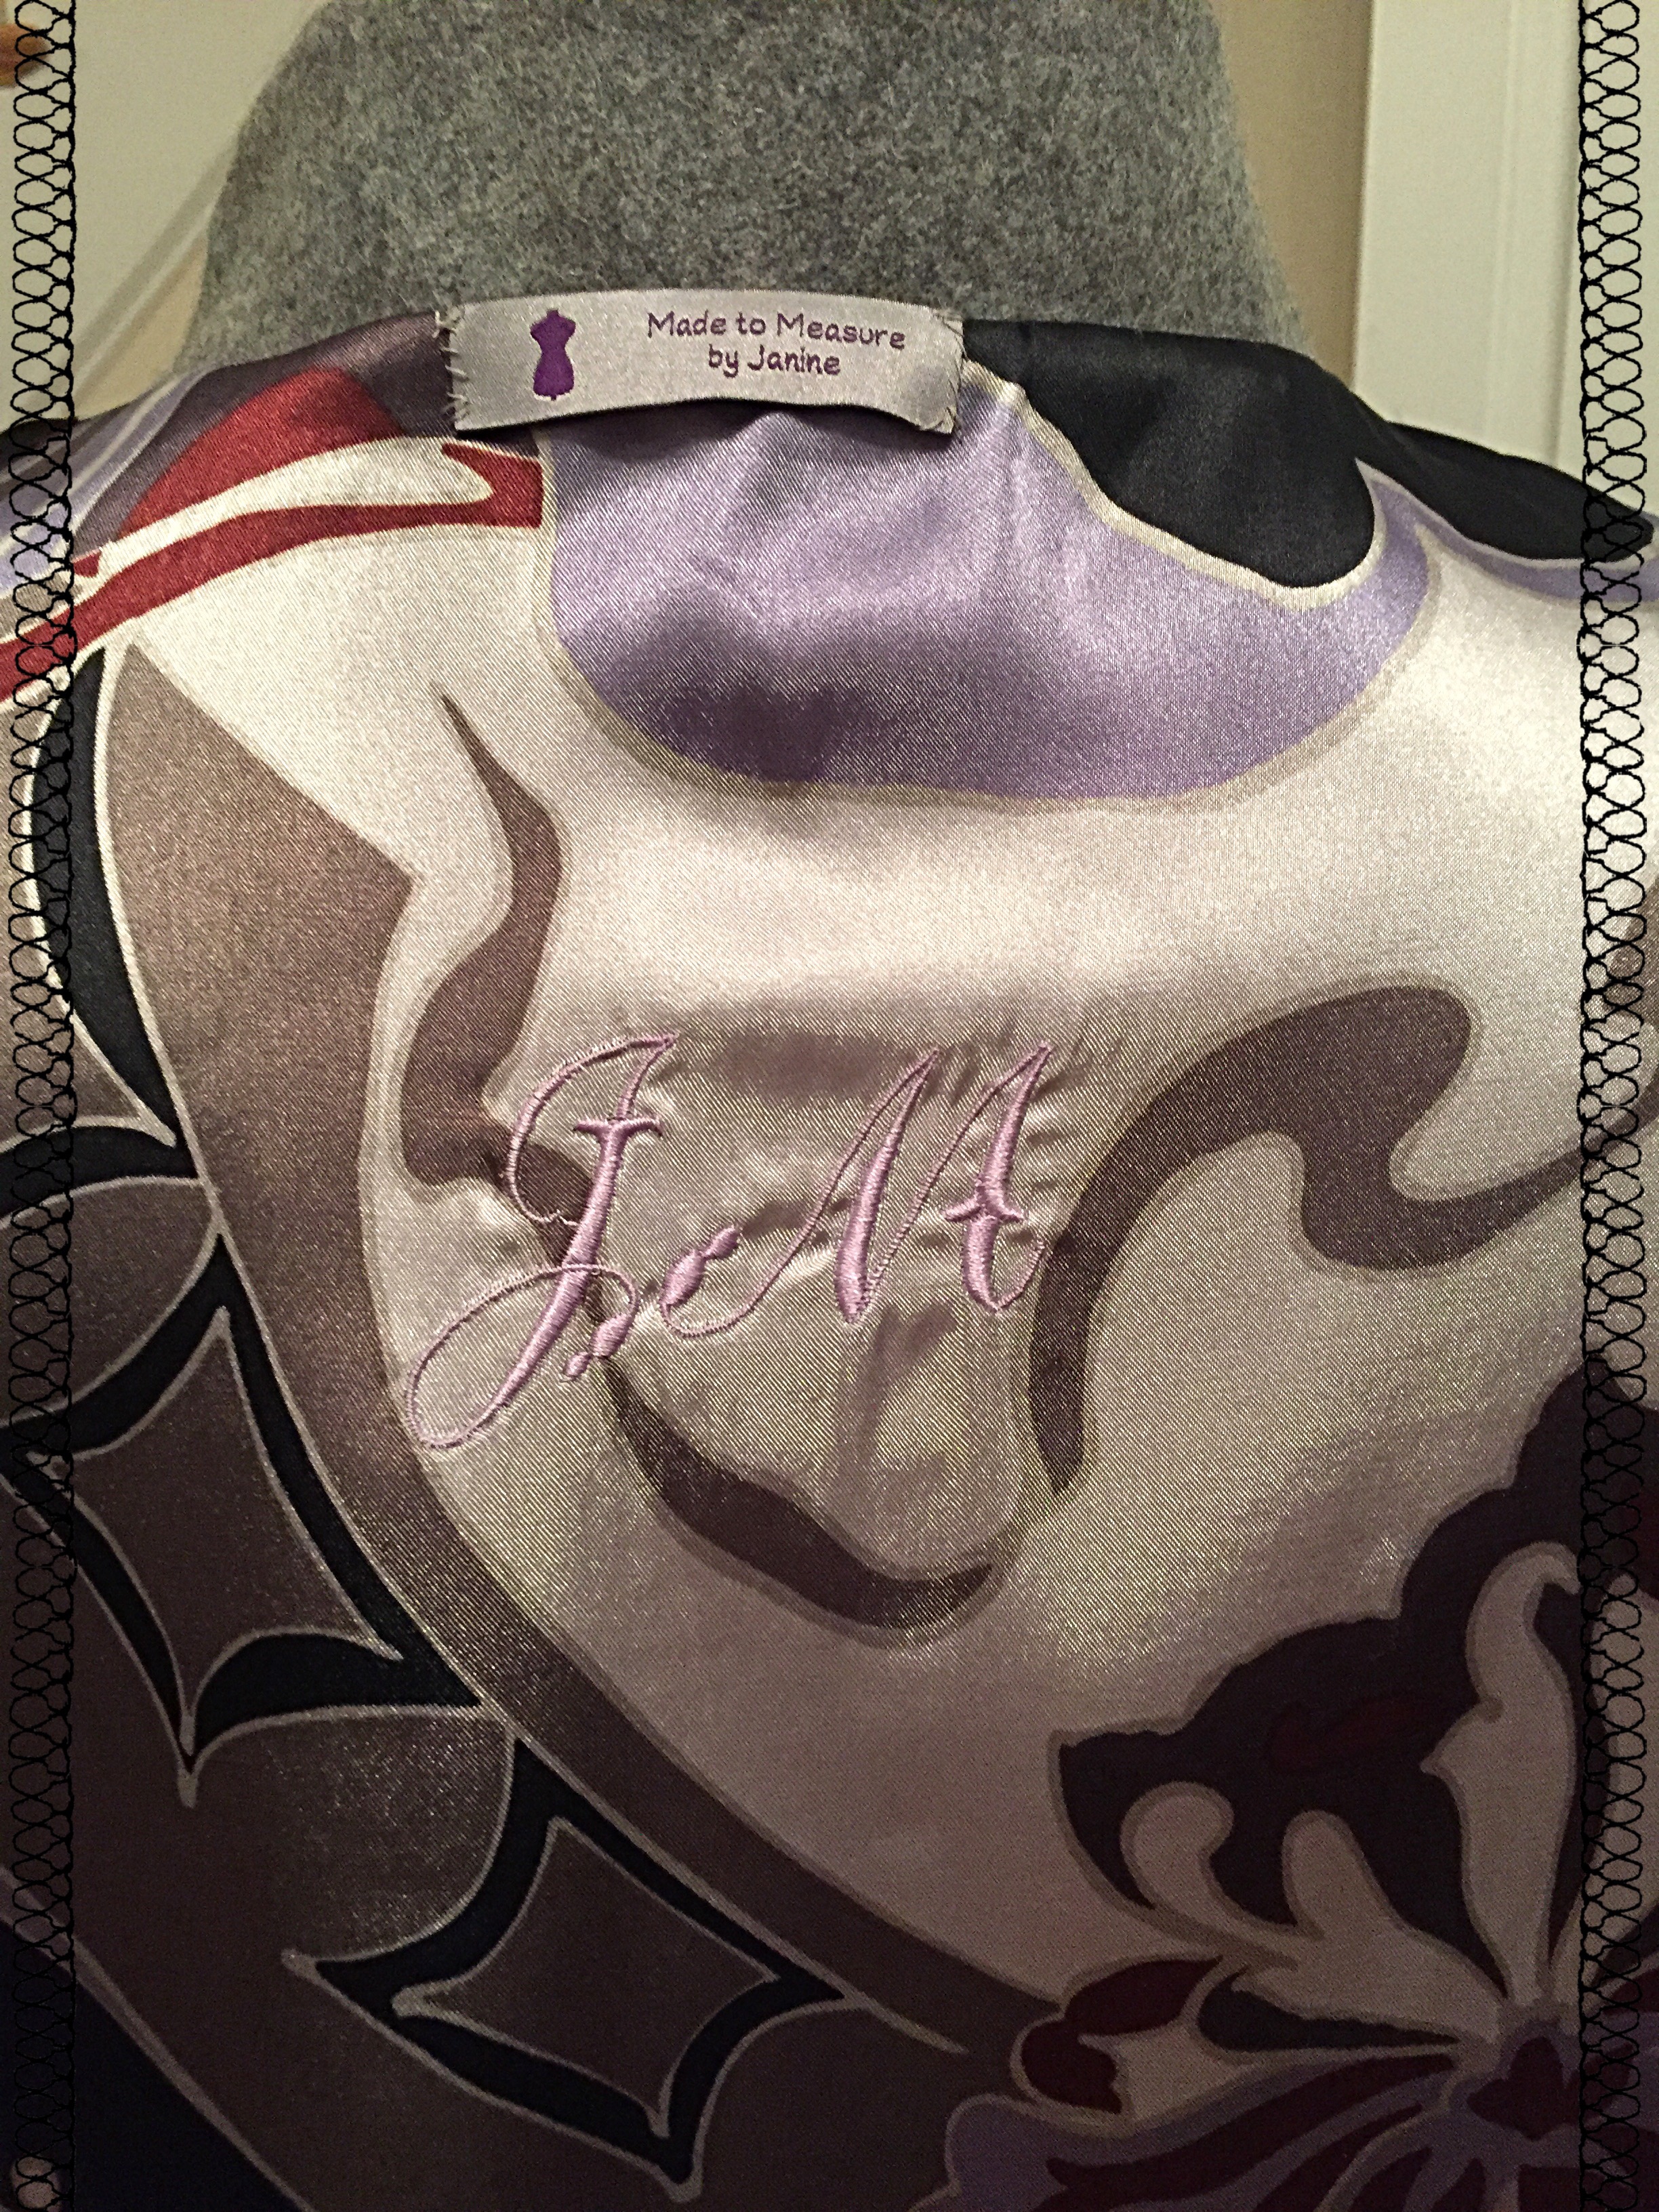
The next step was the lining, which was constructed just like the cape. But before the lining was inserted into the cape, I used my new embroidery machine to make a sort of a watermark. My mom had a couple of expensive winter coats purchased at a better ladies boutiques and her monogram was stitched on the inside of the lining. I always thought that was a really nice touch, so that’s just what I did!

After constructing the lining, I sewed and lined the hood. The hood was then basted on to the body of the cloak, and securely attached when the lining is added (more on that below). Then looked at it about a hundred times over 24 hours. Did I like it? Did I hate it? It’s usually a bad sign when I have to ask.

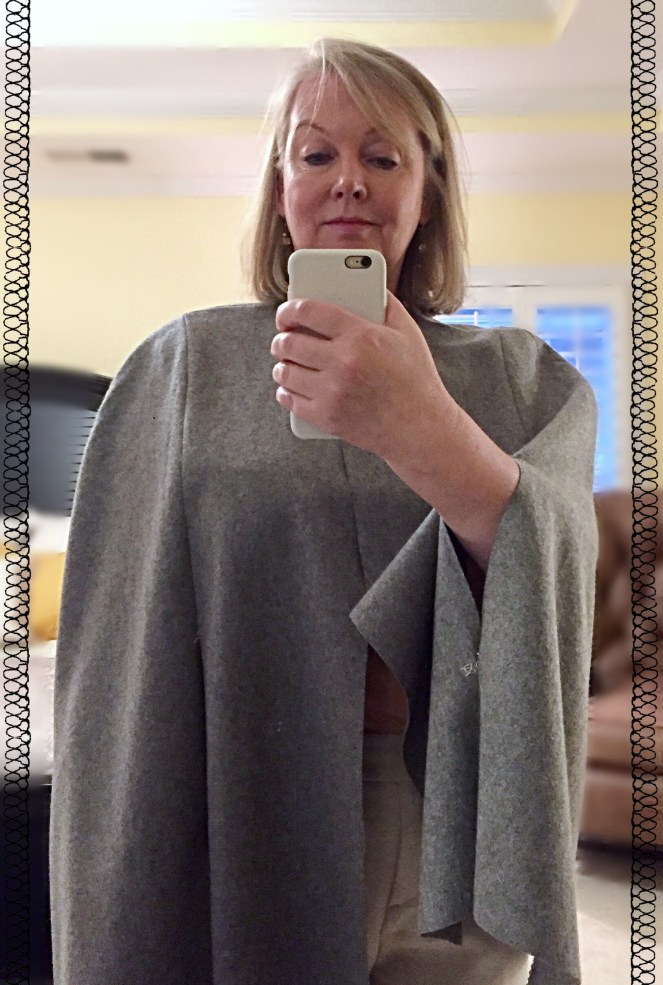
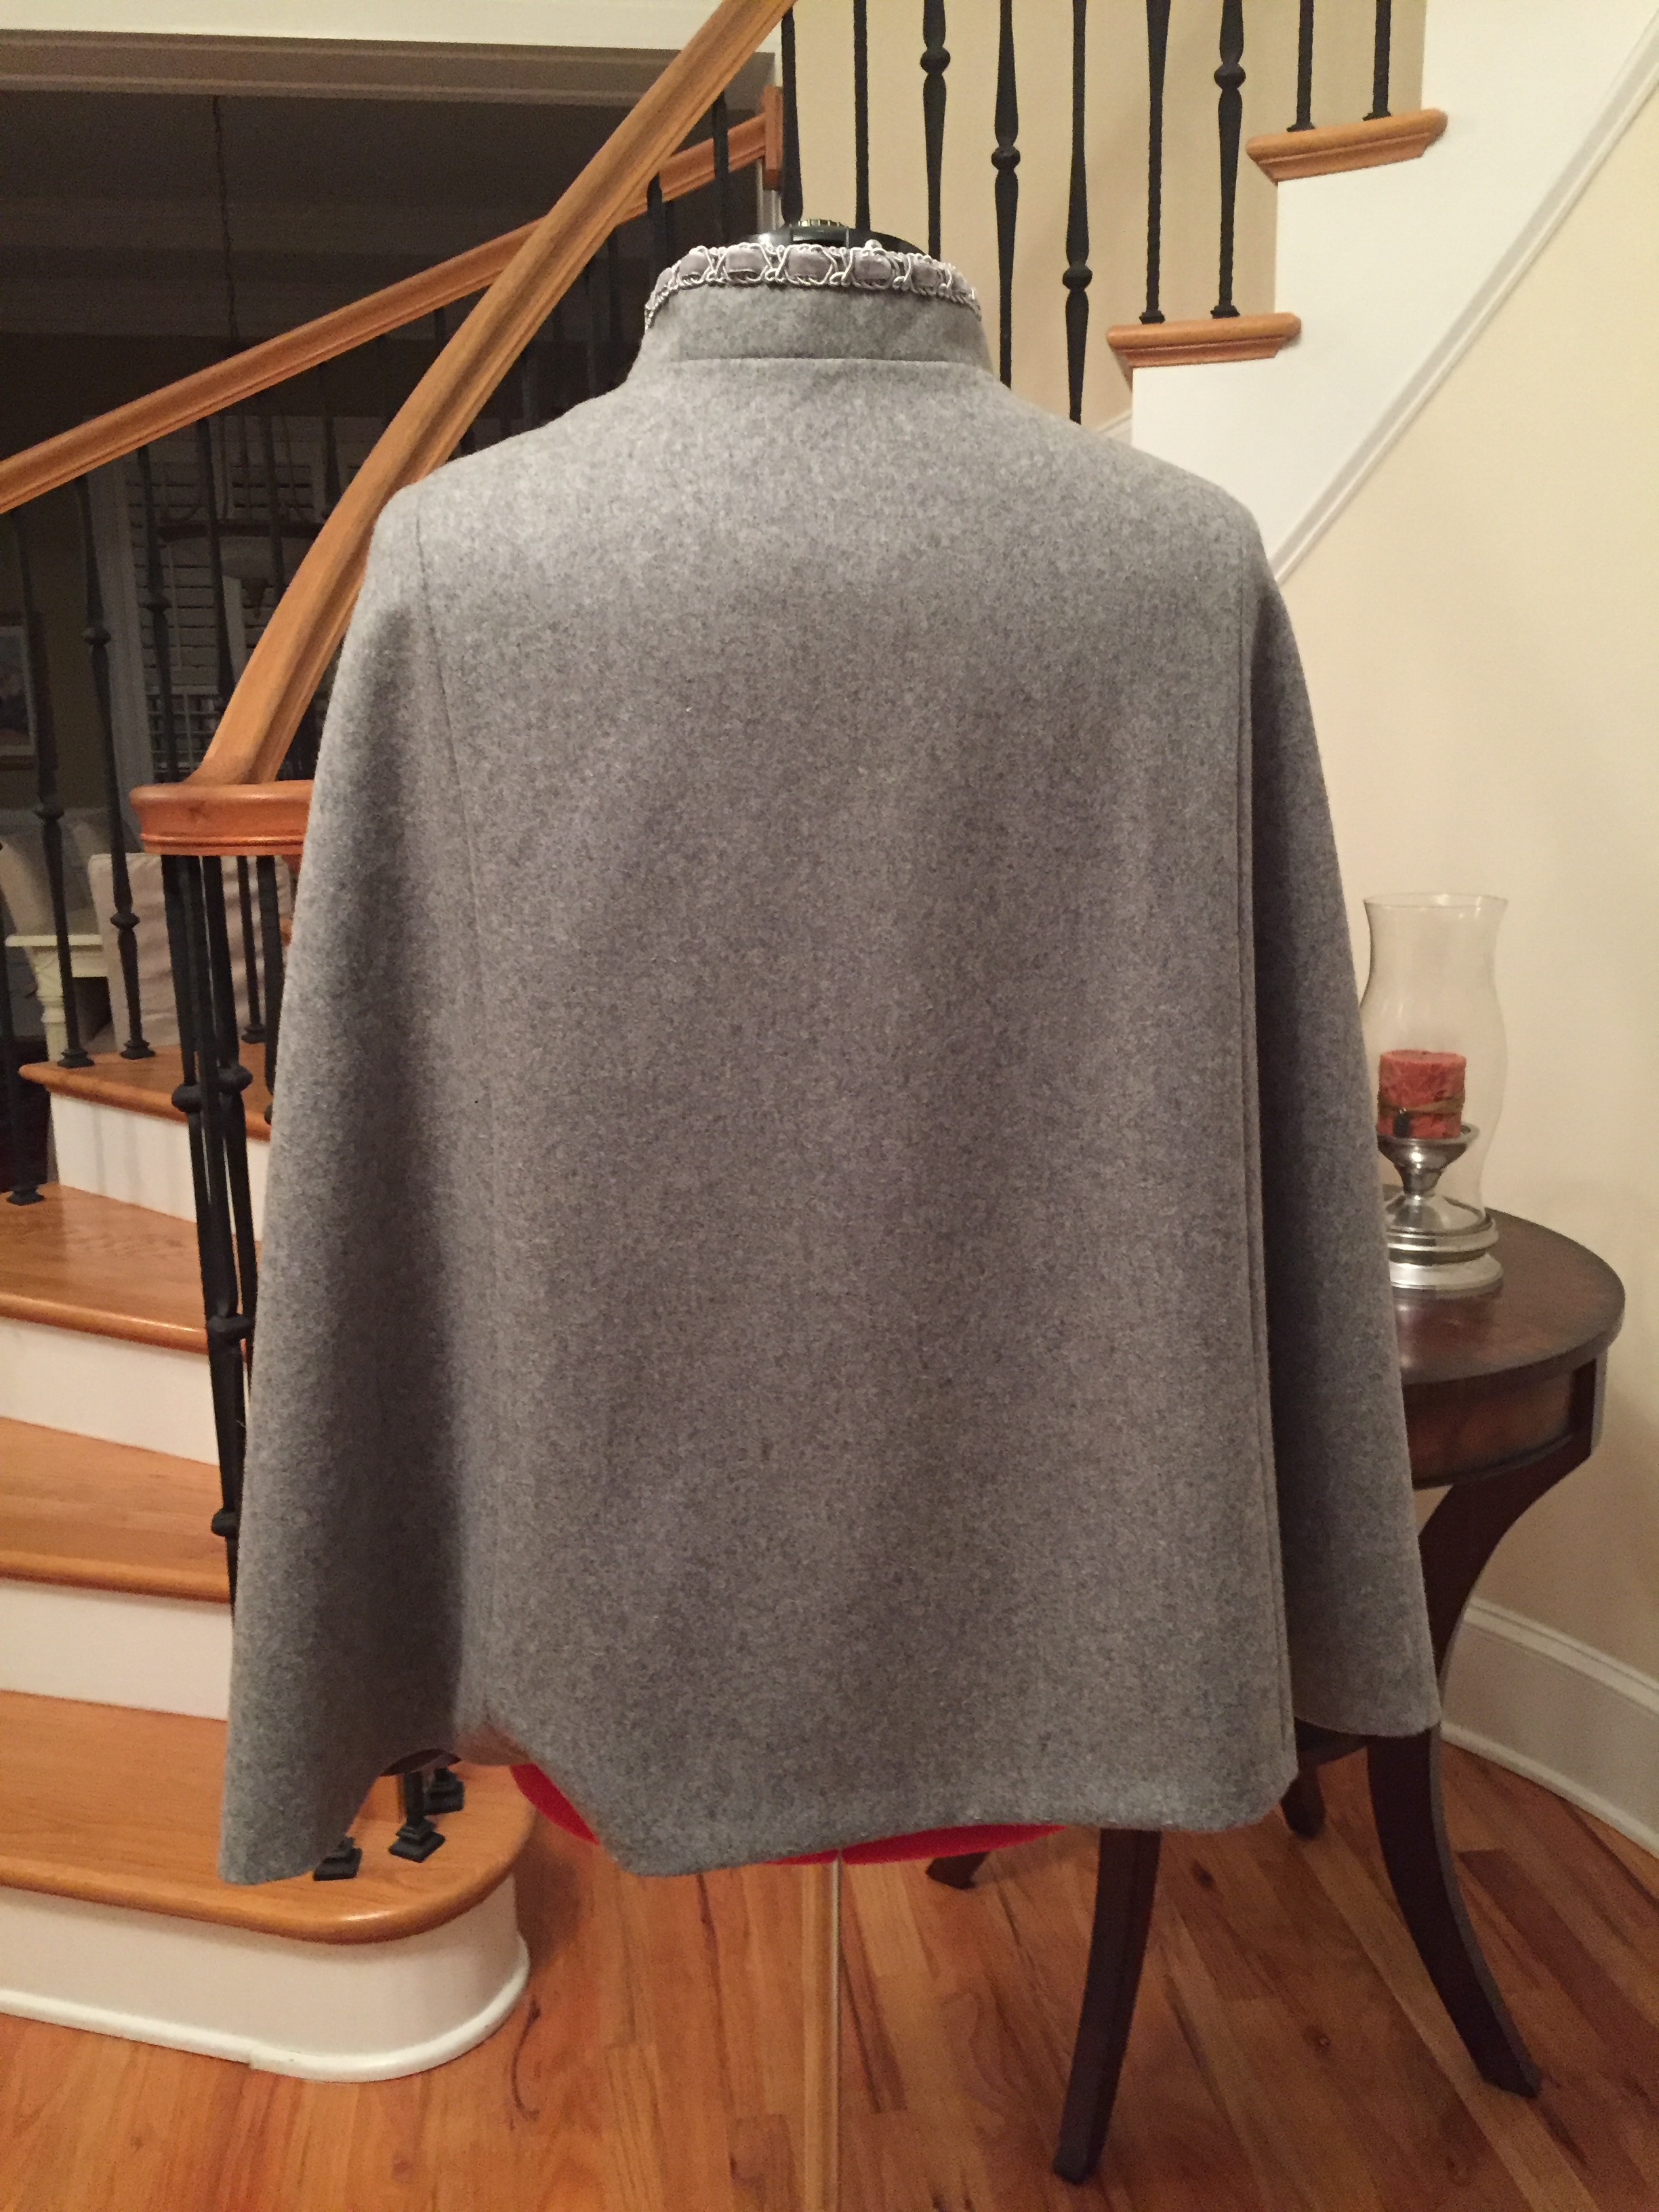
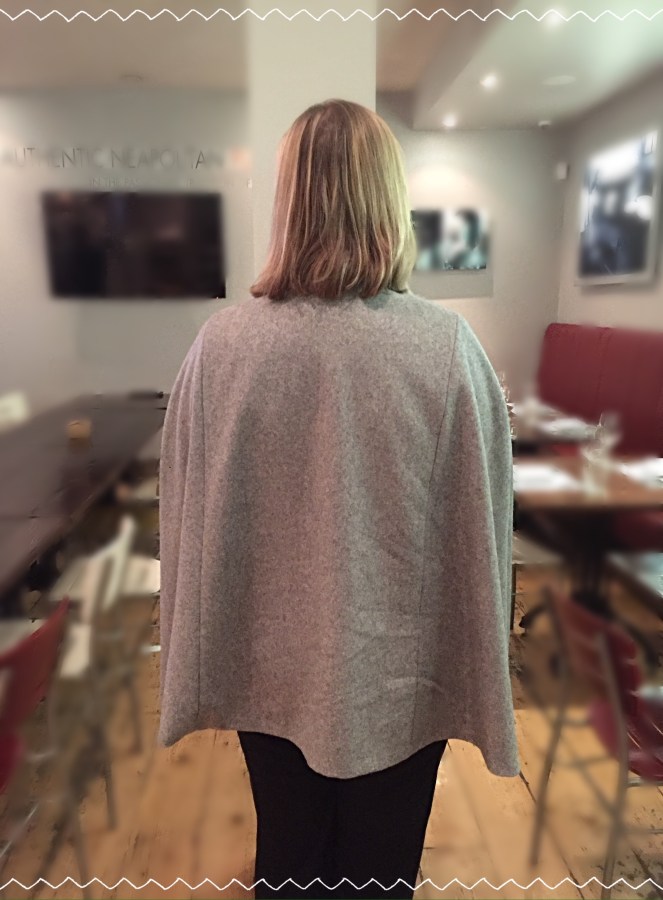
From the front, when the fabric was nicely placed, it looked good. I liked the way it hung. Then I put it on … several times. Took pictures of it. What do you think?

It didn’t look too bad from the back.
Then I pulled up the hood and took a picture … and hello grim reaper! The hood was too big for my head, too big for the scale of the cape, and the wool just didn’t drape properly. On top of that, the weight of the hood pulled the cape back unless it was placed just right.
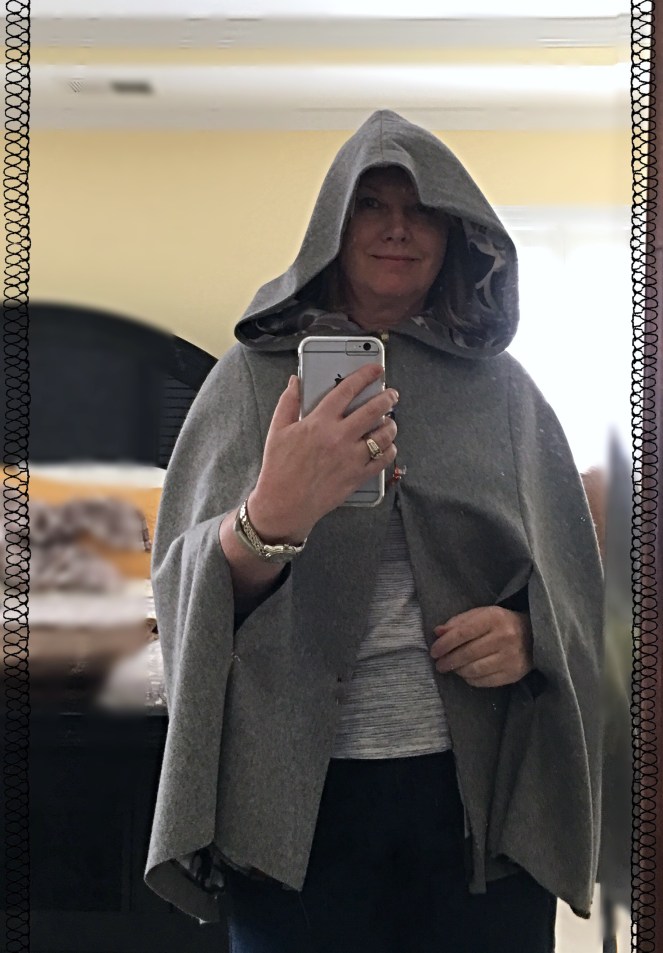
So I pulled out the seam ripper, unpicked the seam along the neckline and took the hood off.
Thirty years ago or even two years ago I wouldn’t have taken off the hood. I would have left it there even though I didn’t like it. But I am really working on stopping myself from pushing through sewing projects if they aren’t right. Funny thing, I asked G what he thought about the hood and he said he thought it was horrible but didn’t want to tell me that because he is a man and has no taste (his words, not mine).
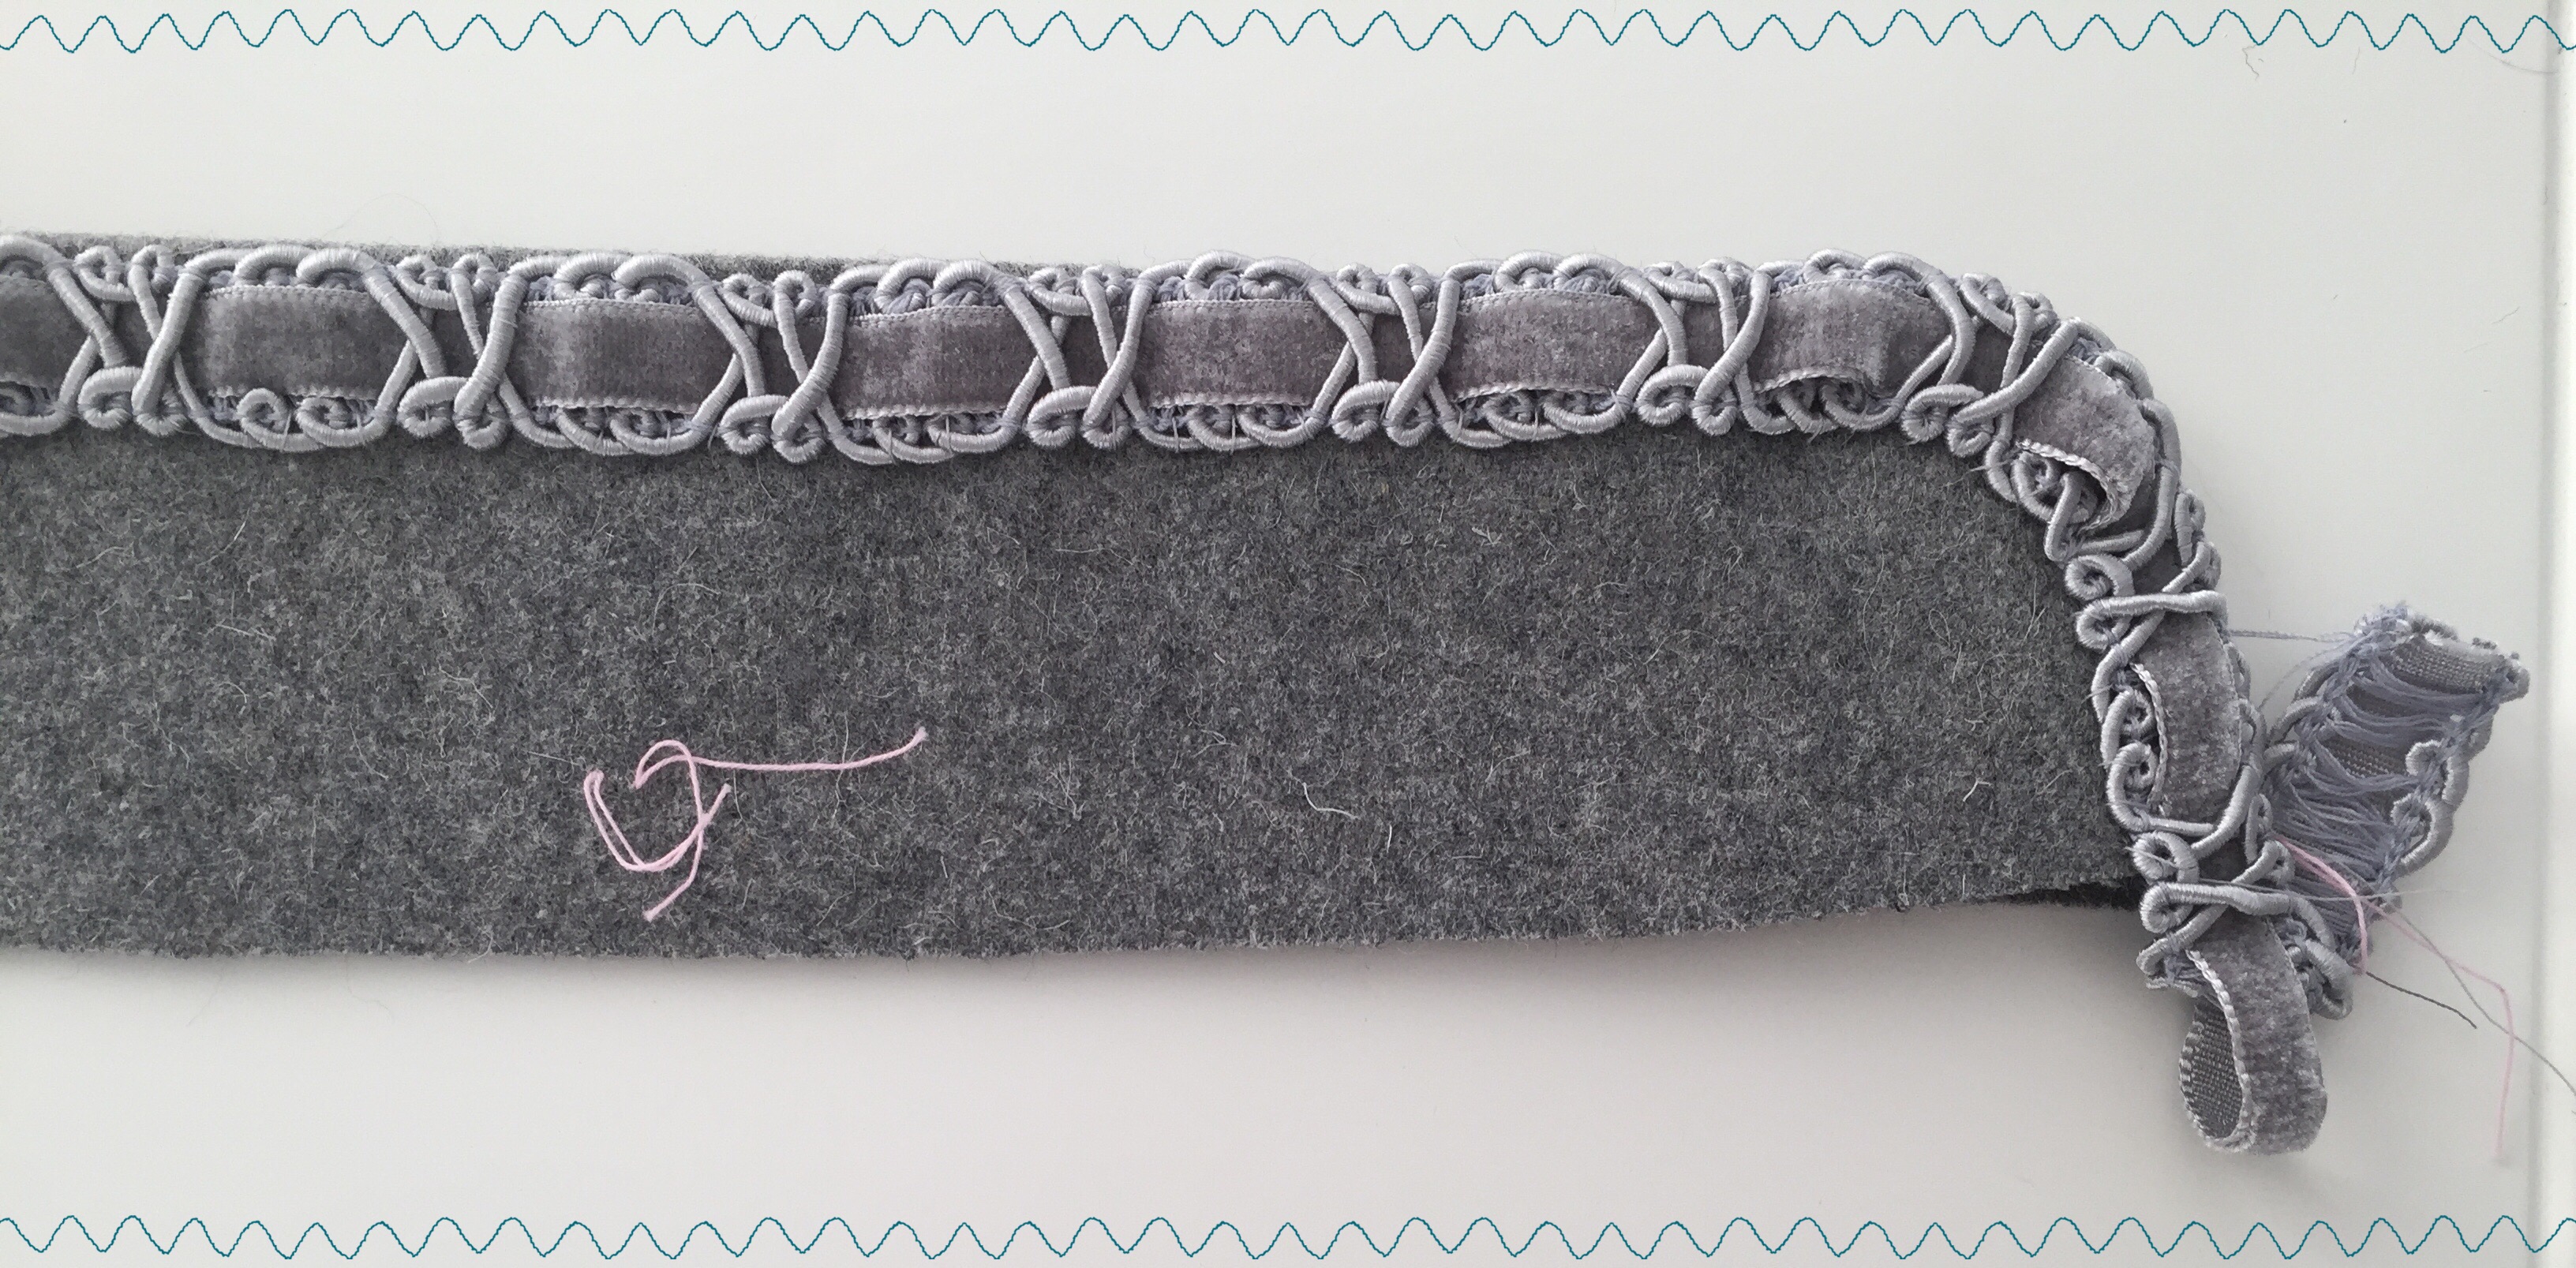
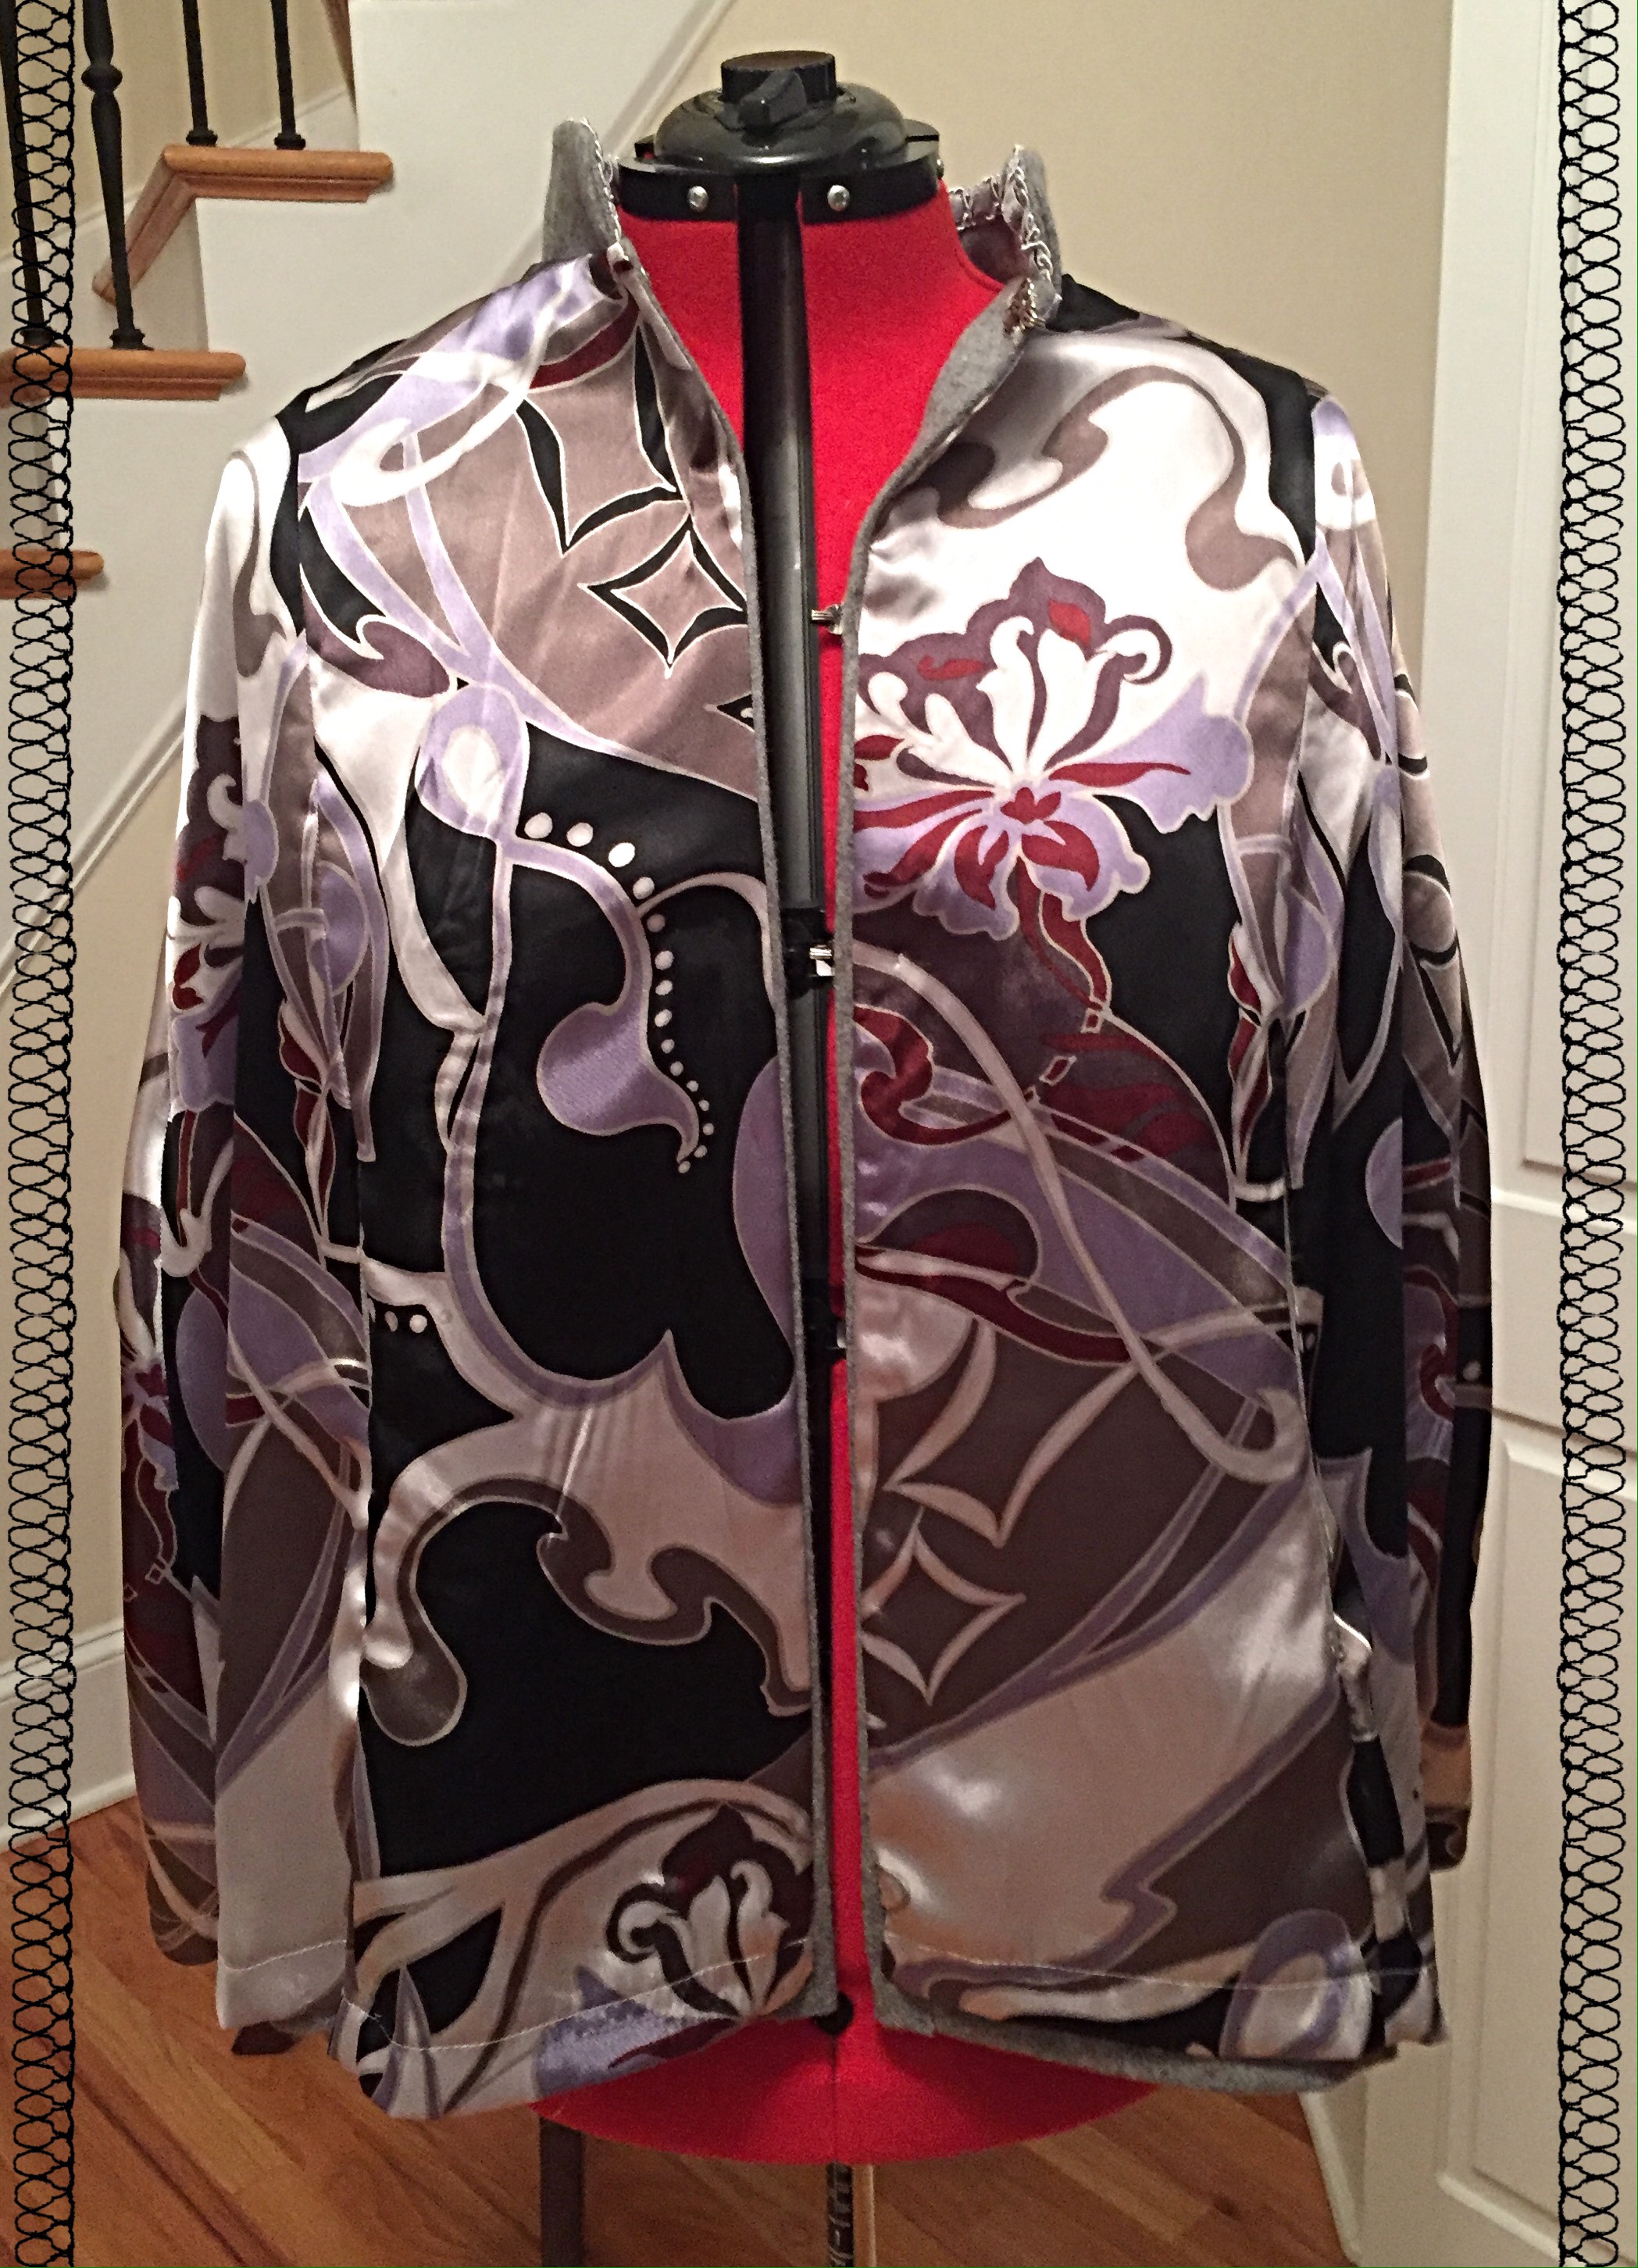
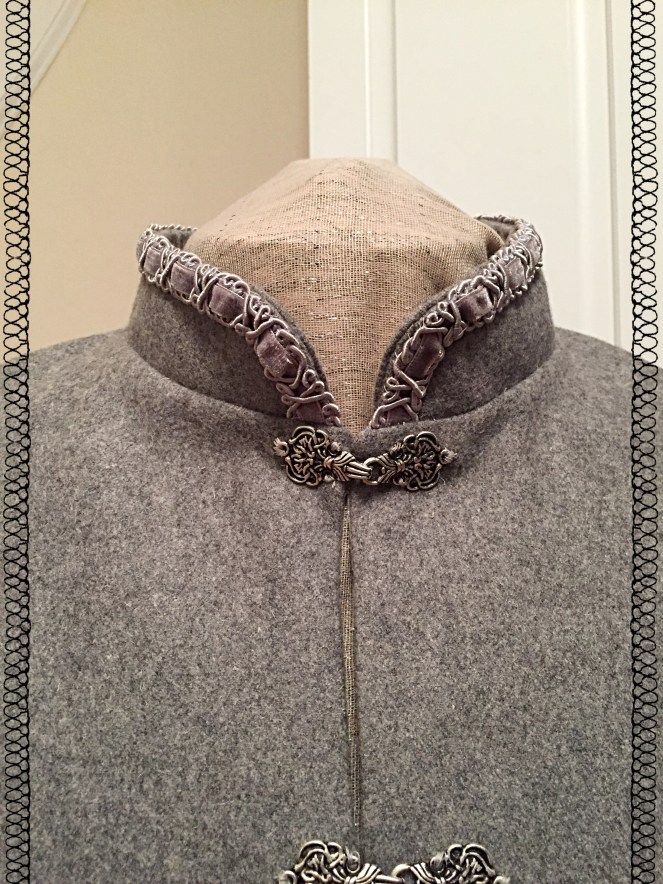
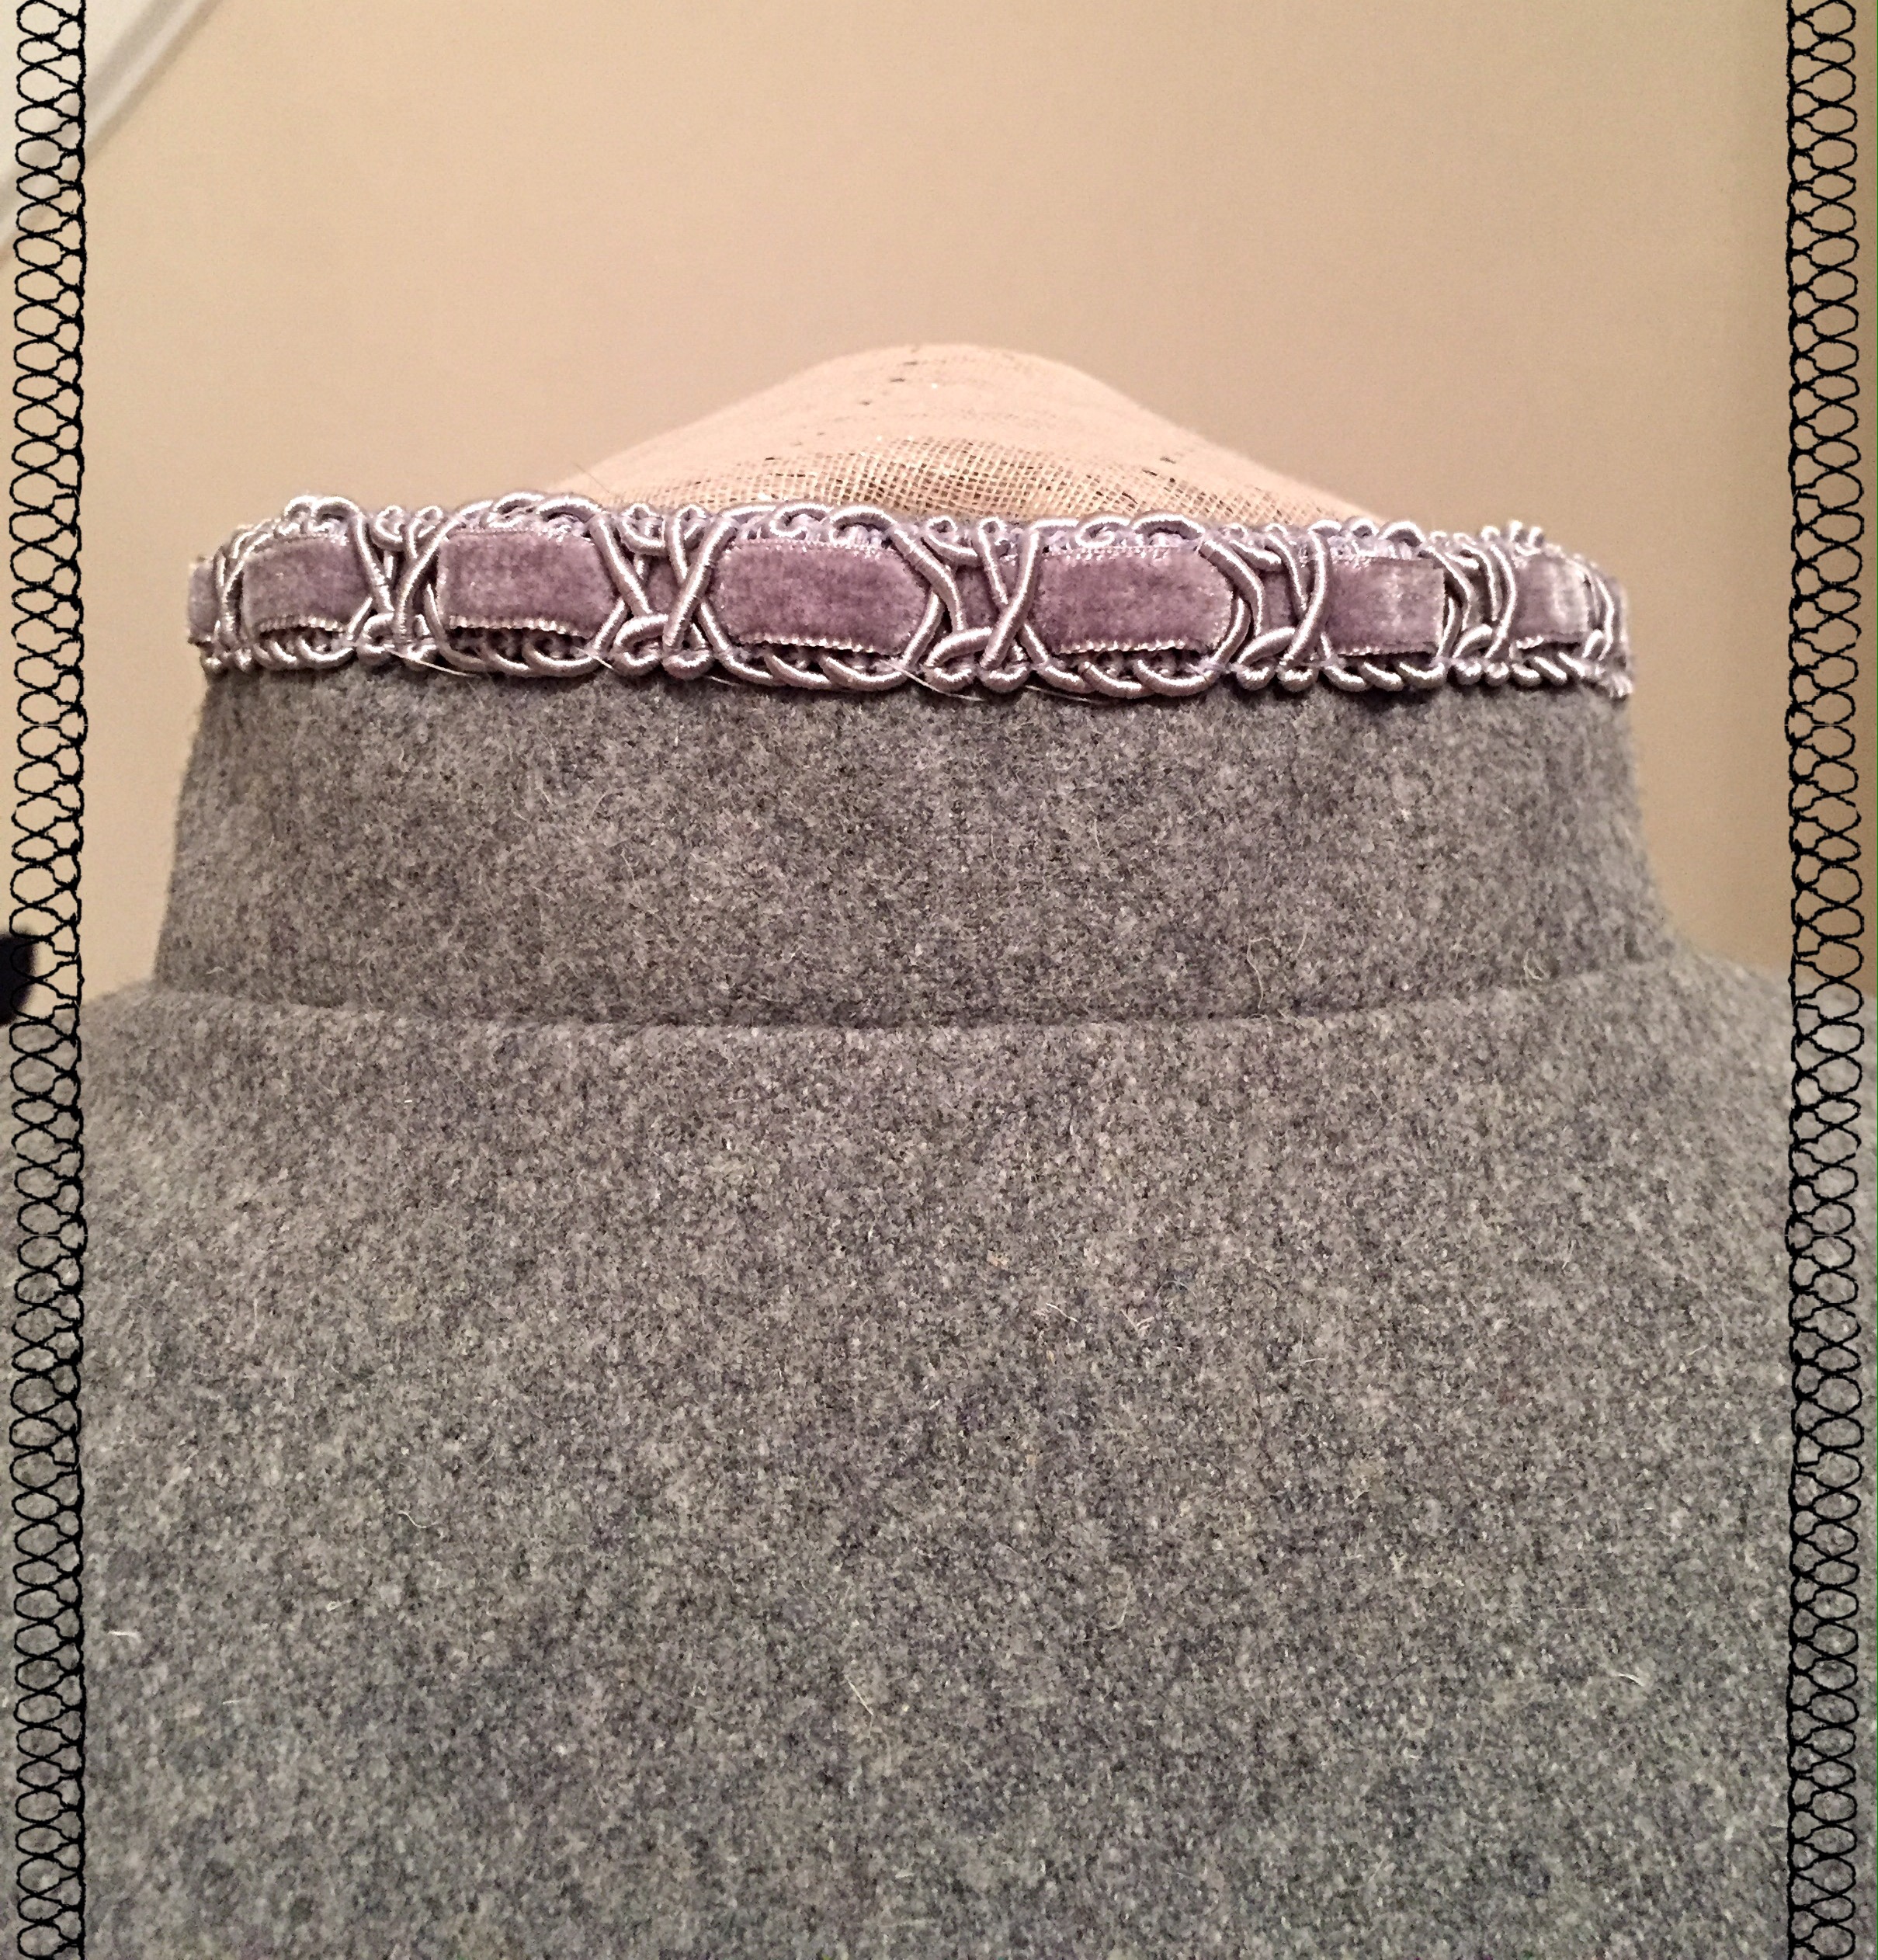
The collar was simple to construct once I found the right trim. A couple of weeks ago I discovered Nicholas Kniel, an Atlanta shop that sells fine ribbons and embellishments, so I spent an hour there looking for just the right braid for the collar. Fortunately, they had exactly what I was looking for (plus a bag full of other trim I simply had to have), so the collar was cut and sewn, and the trim stitched by hand.
The Lining: I had never before lined anything. The pattern called for pinning right sides together and stitching all the way around, then turning right side out by pulling through one of the arm openings in the side. It was apparent that the lining would show at the hem if I used their instructions, so once again I went out to Pattern Review and was given more good guidance. I finally settled on machine stitching the sides and neck, then hemming the lining and cape separately. And I again tried something new to me – I pinned and then basted the hems, then stitched by hand. Good tip … why didn’t I do this before?

As a result of the shape of the cape and the way it hangs from the shoulders, the lining still showed, so I tacked the lining to the hem at each seam, and also on the seams by the shoulders. While I had the needle out, I slip stitched the arm openings.
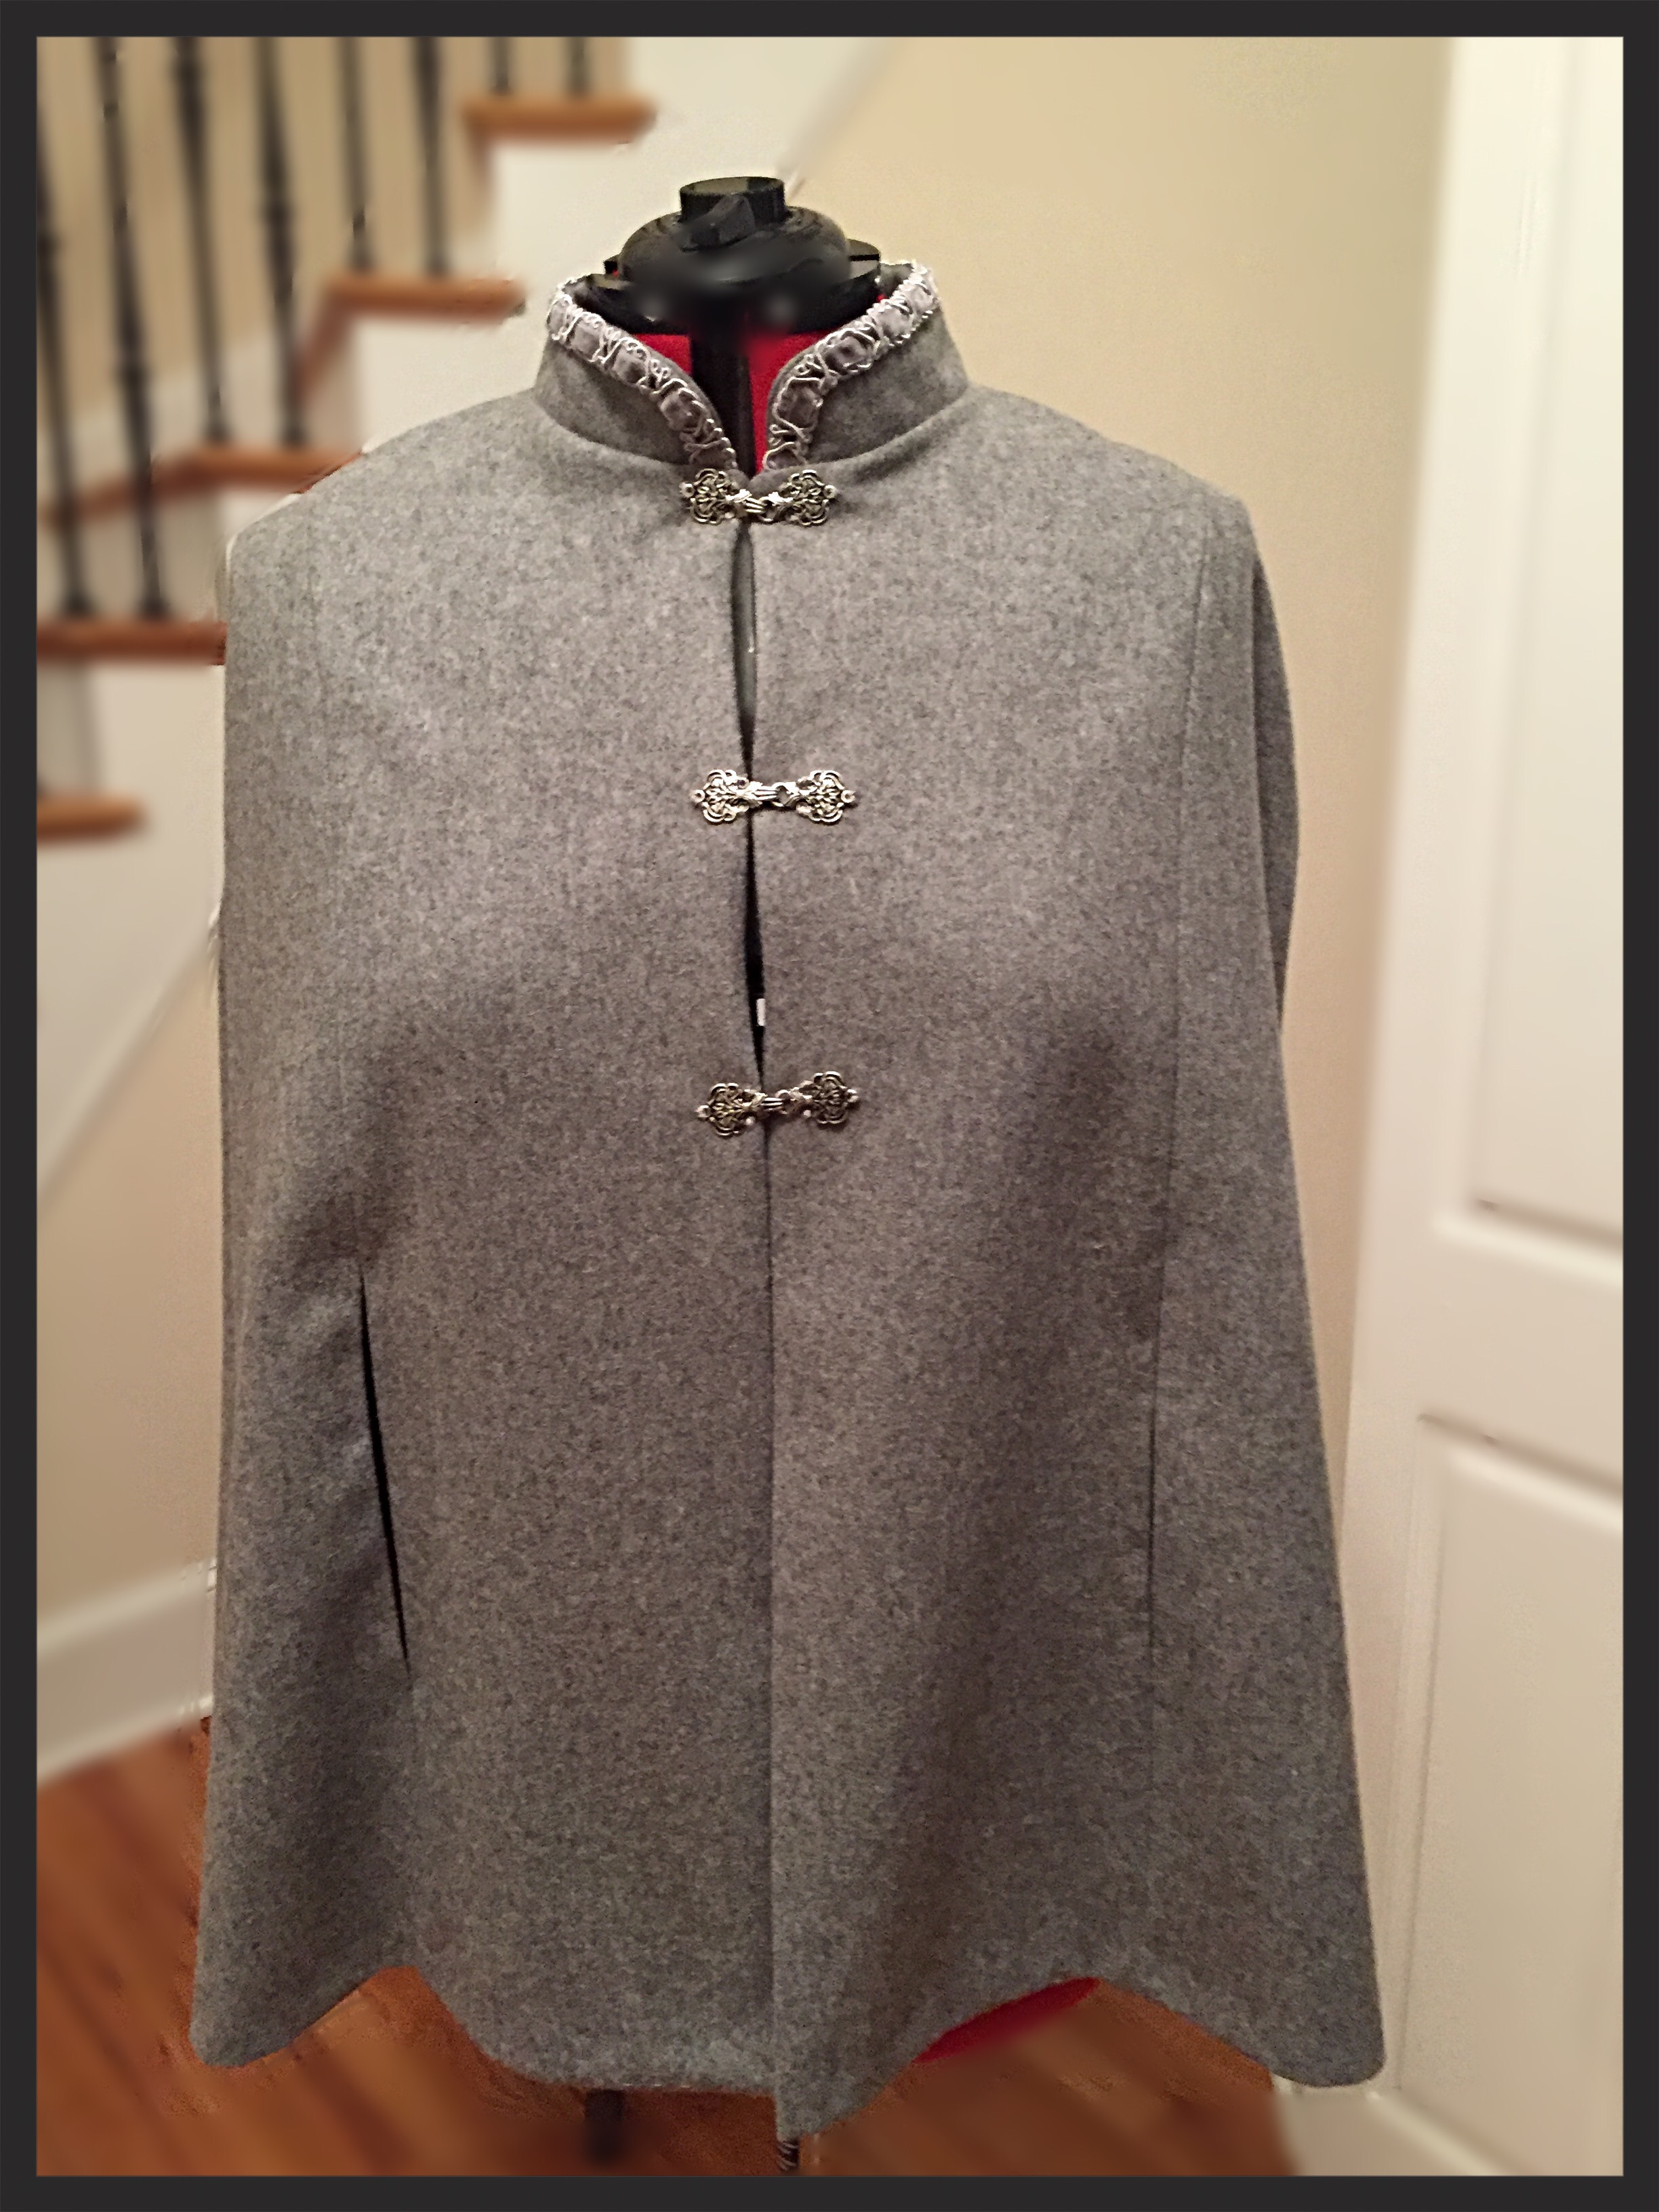
The final step was attaching the three pewter clasps. And the cape was ready for a trip to Canada!
LESSONS LEARNED:
- Sewing with quality fabric, like this wool, is an absolute joy. I would sew a dozen garments in fabric like this …. too bad I don’t live in a climate that warrants a wardrobe of wool coats.
- If you don’t like an element of a garment – change it.
- Hand stitching is satisfying!


Your cape is beautiful, Janine. The trim and the lining are wonderful details. My cat also likes to sew with me.
LikeLiked by 1 person
Thank you! We have had some cold weather so I’ve been really enjoying it.
LikeLike