This project was shared on Fabric Mart Fabric’s Fabricista blog on March 10, 2021. Fabric Mart provided me with the dress fabric, thread and pattern in exchange for this blog post. If you’re a regular reader of my blog or watch my YouTube channel you will know that I have bought a lot of fabric from Fabric Mart over the past 3 years, so I definitely am a customer!
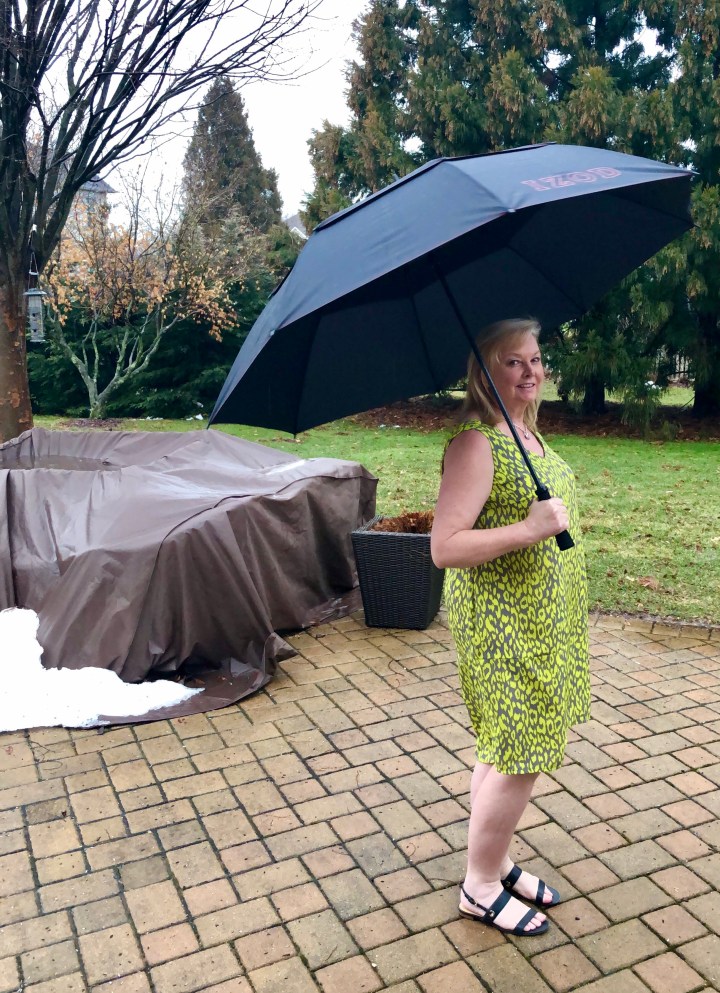
One of my favourite colour combos is yellow and grey. When we went on our first real vacation about 10 years ago, I planned my wardrobe around those two colours. I had a yellow trench coat, grey jeans, grey dresses, yellow print tops … Making this dress filled me with the anticipation of warmer days and trips to restaurants, patios and maybe even soaking up the sun on the balcony of some vacation villa.
The fabric was obtained online from Fabric Mart Fabrics and was described as “Caution Yellow/Graphite Grey Blouseweight Woven.” This is a completely opaque polyester fabric that would make a nice blouse but I think it’s better suited for a dress.
Pattern – Cashmerette Webster
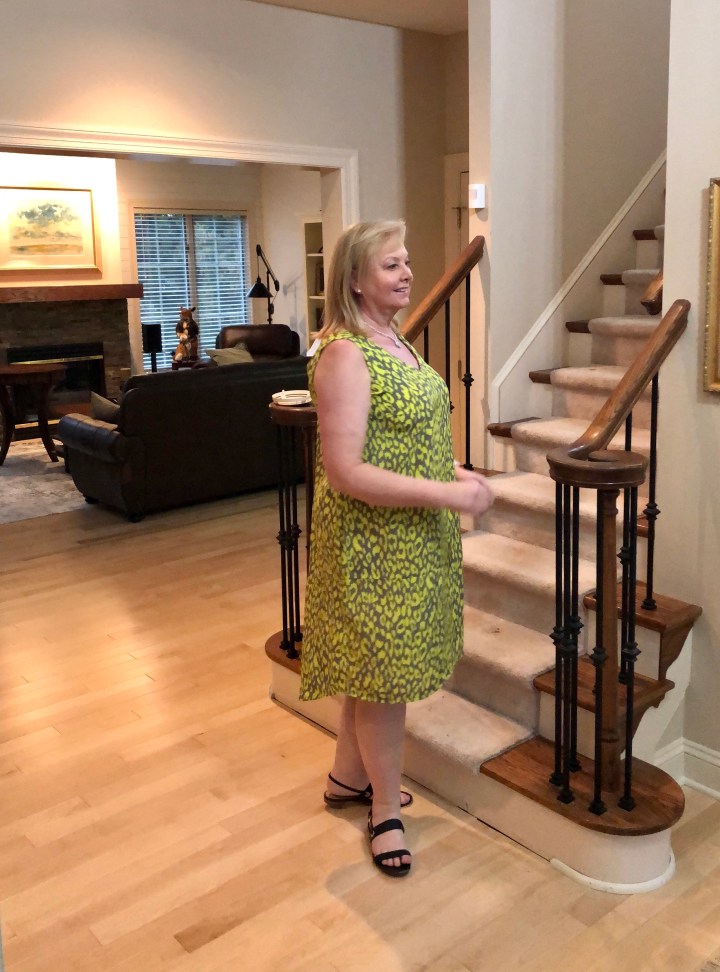
As this will be a sit-around with a drink or hang out on vacation dress, I wanted something comfortable so selected the Cashmerette Webster. I liked this pattern for the fitted bust, loose body and interesting straps on the back. It’s also perfect for a fabric that drapes well and floats in the wind. I’ve made the Cashmerette Springfield top a couple of times and loved the simplicity of working with a pattern that doesn’t need a full bust adjustment, or a shortened waist so I decided to give this pattern a try.
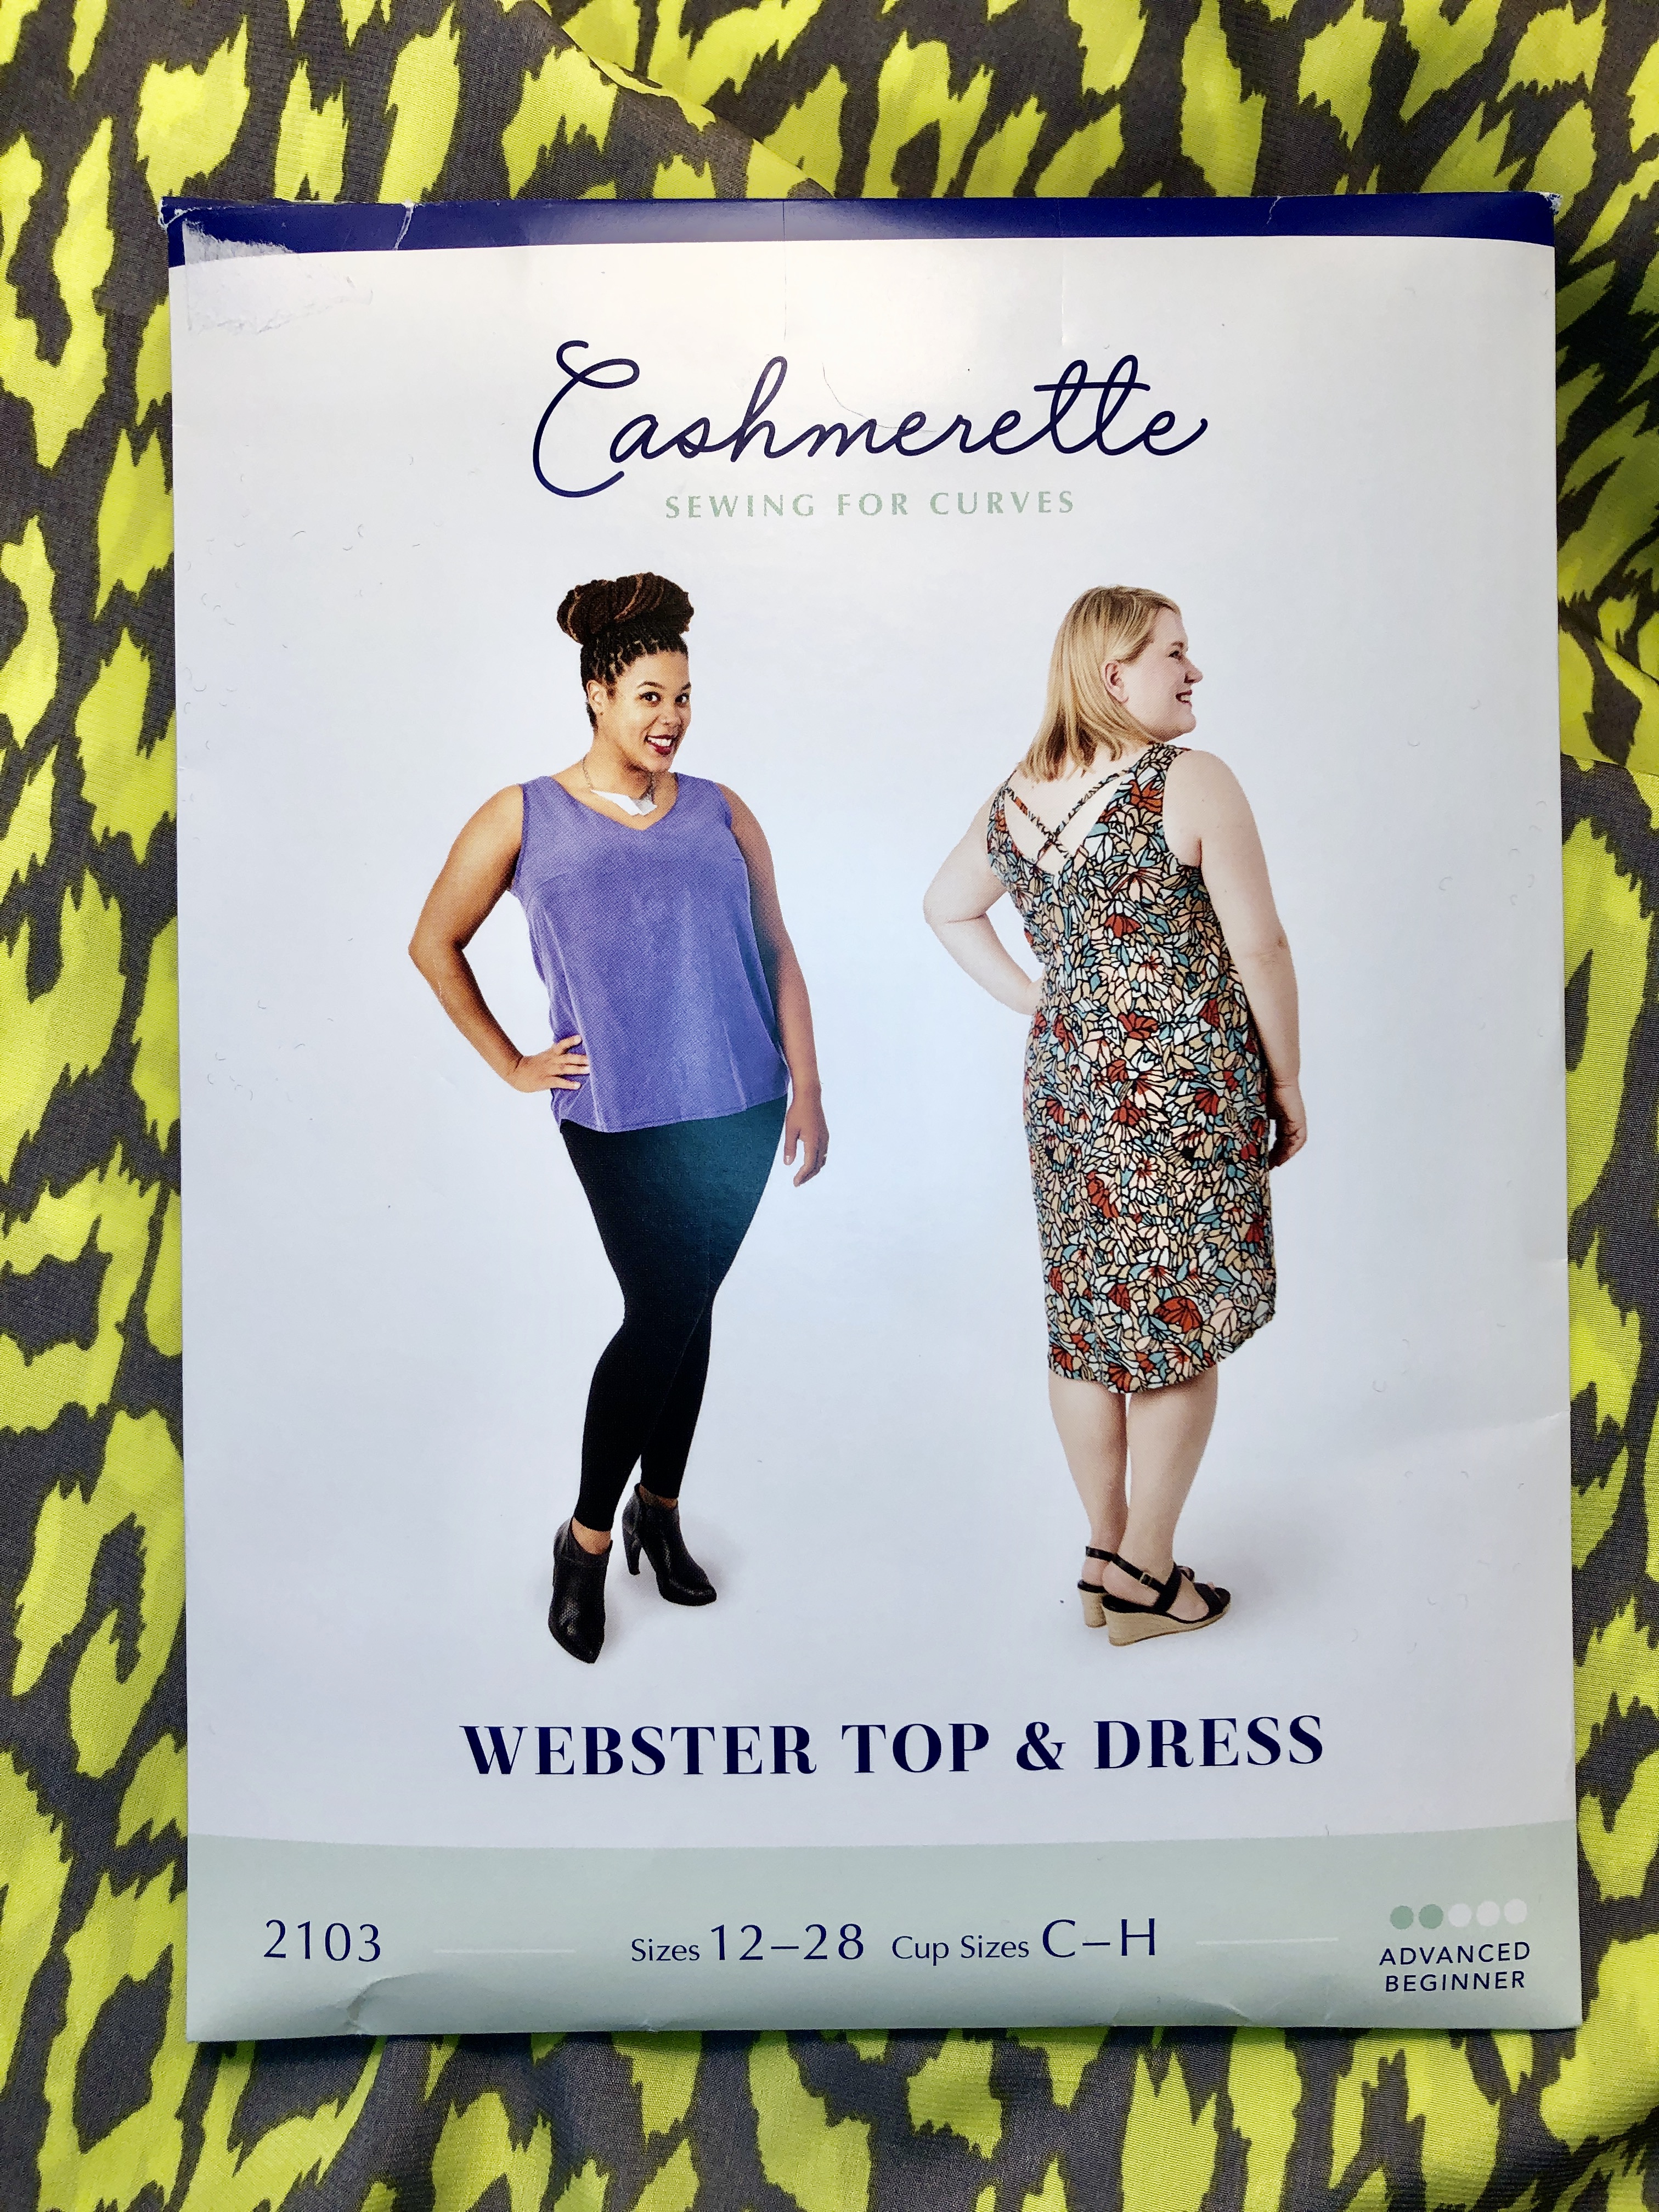
If you haven’t heard of Cashmerette, its patterns are designed for people with curves – in particular, boobs. (Cashmerette has recently started the process of expanding their size range to cover those from sizes 0-32.) The size charts are slightly different from Big 4 patterns, however, they offer a handy size calculator which was very helpful because I definitely would have cut the wrong bust cup size. After using the guidance from the website, the only adjustment I made when cutting the dress was adding 2” to the length. (There was one other adjustment while sewing … keep reading …)
Details
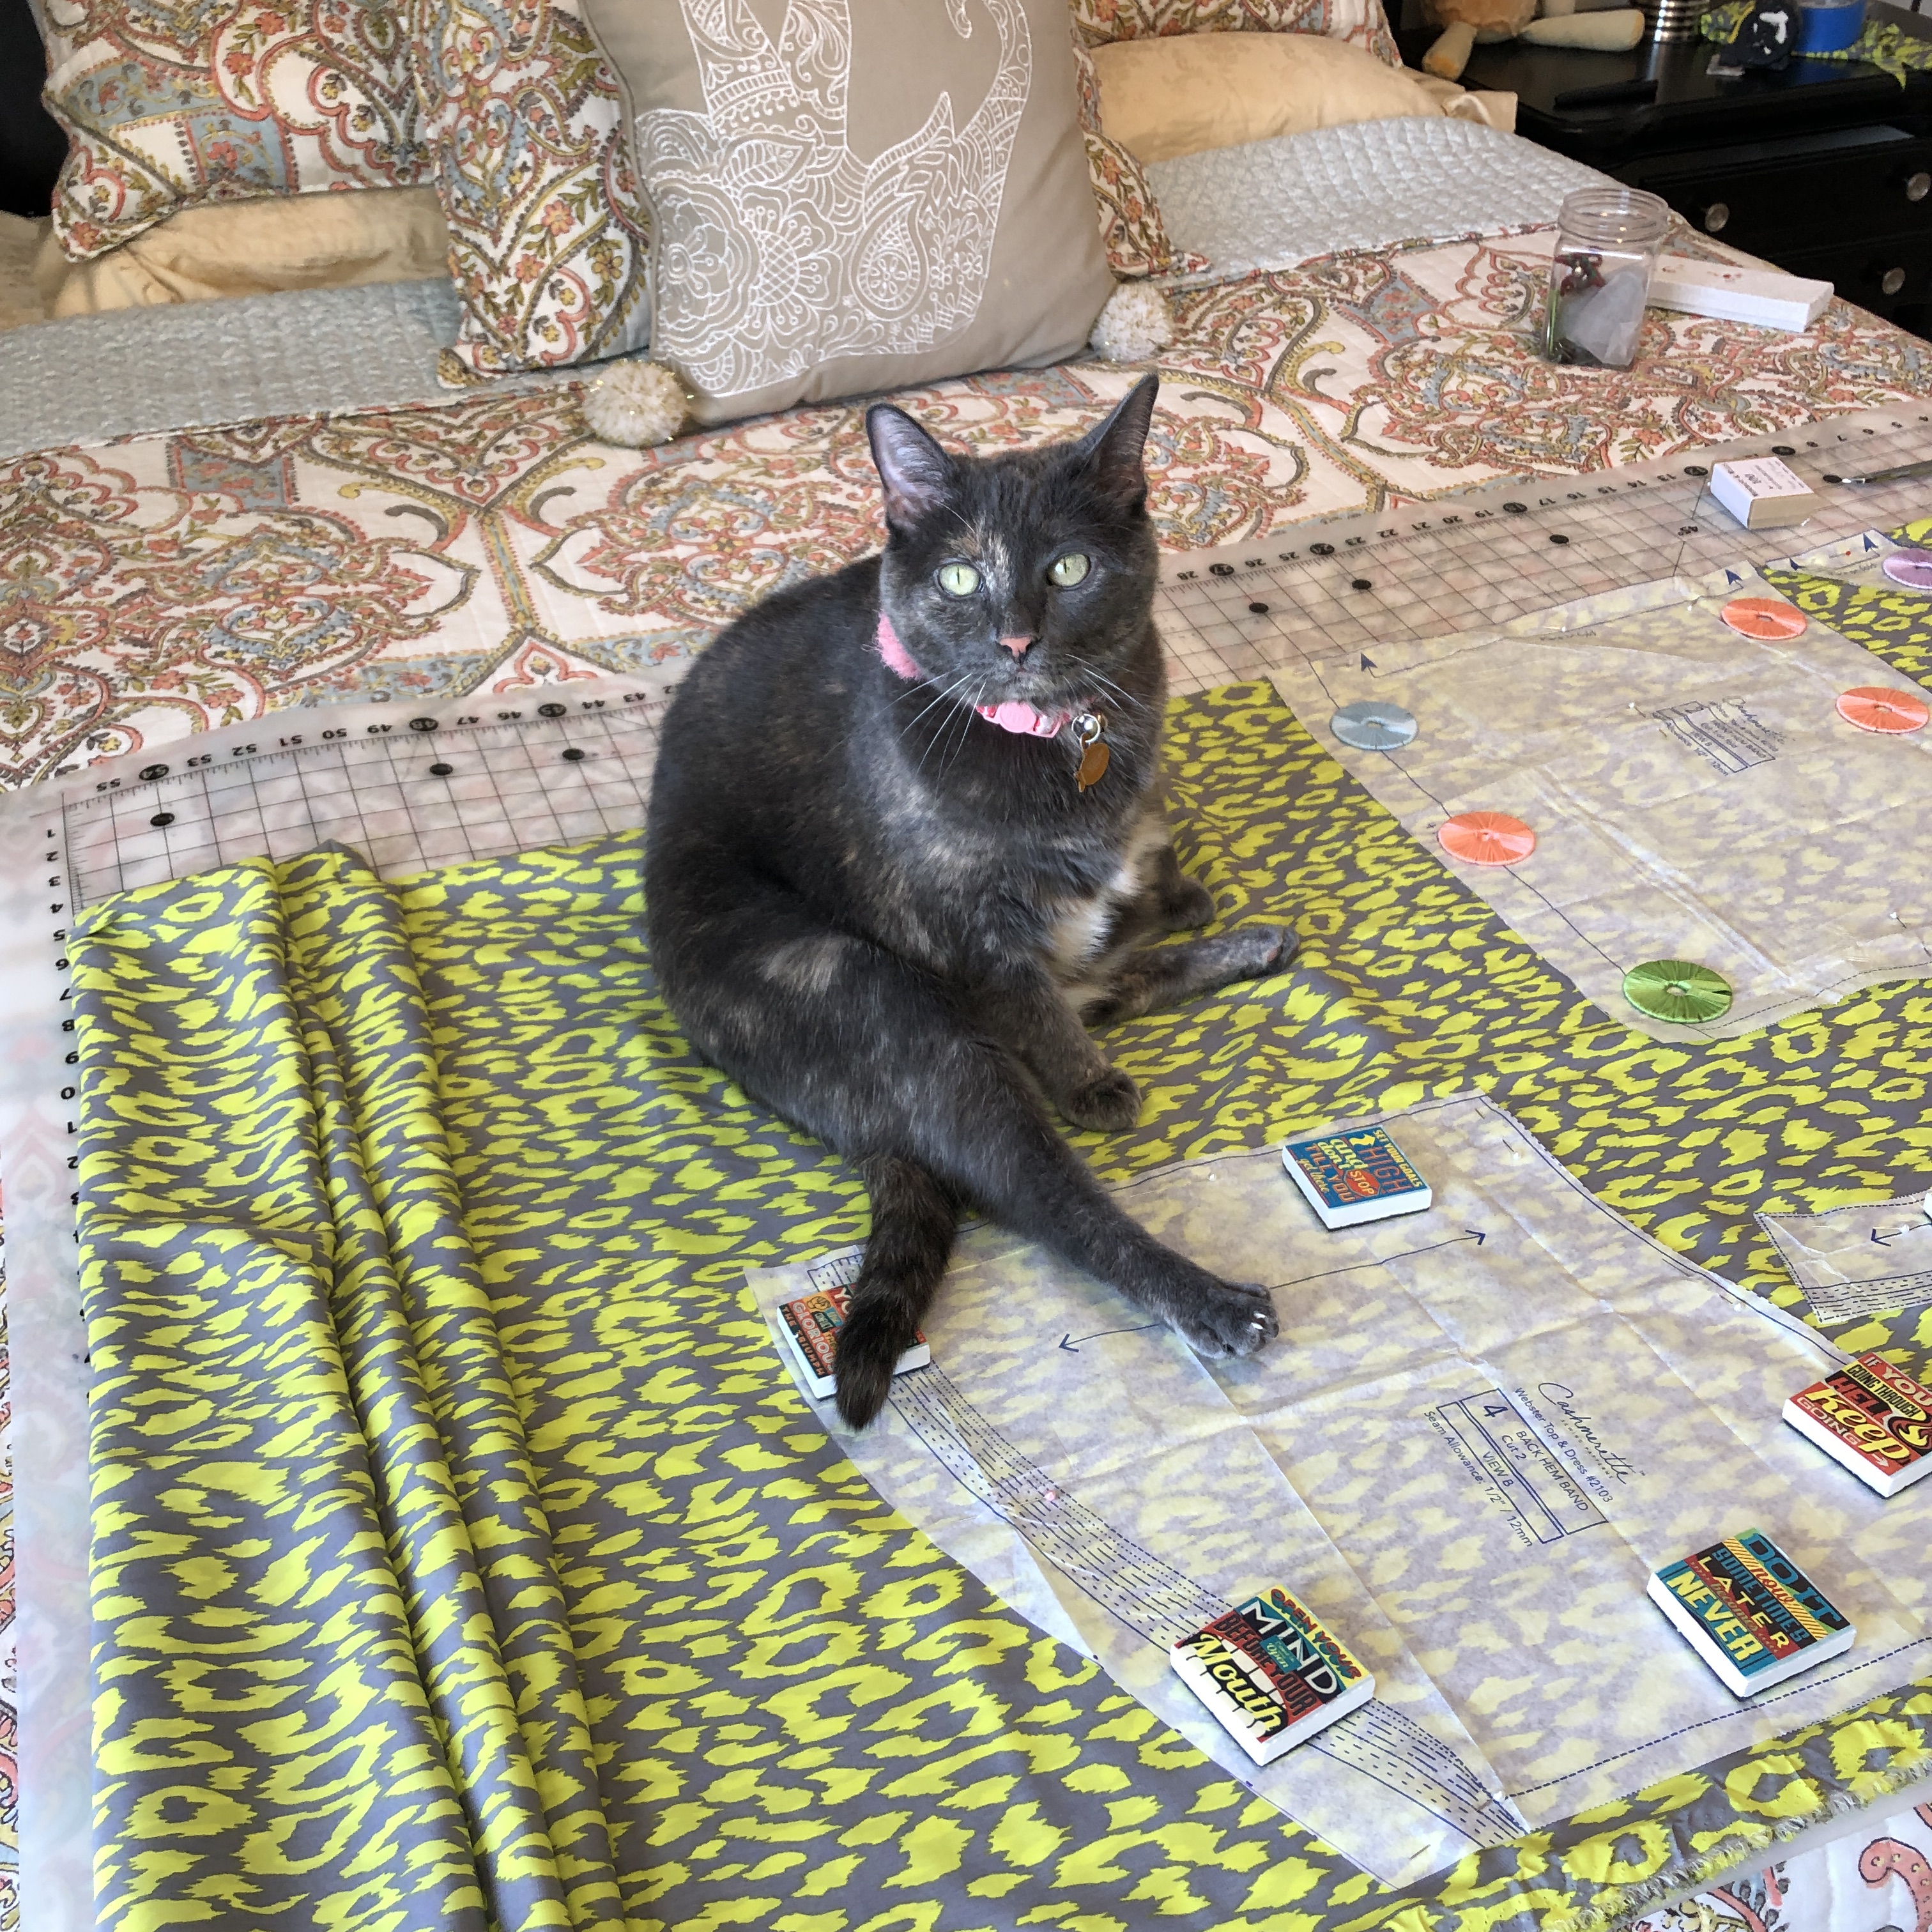
The weave on this fabric is dense and so I used a few fine pins then added weights (and a cat) to secure everything while I cut with scissors. I didn’t use a rotary cutter this time because the fabric slipped a bit.
Note – It is important to carefully mark the placement lines for the upper straps so they are angled correctly on your back.
To work with this fabric I used a Schmetz Microtex needle (size 70/10) and slightly loosened the needle tension and I used Wonder Clips instead of pins when sewing. To finish the seams I ran a second row of stitches in the seam allowance and then used pinking shears..

This is quite a simple pattern and the instructions are good. Amazingly, I only had to unpick ONCE! World record, folks. For the back straps you stitch the upper edge when attaching the facings and leave an open space in the facing to insert and stitch the lower edge of the straps. First mistake, I did not take the advice to have someone help me place the straps. I just stuck them in where indicated on the pattern and sewed. I tried on the dress and the back gaped between the straps. So I unpicked the seam and under stitching (ugh) and thought about what was going on. I realized that my back was too broad for the strap placement. I wound up moving the lower edge of the straps almost 2” higher. If you have a rounded or broad back like mine, consider leaving an extended opening so you don’t need to unpick. (Photo below)

The instructions for the hem are to fold under 1/4” and then again 1/2”. I’m absolute rubbish at finicky folds – I have a really bad habit of just eyeballing hems but I’m trying to be more careful so I followed some advice posted in various places and ran a row of long stitches (5mm) at the point of the first fold (I used 1/3″) and pressed using that line as a guide. Then I stitched ran another row of stitches up 1/2″ and pressed again. Finally, I topstitched. This process worked well and I didn’t dread hemming the long edge!

The last bit was hand stitching the side and back neck facings in place and the dress was done!
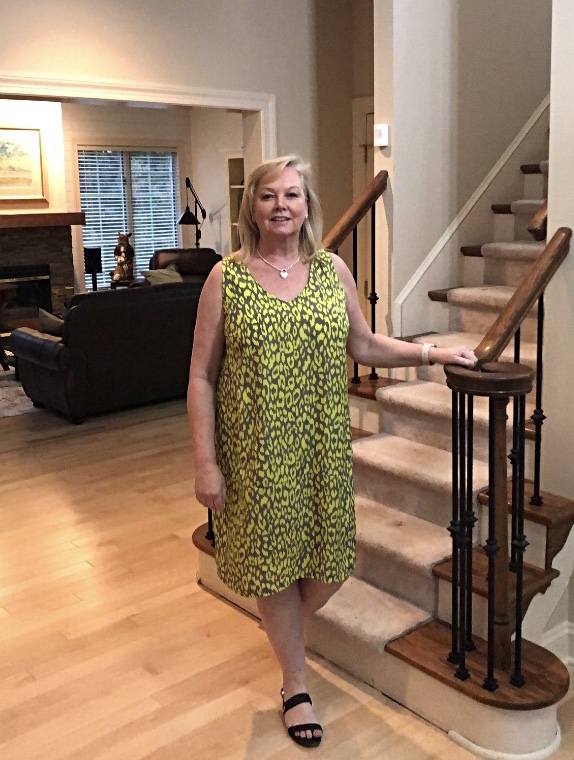
I like the tidy neck and arm facing finishes. Also, the straps are wide enough that you can wear a bra and there is zero gaping at the front armscye which is a huge bonus. No pins or fashion tape anywhere!
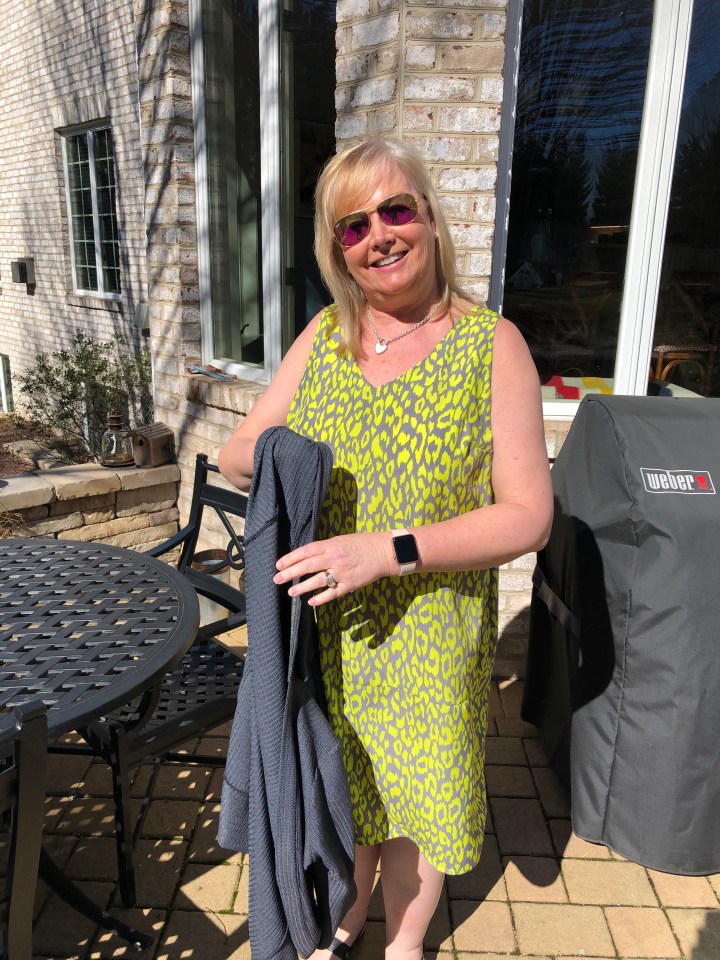
This fabric is just the right weight for this dress. And it doesn’t crease so that makes it a perfect dress to throw in the suitcase for a weekend away, whenever that may be!

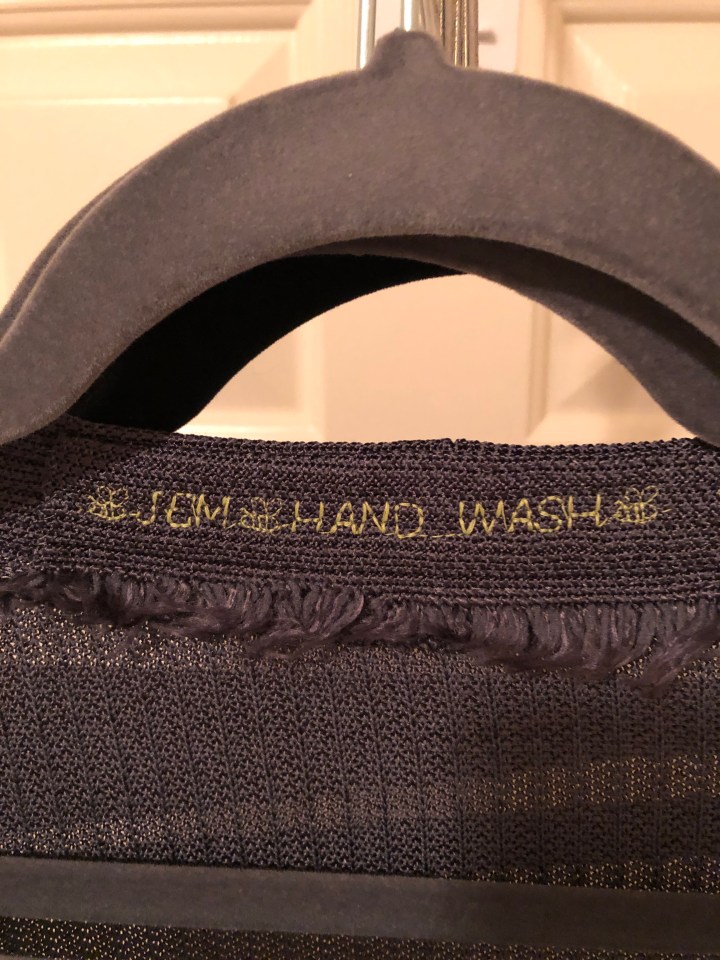
It’s still a bit chilly to wear this dress today so I’ve paired it with another recent make, Helen’s Closet Blackwood Cardigan (I’ve made a few of these over the years, link to blog post here). The cardigan fabric is something special that I’ve been hanging on to for a couple of years. This is a lovely, luscious St John knit that I purchased from Fabric Mart about 3 years ago. I had a bit of fun with my sewing machine and made a “Hand Wash” tag from the selvedge of the fabric. The cardigan is just right for this dress, and the colour is perfect! Some things are just meant to be.
Now waiting impatiently til this duo can go out somewhere and be seen!


Thanks for the details and tips! I’ve had this pattern ever since it came out, but I haven’t tried it yet. I always forget that it’s a dress AND top pattern. I’ll have to check your past posts for your tops as that is the version I’m likely to try. Your dress looks fantastic on you!
LikeLiked by 1 person
Thanks, Kristen! I made the top first as a toile and used a piece of rayon. It turned out really nicely but it did fit a tiny bit differently. The rayon had more give so there was more ease in the bust and the back straps didn’t need to be moved up. I’ve just ordered the button-down shirt pattern and am excited to give that a try!
LikeLike
I love your pattern weights. Especially the furry one with wiskers.
LikeLiked by 1 person
She isn’t helpful on the little pieces – LOL! 😀
LikeLike