Something different. I learned to sew a purse!
There are so many options now for those who want to make structured bags that look like they come from a designer shop. And one of the benefits of living in a city with a thriving chapter of the American Sewing Guild is access to classes – like the one they offered for this bag. While I’m happy to figure my way through projects, the process certainly is easier if you have a guide.
The Pattern
Swoon Patterns Glenda Convertible Clutch
The workshop was conducted by a member of the Guild who sews and sells beautiful bags. She selected a relatively simple entry level bag for us to try.
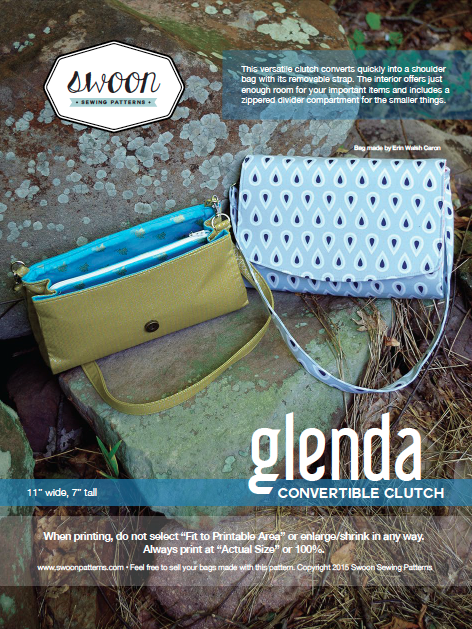
Swoon Patterns offers beautiful bags in a variety of shapes and sizes, all available from their online shop. Some patterns are downloadable (such as this one), others are available in paper copy.
This particular bag is a good size (11″ wide by 7″ tall) and has a zipper compartment inside.
Fabric
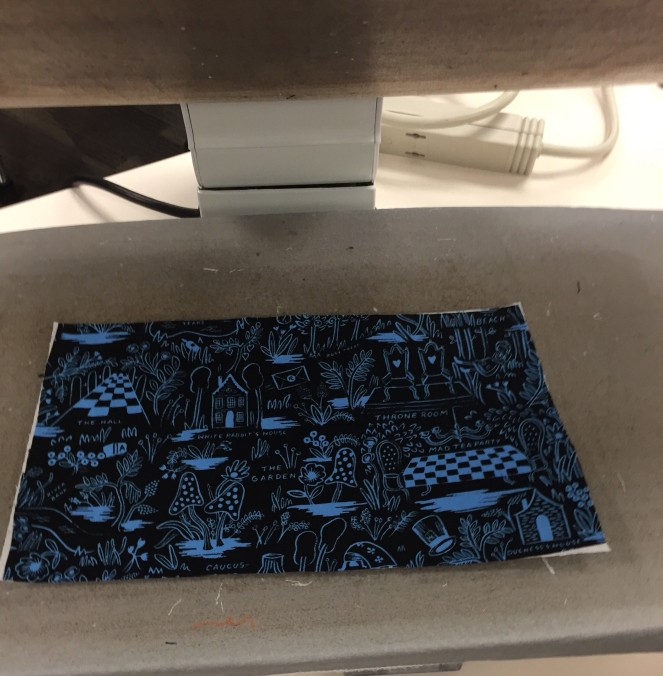
 The fabrics are from Cotton + Steel, and the exterior is a lightweight canvas, while the lining is a lightweight quilting fabric. Knowing that a handbag needs to be sturdy, I thought a canvas or duck would be best. As it turns out, the stabilizer and interfacing add the necessary structure. Others in the workshop used quilting cotton and home dec fabrics. At least one woman added vinyl to her bag. Another created her strap by stitching large zig-zag onto Petersham ribbon for a sturdy design that matched her bag fabric perfectly.
A quick note: the instructions call for a 30″ strap. I made mine 36″.
In addition to the fabric, there are a number of notions needed: interfacing, stabilizer, plastic zipper, free-spinning clips and d-rings (for the strap), and optional rivets.
Fortunately, our instructor brought just the right supplies, and she knew how to use everything. She also provided a list of sources for all of the necessary supplies. Please let me know if you want any details. I am happy to enable 😉
Sewing Notes
At first glance, the project seems pretty daunting. If I had chosen to make this on my own I likely would have thrown up my hands in despair at least twice.
Read the instructions all the way through before you start. Seriously, I know a lot of us who sew are in the habit of glancing at the instructions, nodding our heads, then throwing them to the side.
I took a lot of pictures during this class because I wanted to remember how to make the bag. More pictures than words in this particular post.
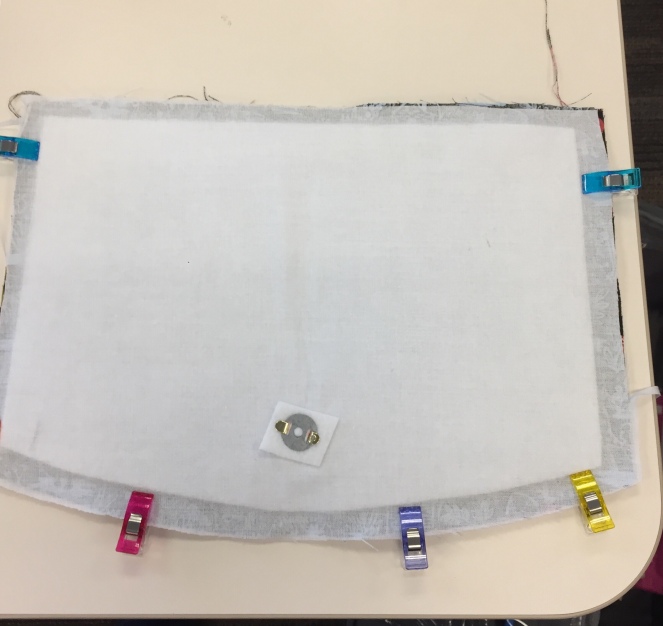
Right off the bat is one of the instructions you need to read carefully. The paragraph starts out “affix interfacing to fabric” and we all got up to run to the iron. But hold your horses and keep reading – for two of the pieces need to have stabilizer AND interfacing affixed. To affix the stabilizer you need to sandwich it between the fusible interfacing and the fabric. It’s important to centre the stabilizer because you’ll never be able to stitch the seams if the stabilizer infringes into your seam allowance. (Ask me how I know this …)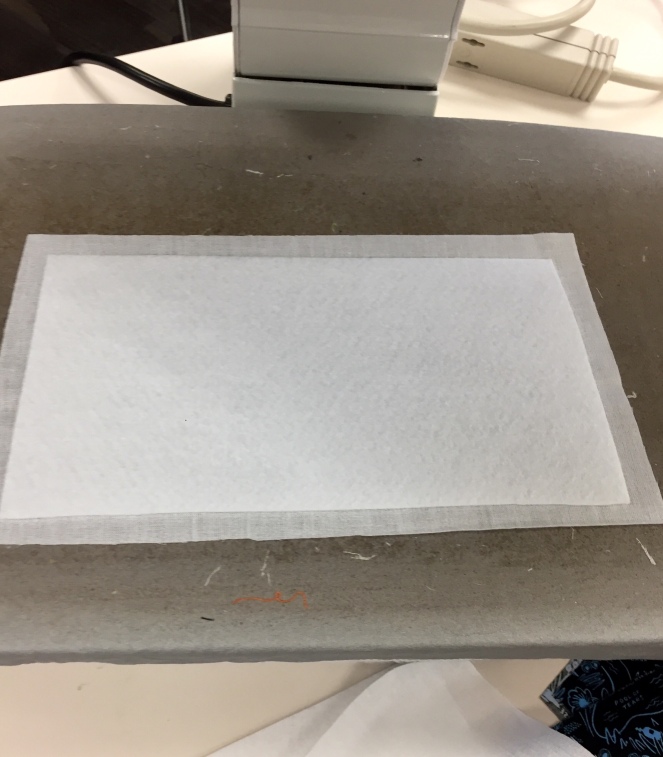
Interfacing face up. Stabilizer centred on top of interfacing. Fabric face down so you have a stabilizer sandwich.

Stabilizer needs to be centred on the fashion fabric so you’re able to stitch within the seam allowances.
The magnetic clasps are easy to install, just add extra stabilizer when constructing and this will help to hold firm when you pull the clasp.
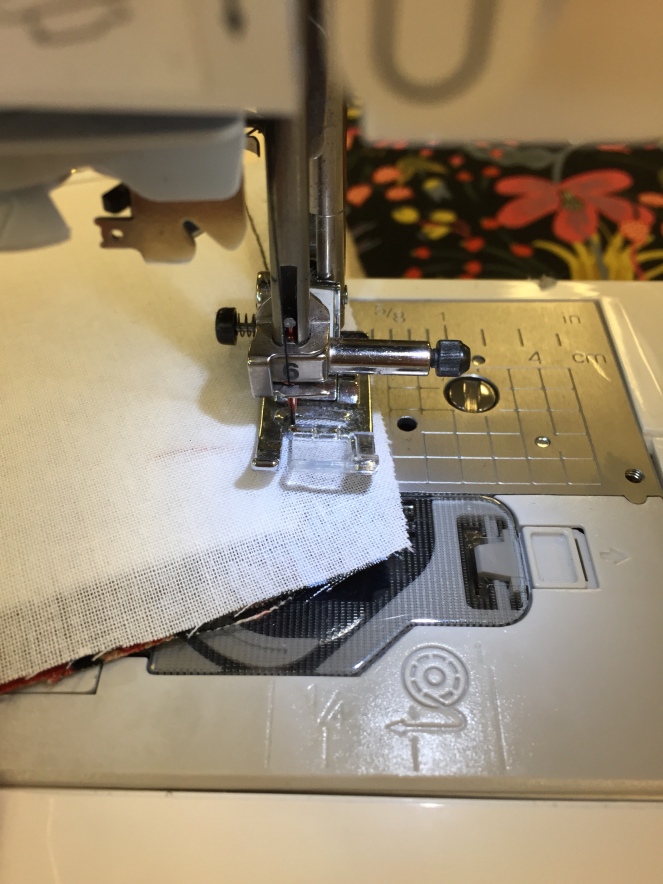
I don’t pin and was pretty adamant about that when working on the more difficult seams (attaching the side panel, above on the left). Just pin it, okay? It’s a tight curve and you don’t need to waste valuable sewing time unpicking seams.


For the interior zipper pocket, use Wonder Tape (top 2 photos) to hold the zipper in place before sewing. This worked like a charm.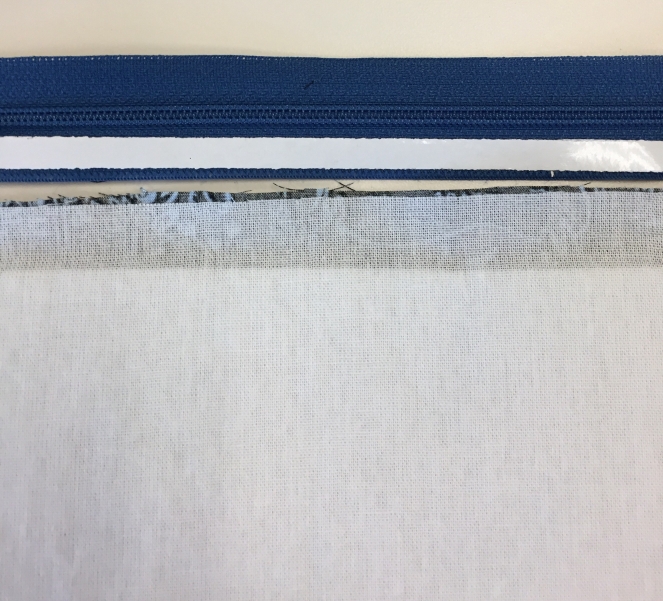
The zipper compartment is tricky. Wonder Tape helps immensely when adding the zipper. Tape on the zipper, align fabric, stitch.
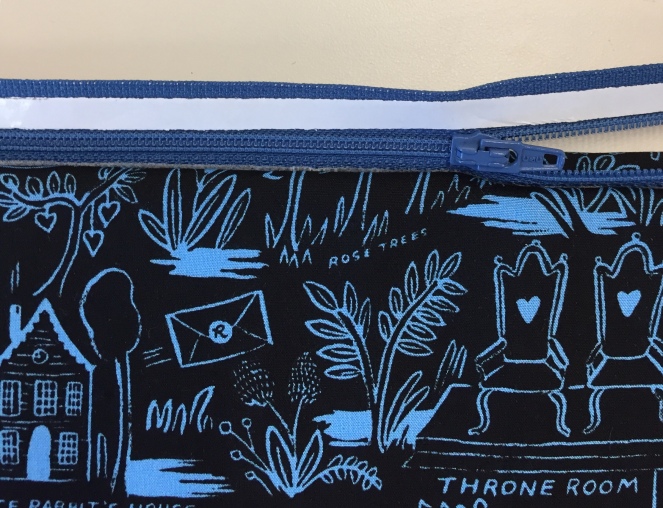
Before you attempt to turn the stitched zipper compartment right side out, open up the zipper. It’s almost impossible to open with the zipper closed.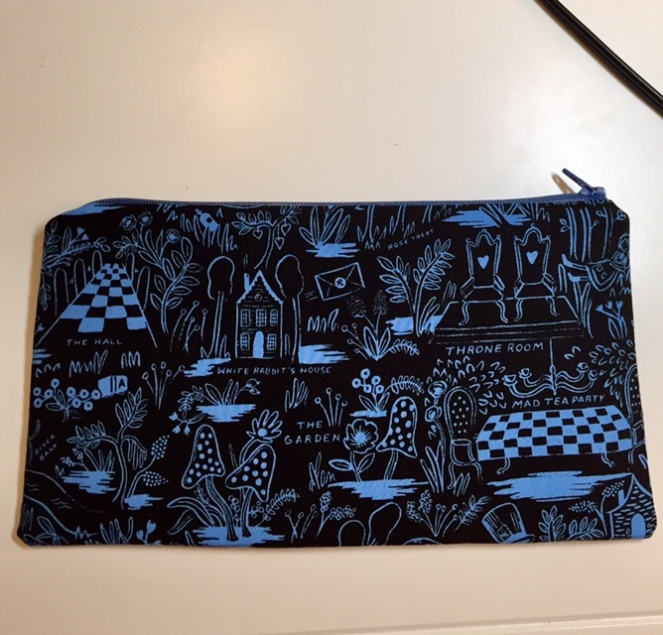
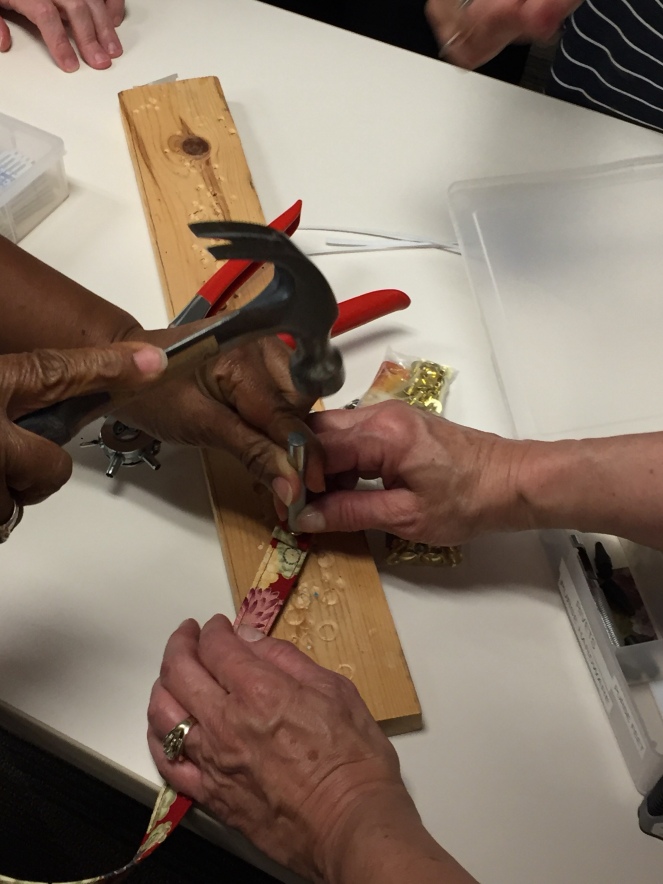
On the strap, I stitched and riveted the ends where the clips are attached, but you can also secure with just rivets. Our instructor suggested that rivets be additionally secured with glue. Cut fabric, insert rivet piece, put a dab of Gorilla Glue on the pointy end of the rivet, then tab the end piece down.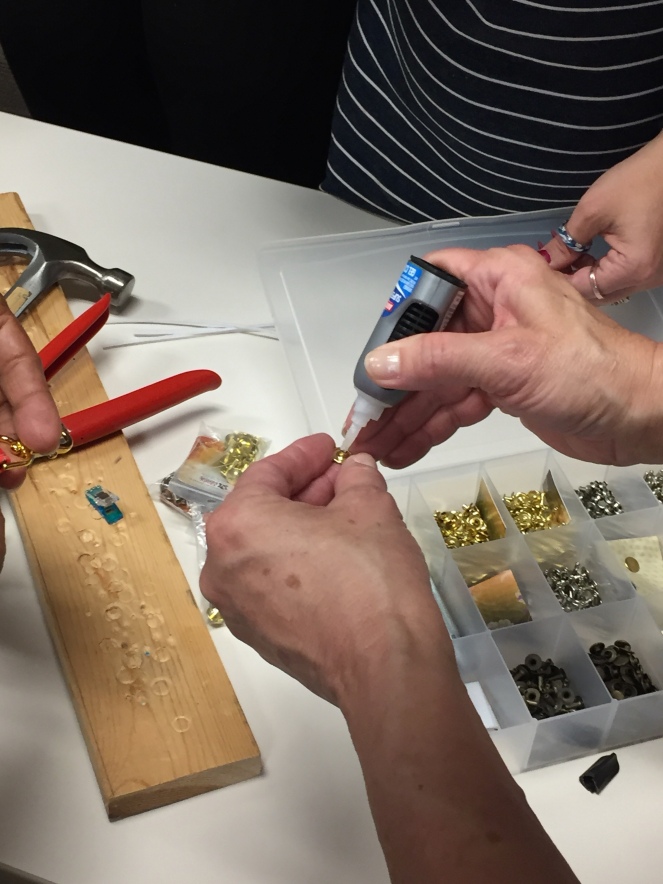
Add a daub of glue before adhering the rivet pieces.
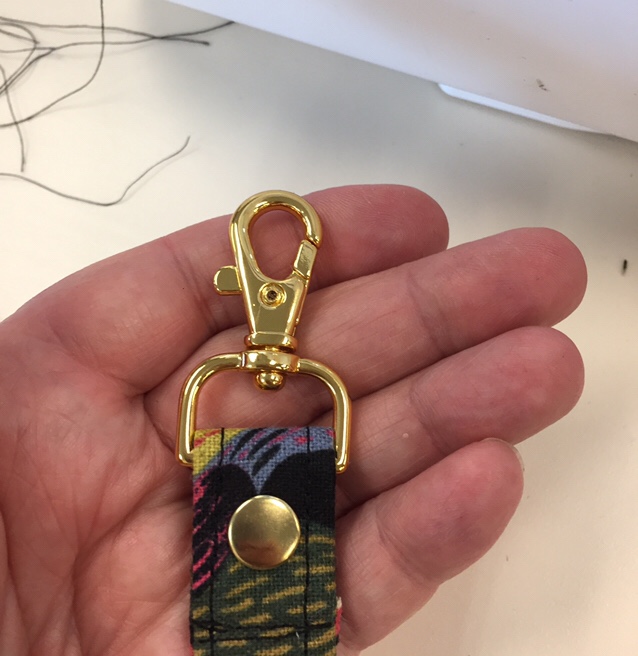
The hardware makes this bag. Buy quality stuff.
Use heavy duty needles. I used a jeans needle for construction and broke 2 when doing the final bit of topstitching.
Our class was from 10 am to 4 pm, and I came home with about another hour of work to attach the interior zipper pocket. For that final piece, I reviewed this excellent sew along from Sew Modern Bags.
The bag turned out surprisingly well (credit a great pattern and excellent instructor!). I don’t know if it’s a style that I’ll use all of the time, but it will definitely be used.
My next project will likely be the Charlotte City Tote and for that, I’ll use vinyl in the construction. Maybe the goal will be to make a bag in time for football season, using red and black vinyl and Atlanta Falcons fabric 😉
I would recommend this pattern to anyone. A beginner can make this bag. The sewing isn’t complicated, you just need to have the right tools and notions.


Wow!! Really beautifully done Janine! Love the prints!
LikeLiked by 1 person
Thanks 🤗
LikeLike
Very professional. Enjoy your new bag!
LikeLiked by 1 person
Thank you, Martha!
LikeLike