In search of something with trendy sleeves …
Pattern
Decided it was time to test my sewing mojo so I ventured out into indy land and ordered 2 Style Arc patterns; the Marilyn dress (yet to be made), and the Harlow top. Style Arc patterns are beautifully drafted but the instructions are minimal. Since this is a relatively simple design, I decided to give it a go.
By the way, Style Arc is offering 2 different free downloadable patterns in the month of August, 2017 with the purchase of another downloadable. Hurry!

Fabric

When I visited Fine Fabric a few weeks ago I picked up the Ponte used for the Breton top (blogged about here), and the silk for this project. The store has at least 2 entire rows of silk, stacked two or three shelves high up to the ceiling so it’s very hard to make a decision! I was drawn to a bright floral with a 70’s vibe. I don’t know enough about silk to say exactly what kind of silk it is, but the right side has more vibrant colours, and the design is almost embossed on both sides. A very stinky burn test confirmed the fabric content. (If you’ve never tried a burn test, this video from Threads Magazine provides excellent instruction.)
Did I mention that I’ve only sewn silk once before? Back in my reckless sewing youth, I once blew the week’s budget on silk organza and did a truly crappy job of sewing a button-down blouse. What I recall is my first attempt at French seams, fabric getting stuck in the feed dogs and leaving grease marks on the corners of the collar, and the prettiest opal coloured buttons. I didn’t know any better so treated it like any other fabric. I wore it but it was one of those, “oh, you made that (eyes rolling)” blouses. Funny how things like that stick in your memory bank. Fortunately I remembered the lessons.
Back to this experience. Before cutting, I washed the silk in the machine on the hand wash cycle, using Woolite. I then let it hang to dry away from direct light. It didn’t shrink more than a smidge.
Silk organza was used as interfacing for the neck facings. More about that later.
Adjustments
One minor adjustment – I moved the apex of the bust down about an inch.
Process
The pattern was traced onto Swedish Tracing Paper, then I took the whole lot into work so I could cut the fabric at lunch. We have several small conference rooms, and the big tables work really well for cutting. I had to use scissors because I didn’t bring my cutting mat, and scissors aren’t the best choice for cutting silk.
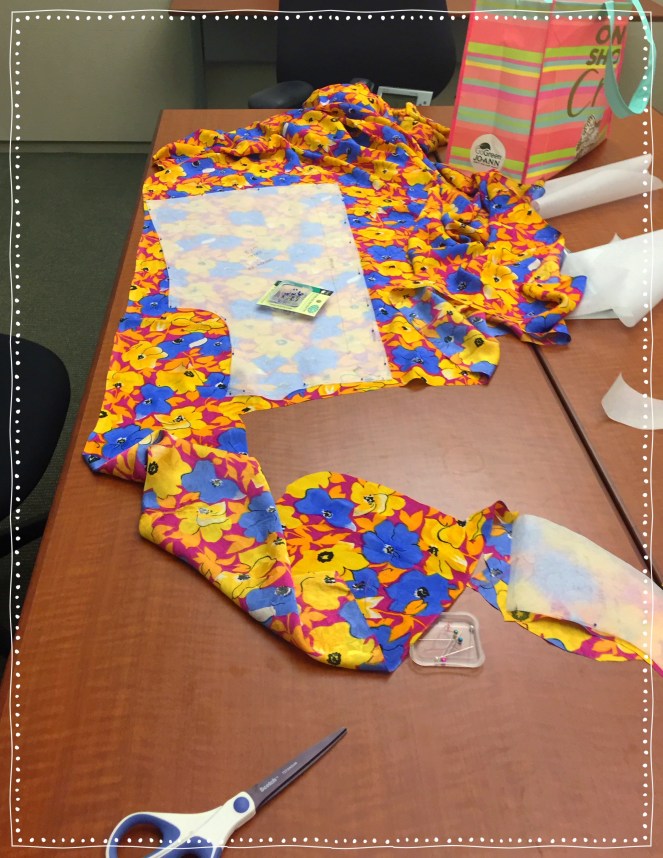 The fabric moved around a lot, and all pieces had to be cut flat, in one layer. On the plus side, the pattern pieces are very simple with practically no markings.
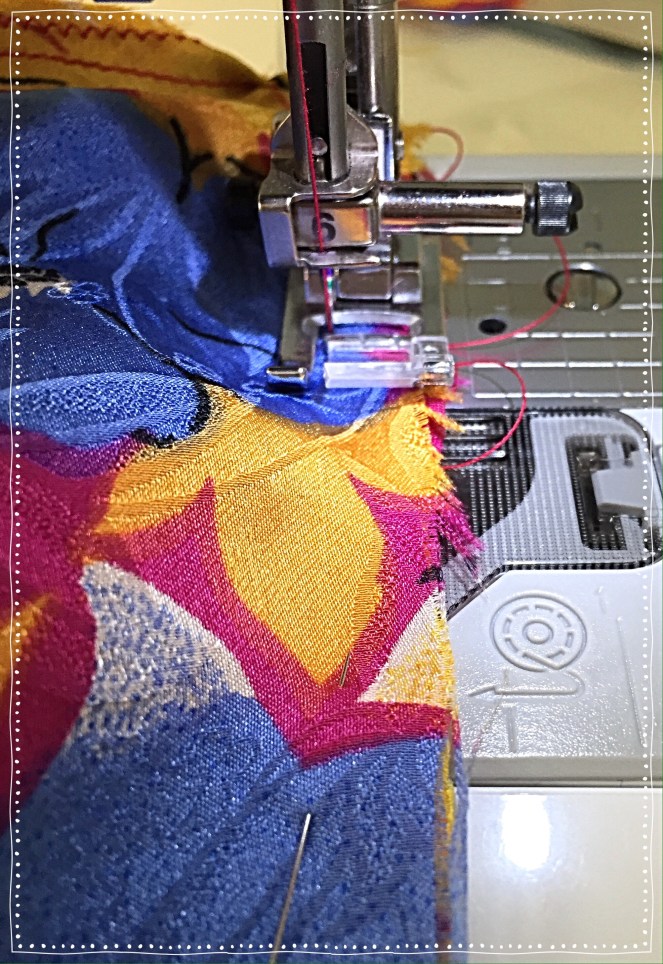
When I started the actual sewing process I used silk thread and a microtex needle. I had no issues sewing, but the fabric is slippery and that meant many pins. Style Arc patterns use a 3/8″ seam allowance, and 1/4″ on the neck.
 The sleeve has 2 pieces (upper and lower) and the lower sleeve is supposed to be open but I couldn’t figure out where to stitch. On the line drawing the sleeve appears to be stitched for about the first couple of inches, then left open. But on the pattern pieces it was the opposite. I wound up stitching the entire sleeve seam closed, and using a French seam because the inside shows.
For the sleeve edge and hem I did a hand rolled hem. That took some time, and I’m not exactly pleased with my handiwork, but it served the purpose. I’ll likely wind up restitching the hems.
Last step was to serge together the unfinished edges of the neck facing and organza.

After everything was done, I put on the blouse and the neckline looked bad. It was pouffy and wouldn’t lie flat against my chest or neck. It was the organza which has a much firmer hand than the silk. It was suggested that I could have cut the organza on the bias and it would lie flatter. But we were heading out on holiday the next day so there was no time to rip out seams. So I cut off the organza facing up to the neck seam and left just about 1/4″. I figure the organza is serving its purpose by stabilizing the point where the neckline meets the neck facing. And let’s face it, this isn’t exactly going to be a work horse blouse.
Yup – another silk blouse with “issues.” Story of my life.
Lessons
Lesson 1: File your fingernails before working with silk. I almost had a monumental pull when one of my nails snagged the fabric.
Lesson 2: Treat silk gently and don’t overwork it. This fabric stretches and distorts rather easily. The lower sleeve on one side (cut on the bias) stretched enough that I had to cut another piece. Stay stitch everything that you don’t serge (lesson 3).
Lesson 3: This slippery fabric is easier to manage if you serge the edges of each piece separately before you stitch the seams. The serged edges actually helped to keep the fabric pieces from sliding around as they went through the feed dogs on the regular machine.
Lesson 4: Likely no need to have the center back seam and opening, unless you like that as a design choice. Leaving off the center back seam means no pattern matching!
Time Involved:
- 2 hours: Tracing and cutting pattern and fabric
- 4 hours: Sewing with machines
- 2 hours (3 episodes of streaming Gilmore Girls): Hand rolled hems
Conclusion
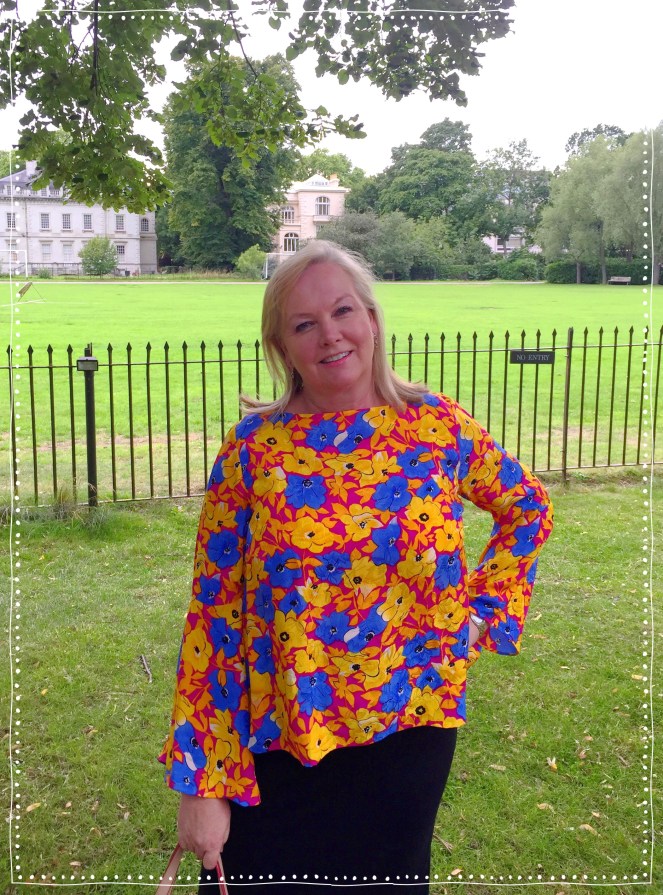
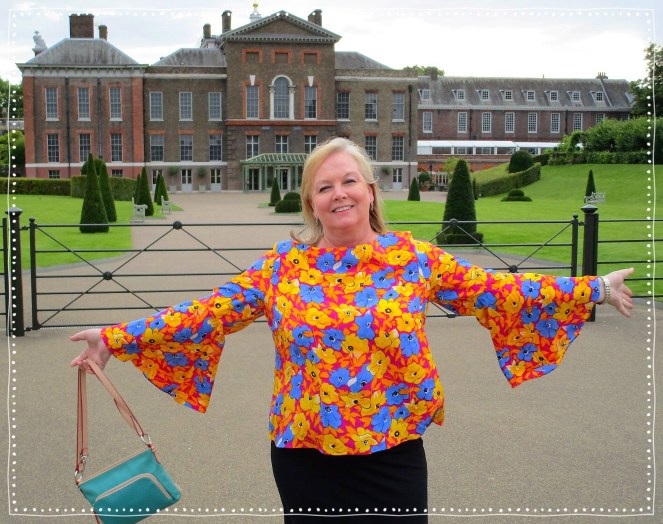
Style Arc drafted an excellent pattern. The 1/4″ seam on the neck edge is brilliant. It opened out beautifully without trimming or notching. The sleeves fit in perfectly. The final result is a nicely shaped top with fun sleeves.
Note that I wound up using more fabric than the pattern called for (3 yards) because I attempted to pattern match, and also because I had to recut the one sleeve section. I only paid $11.99 per yard, so it wasn’t outrageously expensive. There’s plenty of fabric left for scrunchies.
Next time I will lengthen the top by about 3 inches, possibly shorten the lower sleeve so it’s bracelet length (and more flirty), and use a silk crepe or something with a bit more weight.
My blouse made it’s debut on our holiday. The silk packed and traveled well and it encouraged me to make other blouses in silk. It may be an extravagance, but it sure feels nice against the skin.


Great looking top! I like the split sleeve flounce!
LikeLiked by 1 person
Thank you! The sleeves definitely sold me on the pattern.
LikeLike
Such a sweet top! And now I know about your blog. Hooray!
LikeLiked by 1 person
Thank you Martha! You are so talented. I appreciate your kind words 🙂
LikeLike