
A warm and wintery outfit to start off the holiday season!
Tag: winter sewing
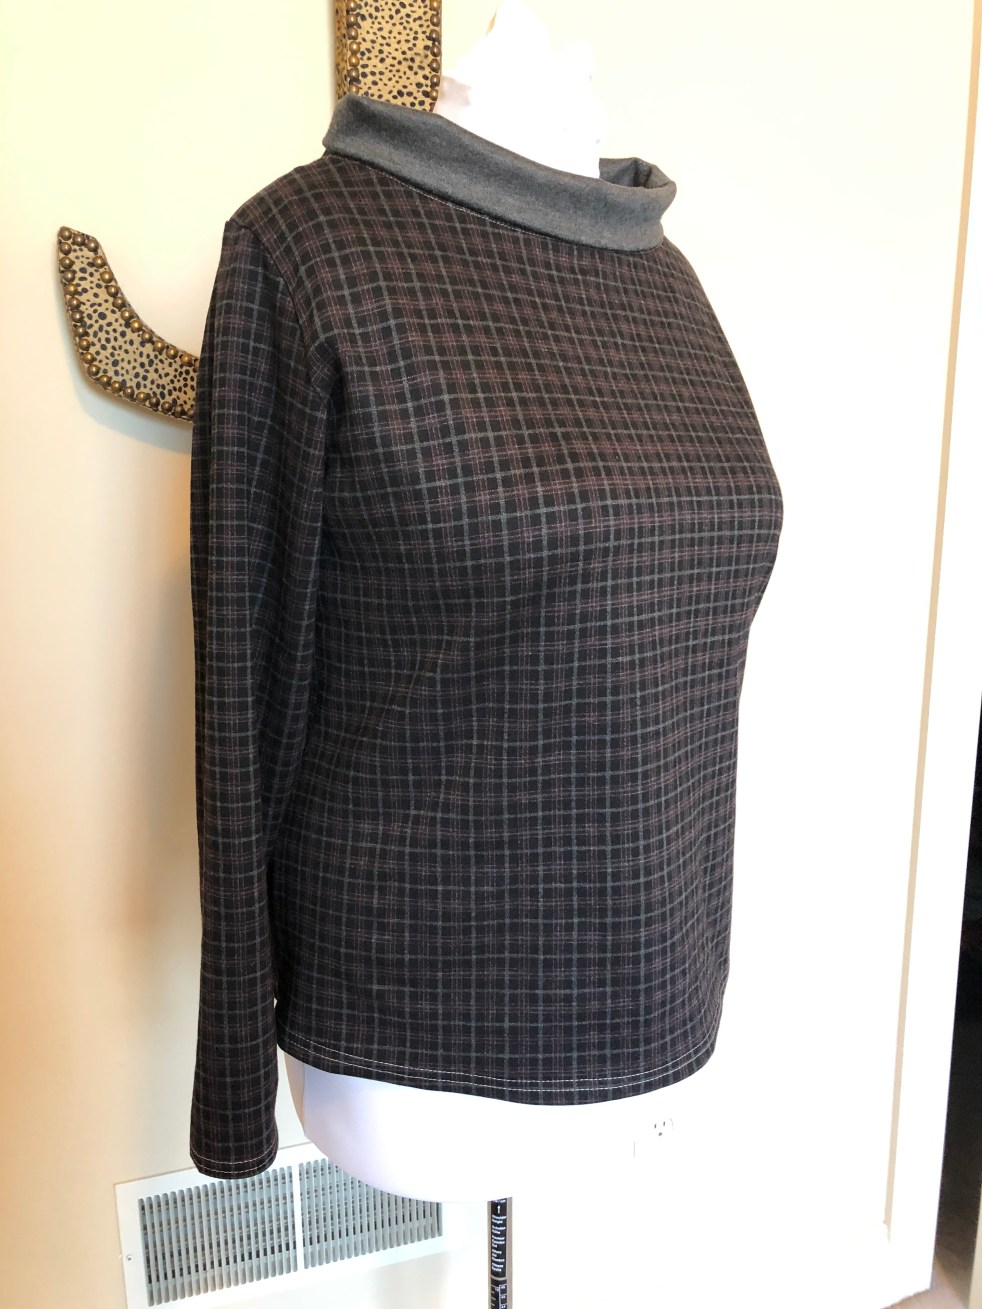
Tilly & The Buttons Coco
In early November we took a drive up to Sinking Spring, Pennsylvania so I could visit Fabric Mart Fabrics. I buy a lot of fabric from Fabric Mart and it was fun to see the facility and the huge selection of fabrics. I also had no idea they carried so many notions and patterns! I… Continue reading Tilly & The Buttons Coco

Focus on Free Patterns: Jalie Yoko
Yes, it's been quite a year and I haven't posted anything since, oh, a couple of days before the world shut down. One day let's all plan to sit down with a glass of something and chronicle the year that was but, for now, I want to tell you about my latest make! The Pattern… Continue reading Focus on Free Patterns: Jalie Yoko
