
Highlighting a free sewing pattern for a cute 1960s style minidress that is very wearable in the 2020s.
Tag: Janine Sews

Vogue 1568 Ponte Tunic
I focusing on sewing wardrobe basics - those pieces that will go with anything in the closet. This is the first piece in a set of coordinates.
Tilly & The Buttons Coco
In early November we took a drive up to Sinking Spring, Pennsylvania so I could visit Fabric Mart Fabrics. I buy a lot of fabric from Fabric Mart and it was fun to see the facility and the huge selection of fabrics. I also had no idea they carried so many notions and patterns! I… Continue reading Tilly & The Buttons Coco

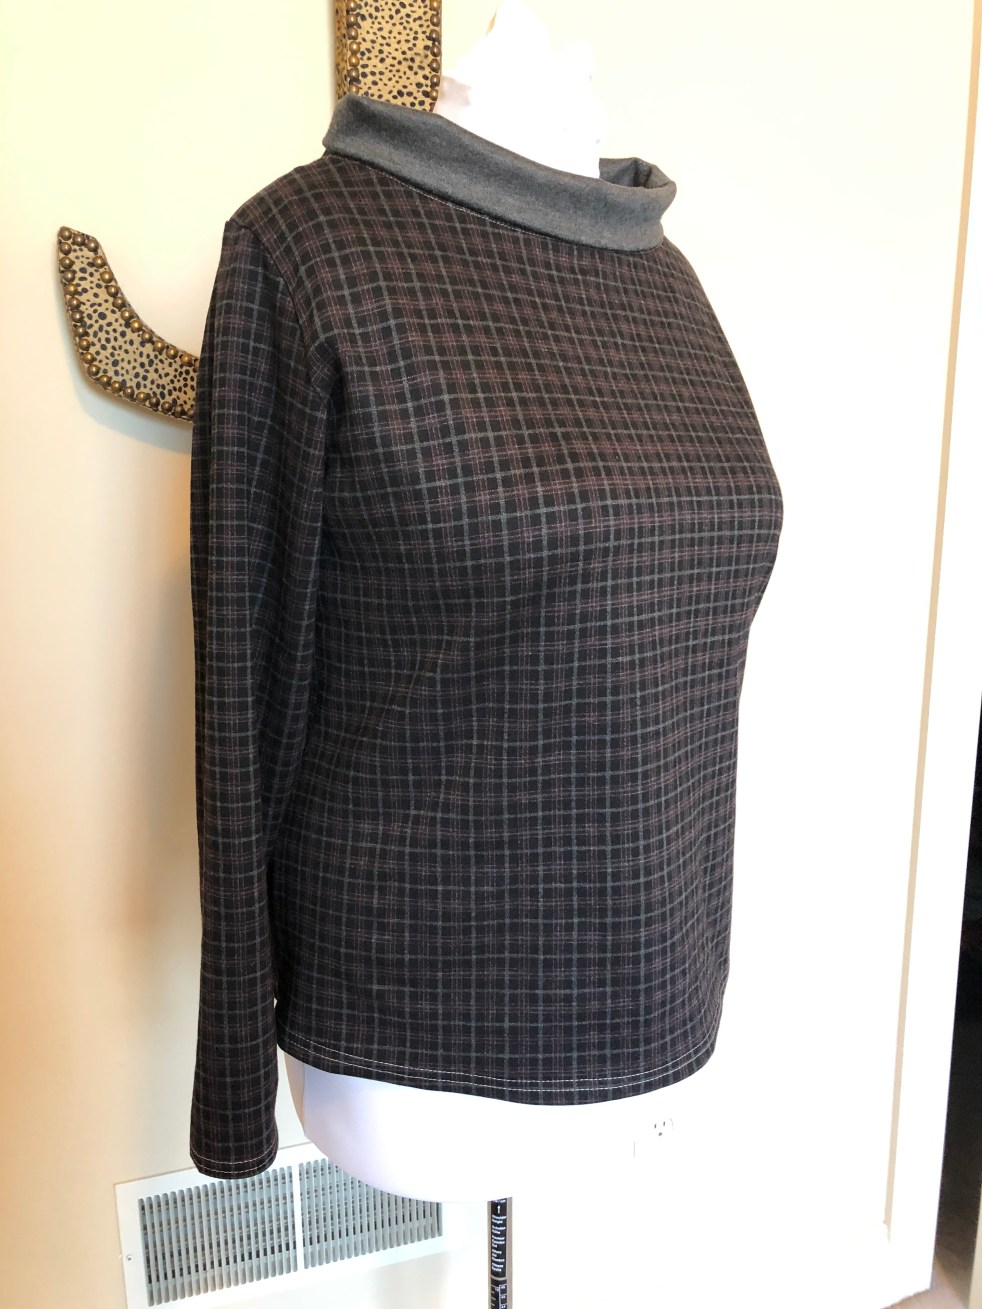
Focus on Free Patterns: Jalie Yoko
Yes, it's been quite a year and I haven't posted anything since, oh, a couple of days before the world shut down. One day let's all plan to sit down with a glass of something and chronicle the year that was but, for now, I want to tell you about my latest make! The Pattern… Continue reading Focus on Free Patterns: Jalie Yoko
A Birthday Dress ~ Simplicity 8595
Instragram has informed me that making oneself a birthday dress is a thing. I had planned to make a dress, the fabric was sitting right there, my birthday was coming up so I thought I'd give it a try! Last summer when I was in Calgary I just had to buy this crazy, Pucci-esque Telio… Continue reading A Birthday Dress ~ Simplicity 8595
Bees for a Summer Tie Neck Top
This top seemed to take forever to complete, but now that it's done I'm so happy with the result! For the past few weeks, I haven't felt much like sewing. One of our cat family members passed away and that impacted me more than I expected. Add to that a couple of completely unsuccessful attempts… Continue reading Bees for a Summer Tie Neck Top
