Third time around for this pattern. Am I a glutton for punishment?
Fabric
This project started with the fabric, a remnant I picked up at Sew Over It in London. I love the colours and there was just enough there for a top (1.1m of 140cm), so after exchanging £7 with the clerk it was mine.
Pattern
When trying to decide what to make with the fabric, I kept thinking of a tank with a ruffle. Then I remembered that several years ago I had a navy & white polka dot tank with a ruffle on the front. Why I got rid of it I don’t know. As it turns out, there was a pattern in my stash that pretty much matched the top I used to wear – one that I’d attempted twice this year with no success.
In this case, third time’s the charm!
 I bought the pattern for the cold shouldered thing (view B) and the first attempt was an absolute disaster. I wound up hacking off the sleeves in a fit of madness and wound up with a sleeveless tank that sort of works.

The second attempt is a wearable cold-shoulder top, but I’m not pleased with it. It’s destined for the bin.
But I hung onto the pattern because I like the basic shape of the top.
Sewing Notes
This was intended to be a really quick, one-evening project. However, I ran into a couple of issues.
When cutting the front bodice (two separate pieces) I opened up the fabric to align the dots and noticed a snip right in the middle of one side of the bodice. There was just enough fabric to squeeze out the the front bodice pieces and I’d already cut all the other pieces.
I will admit to going online to see if I could cut one section of the bodice on the cross grain which is of course not recommended, of course, but I did learn a bit more about warp and weft!
So I cut out the bodice with the snip right in the middle and before doing anything else I immediately set to repair the hole. I cut pieces of Wonder Web and matching fabric and fused these to the back of the fabric, then I took tiny stitches to close up the hole and prevent it from growing. The only thread I could find that matched was embroidery thread. I hope it holds up …


Then I set about constructing the top. As it turns out, I did have other thread that matched perfectly, but it is silk thread. So that’s what I used to construct the garment. Yes, it is more expensive, but the cost of gas to drive to and from JoAnn would be about the same, and as I learned, silk thread just disappears into the fabric so it will likely be my thread of choice in the future. (Later I realized that the silk thread would have been perfect to repair the hole in the top.)
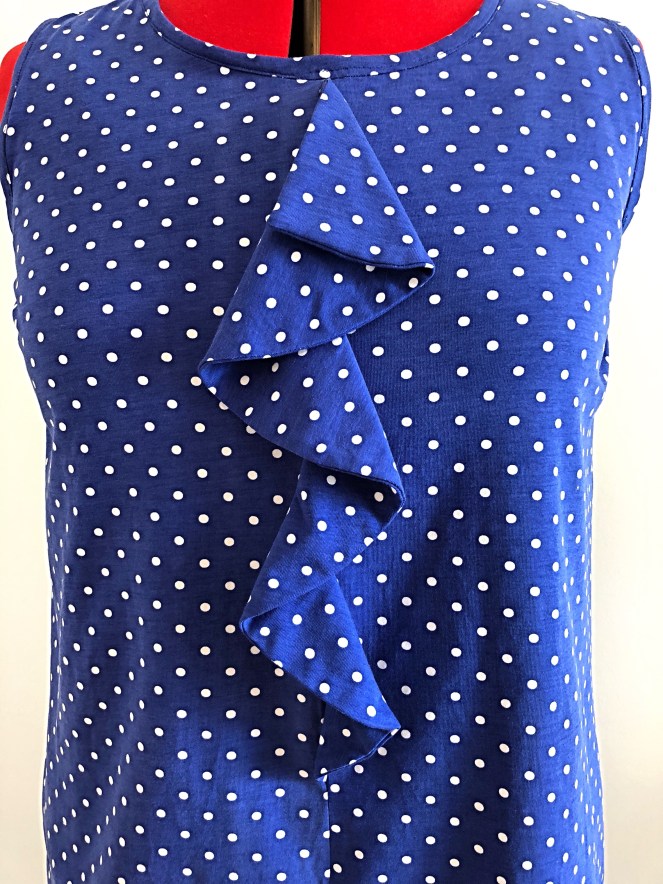
When I cut the flounce I didn’t notice that only one piece was needed so I cut two. It hit me when I started to work on the flounce – the pattern calls for a single later with an unfinished edge. What? I couldn’t see how that would look good so I stitched together my two flounces and think it looks immeasurably better than what the pattern maker suggested. (Okay, maybe the single layer would work if you had fabric that was identical on right and wrong sides, but even then I just envision a really limp noodle of a flounce.)
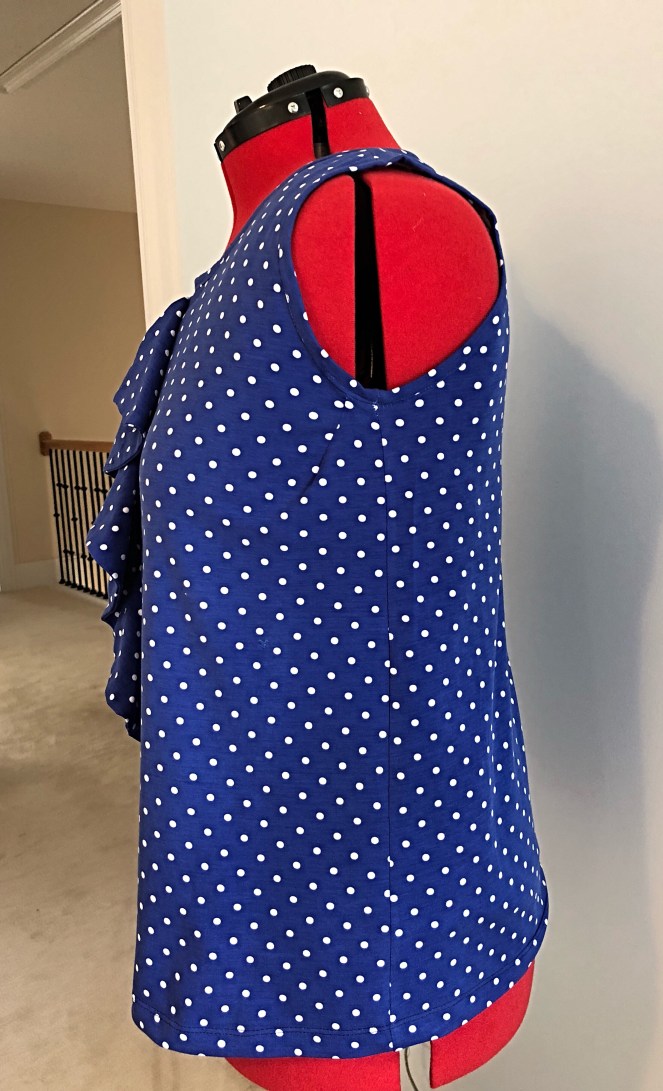
Another possible pattern error: The bands for the arms are the same length as the opening, so it wasn’t necessary to stretch to fit. I cut an inch off each band and finished the arms. Then I tried on the top and there were gaps … stupid, crummy gaps and I had already stitched everything up.
LESSON: Believe your garment when it gapes at the arm opening. The gaping will not disappear when you attach a band (maybe a sleeve, but not a band).
UGH. An hour of unpicking, being careful to not catch the fabric. Then I put in darts on both sides and reattached everything. (I hadn’t pressed the darts out right before taking pictures on the dress form – they look okay on me.)
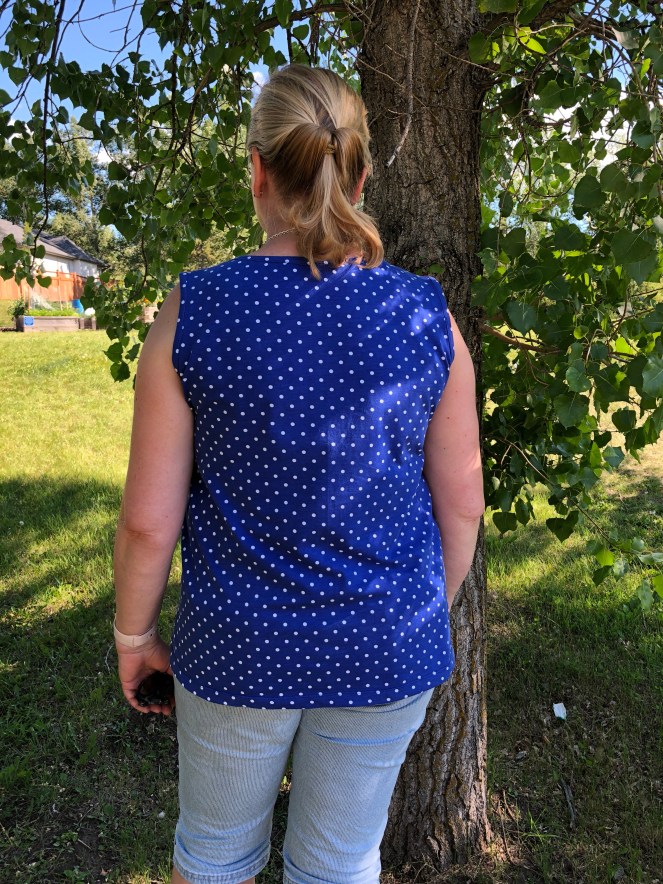
Result
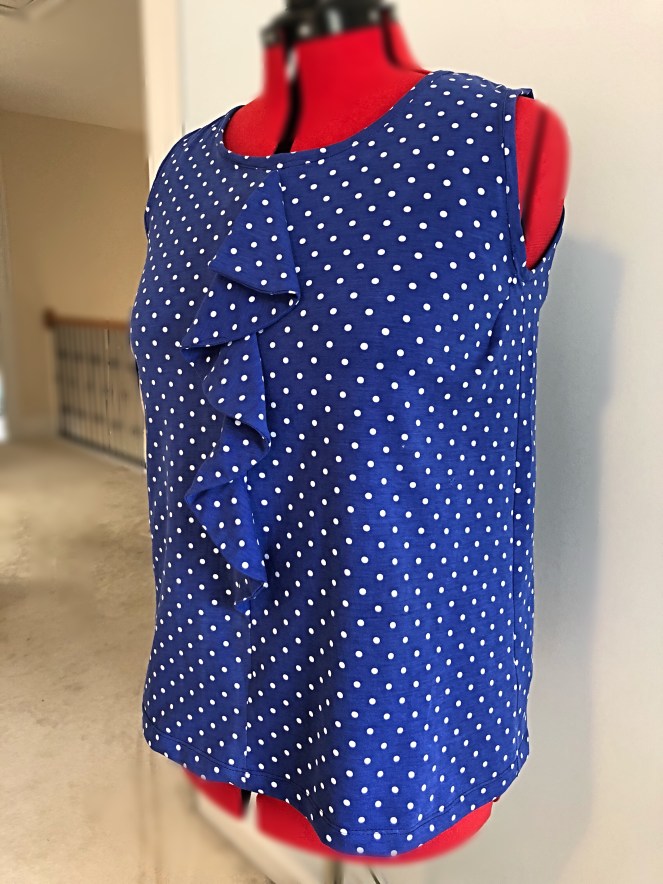
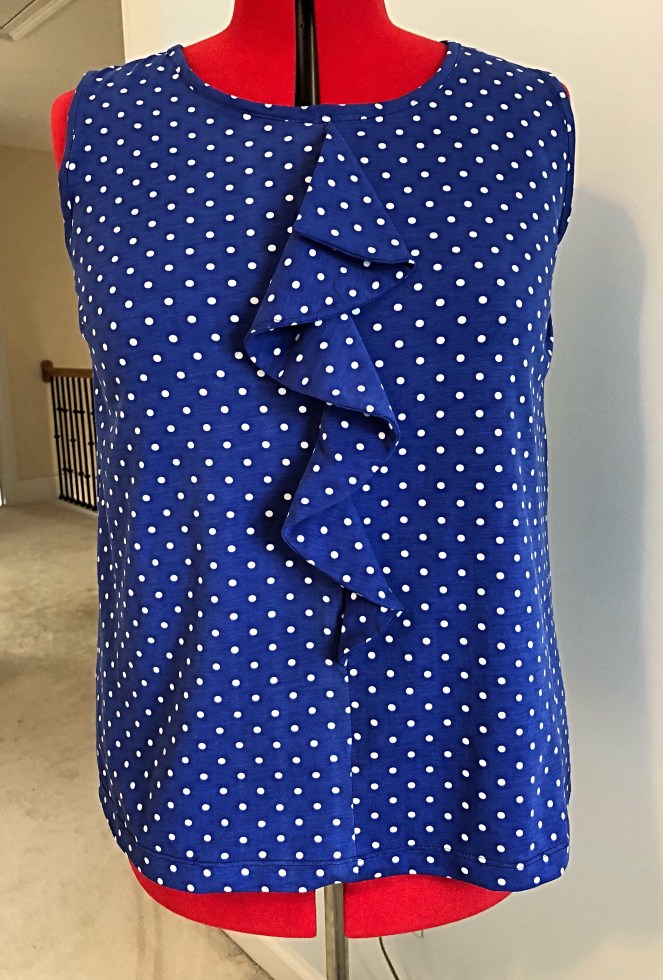
I am so pleased with this top and especially the flounce!
And I’m glad I kept the pattern. This will get a lot of wear this summer!


Worth all the struggle!! Beautiful top! I too have not liked using single layers of fabric for ruffles. I just doubled a ruffle on a sleeve so the unfinished underside doesn’t show. I just now bought this pattern, can’t wait to try this view. Not a fan of the cold shoulder style. ;o) Thank you for the tips!
LikeLiked by 1 person
Thanks! I had a ruffle top years ago that was a single layer and it didn’t bother me, but I think we’re more discerning when we make it ourselves. Hope to see your version soon!
LikeLike
Your top is ADORABLE. Great job on fixing the hole, I just did the same thing on my garment. It is such a shock to see a hole smack in the front of a piece! Noooooo! Also what you did with the ruffle/flounce is brilliant. Great work on seeing this through because it looks so nice! Lovely fit and such a cheery color for these hot summer days.
LikeLiked by 1 person
Thank you, Viv! The hole was such a huge disappointment. I’m blaming the girl cat who always insists on helping.
LikeLike
Fantastic top, a tribute to perseverance!
LikeLiked by 1 person
Thank you! Perseverance is certainly a work in progress 😉
LikeLike
Really cute top! I love polka dots. It looks terrific!
LikeLiked by 1 person
Thanks, Lisa!
LikeLike
I love the blue and white dots. You did a great job, even if it was a bit of a challenge!
LikeLike
It’s lovely. You can’t even see the repair and the darts look intentional, not a fix. As for the ruffle, good call. It wouldn’t look nearly as nice with the wrong side of the fabric showing. It drapes so nicely.
LikeLiked by 1 person
Thank you so much, Marie! I see the repair but of course we all notice every little thing when others don’t.
LikeLike